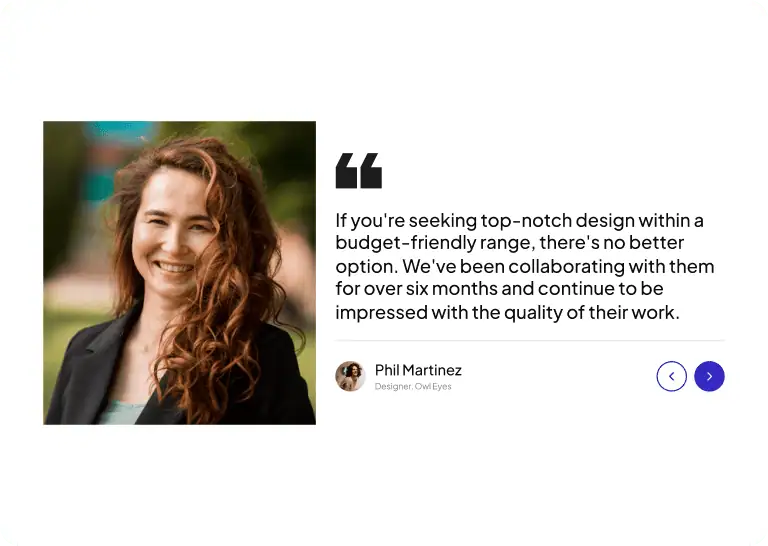
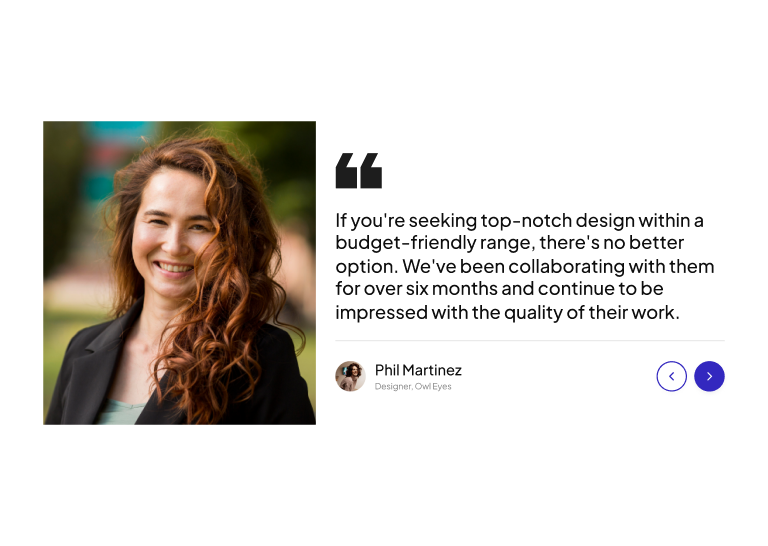
UiChemy Education
Stay informed with our latest UiChemy tutorials & upates
Subscribe to Our Email Updates Today!

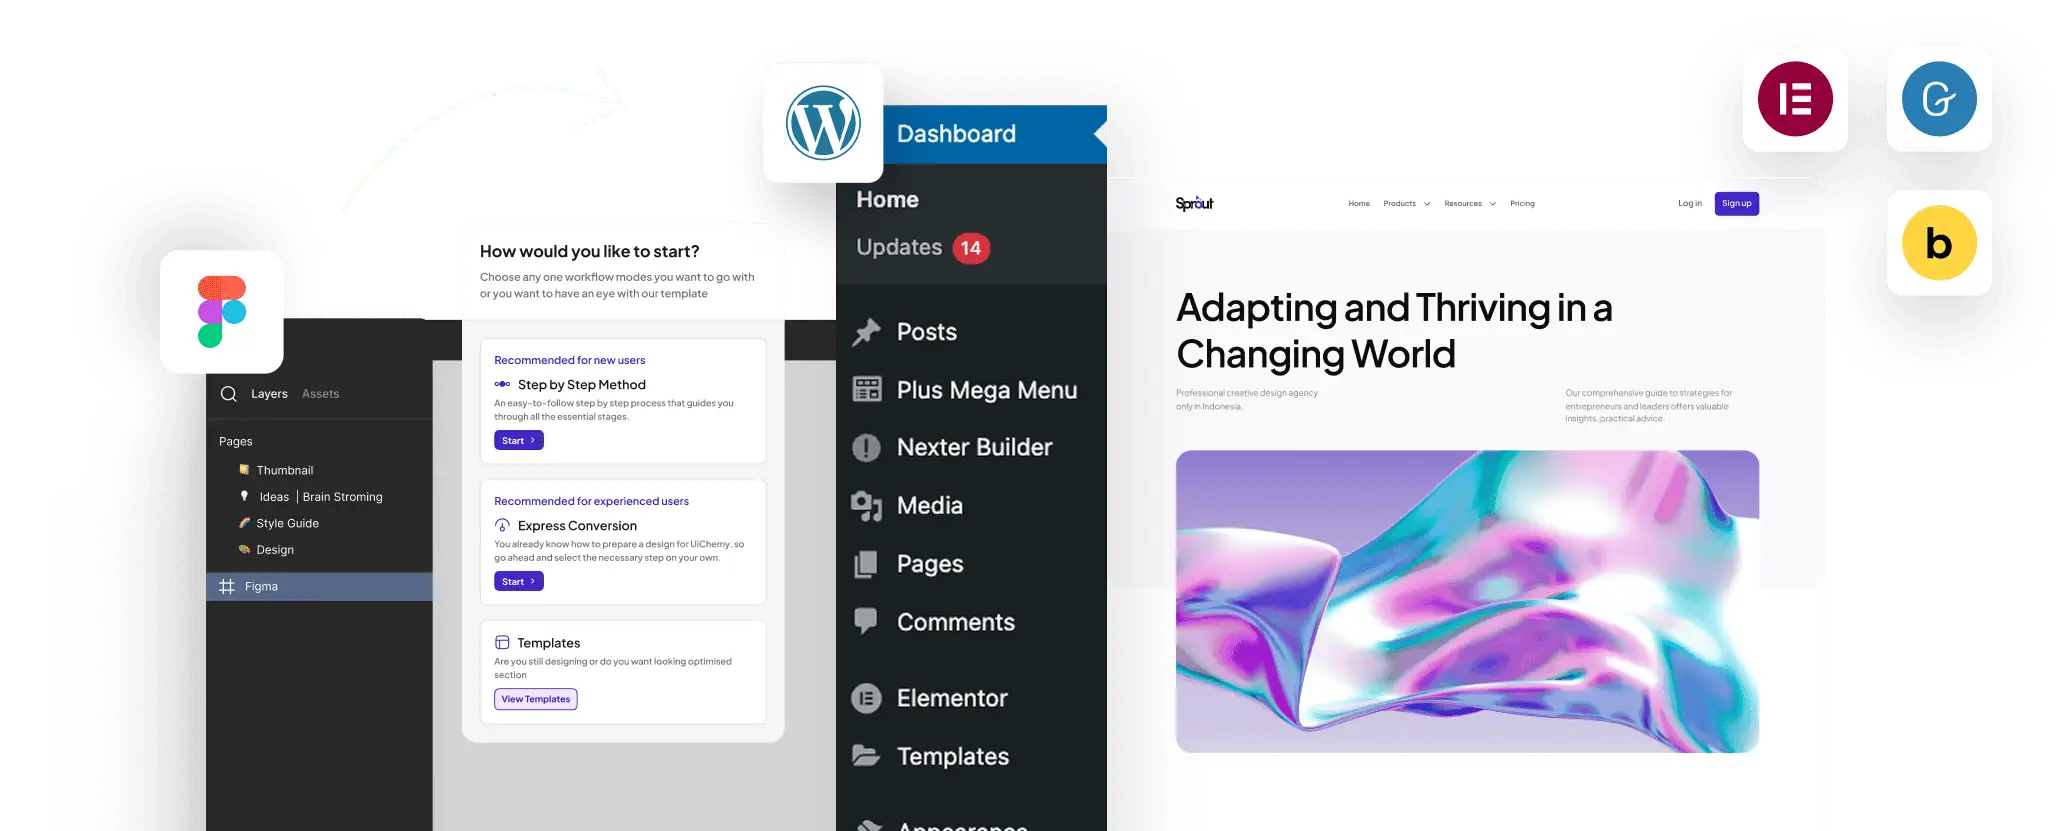
Convert Figma to WordPress in Minutes for FREE
Convert your Figma designs to WordPress effortlessly and for FREE! With full support for popular builders like Elementor, Gutenberg, and Bricks, you can turn your designs into live, responsive websites in minutes.
Frequently Asked Questions
For any further help, reach us at [email protected]
or connect via live chat.
UiChemy 4.0 introduces a brand new plugin interface with a guided 8-step process to help users convert Figma designs to WordPress with clarity. The entire experience is now focused on better navigation and visual support. You’ll also find updates to tagging, image export, global styles, and renamed options like “Direct Import” (previously Live Import) for clarity.
Absolutely. UiChemy 4.0 is designed to walk users through each step from selecting a frame to exporting to WordPress. Even if you’re new to Figma or WordPress builders like Elementor, you’ll be able to follow the flow easily with visual guidance at every stage.
UiChemy 4.0 guides you through a smooth step-by-step process to get your Figma design ready for WordPress. Here’s how the flow is structured:
Select Page or Frame – Choose the frame you want to export.
• Select Page or Frame – Choose the frame you want to export.
• Optimize Multi-Layer Media – Lock key assets like images, icons, or masked groups.
• Widget Tagging Mode – Pick Auto (Container, Image, Heading, Text) or advanced tagging to define how elements convert.
• Manage Auto Layout – If your design isn’t already structured, UiChemy will optimize it.
• Tag Widgets – Tag additional widgets like Buttons, Carousels, or Galleries.
• Responsive Manager – Control responsiveness through font-size, line-height, padding, flex-gap, etc.
• Sync Global Styles – Map your Figma colors and typography to your WordPress site.
• Conversion Settings – Finalize export preferences like image options and layout behaviors.
Each of these phases is designed to give you control, confidence, and clarity during export.
Yes, tagging has been visually enhanced. Now you can clearly see which section is tagged and with what widget (e.g., H1–H6 for Headings). When you tag a design, the plugin overlays details right inside your layout for a better experience and editing control.
You can choose between Direct Import (recommended for connected Elementor sites) or Copy to Clipboard (to paste into your site manually). We’ve also added an Express Mode for users who prefer skipping the guided flow.
Yes. Non-auto layout designs can be optimized using the “Convert to Auto Layout” feature within the flow. You can then proceed with tagging and exporting just like any other layout.
Yes, it’s optimized for Elementor, with ongoing improvements for Gutenberg and Bricks. You can still export and use designs across all three.
To make it clearer, we’ve renamed it to Direct Import. It functions the same way: instantly transferring your design to a connected WordPress site.
No, Figma will automatically run the latest version for you.
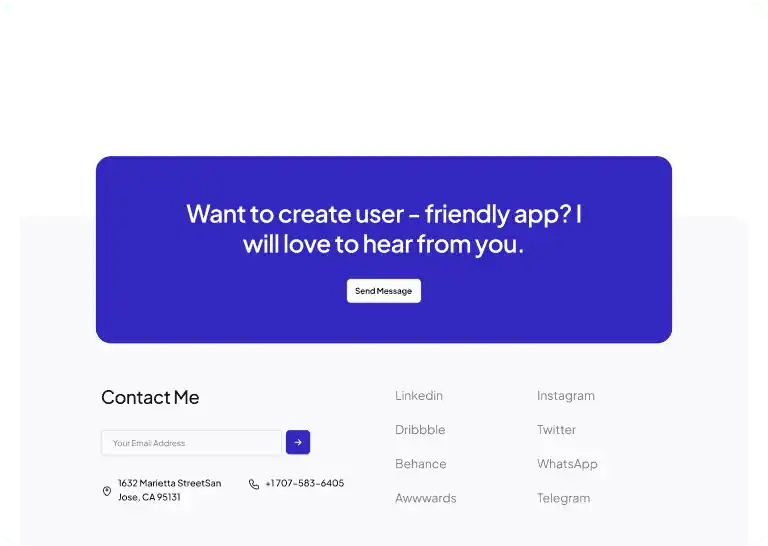
1300+ Figma Templates & Sections
for Best UiChemy Conversions


Convert Your Non-AutoLayout Design Into AutoLayout in Just 3 Steps