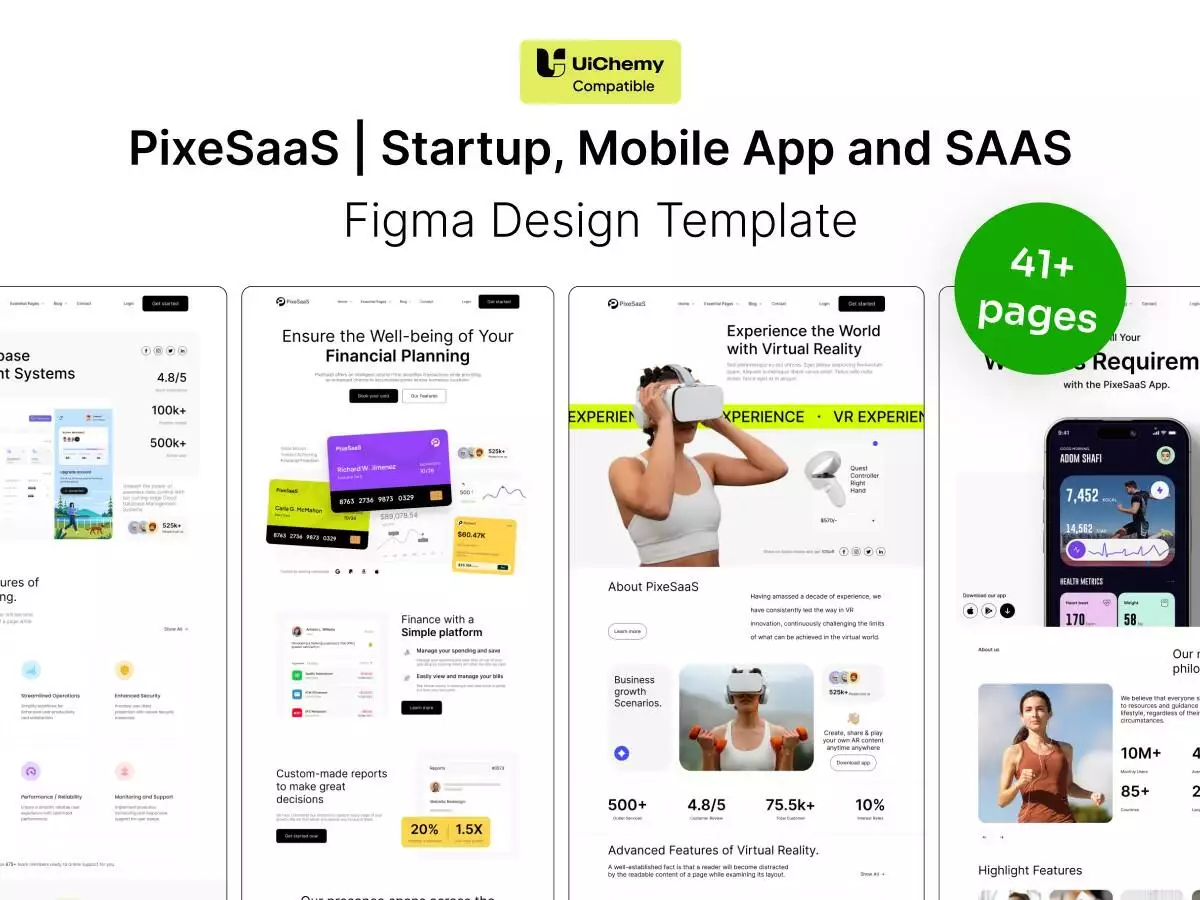
Streamlining Figma Exports for WordPress/Elementor with UiChemy and Image Group Locking
Challenge:
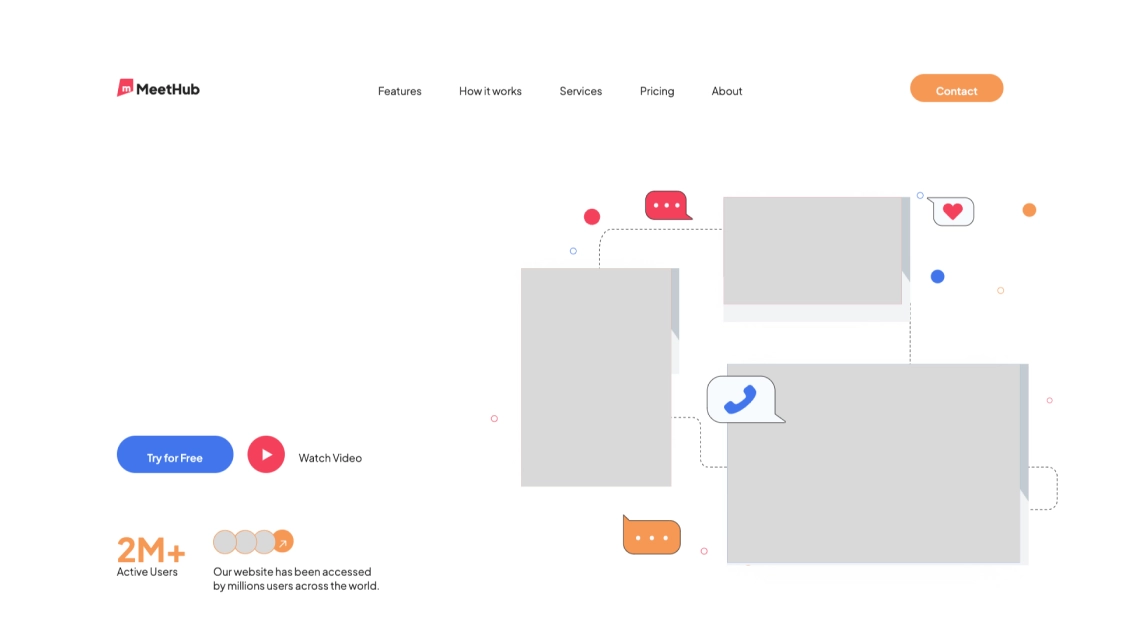
Efficiently exporting a complex Hero section from Figma to WordPress/Elementor using UiChemy, while maintaining visual fidelity and reducing file size.
Solution:
Leveraging image group locking to combine multiple elements into single images for export using UiChemy plugin, resulting in:
Implementation:
1. Verifying UiChemy Compatibility:
2. Optimizing the Hero Section:
3. Fine-tuning Layout:
Results:
Conclusion:
This case study demonstrates how image group locking can significantly improve the Figma-to-WordPress export process using UiChemy for complex designs. By combining elements and optimizing for Auto-Layout, designers can achieve:
Witness the transformation! Scroll down to view the template exported to WordPress/Elementor using the UiChemy plugin.
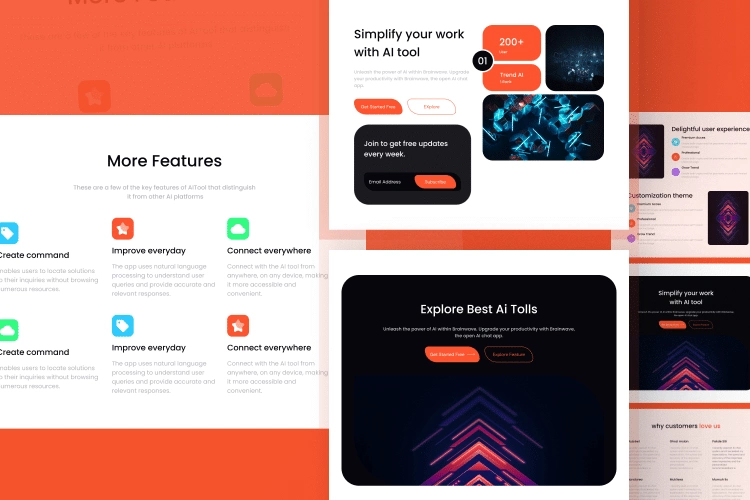
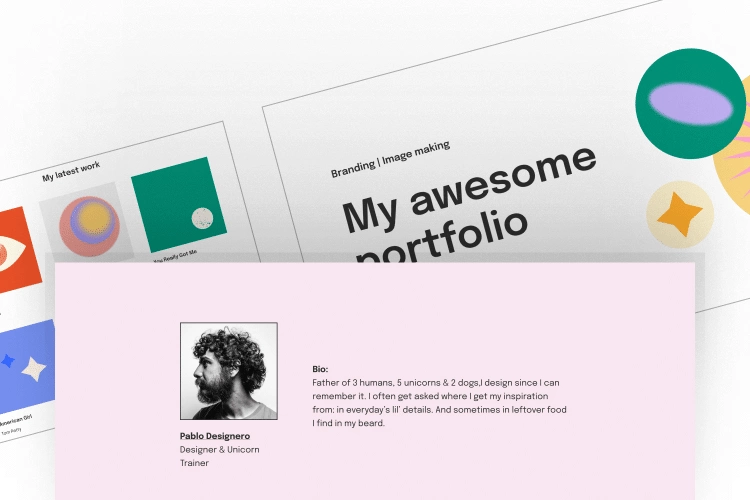
Before

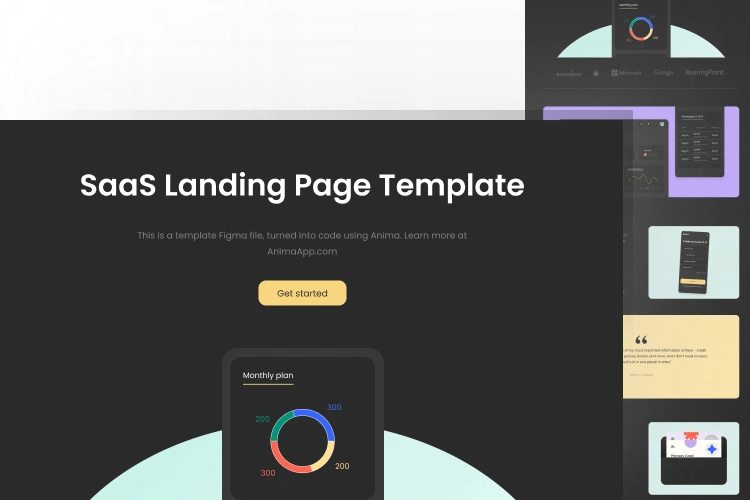
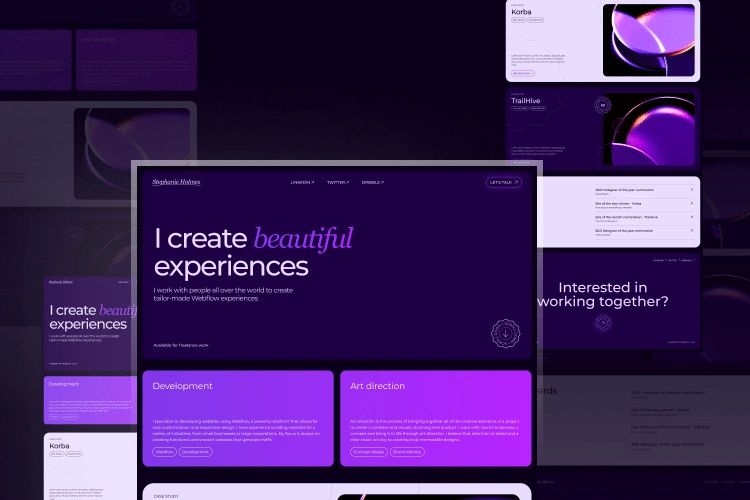
After