
Clone Any Animated Website Into Editable WordPress With AI
About this video
Smooth scroll animations and sections that come alive as you scroll make a website feel premium. Getting that same site into WordPress, and keeping every section editable, is the hard part. This video shows you how to clone a website with AI and turn it into a fully editable WordPress site, without rebuilding it widget by widget.
Rebuilding a design like this by hand means dragging widgets, adjusting containers, and matching colors, typography, spacing and layout, which can take days or even weeks. UiChemy skips that. Ask AI to clone the website into a ZIP file, install the UiChemy plugin, connect the UiChemy AI Agent to your AI tool, and convert the clone into real WordPress. You can then edit every section with visual controls or with AI.
What you'll learn
- How to ask AI to clone a website and export it as a ZIP file
- How to install and activate the UiChemy plugin on your WordPress site
- How to connect the UiChemy AI Agent with the AI tool you use
- How to convert the cloned website into a fully editable WordPress website
- How to keep the on-scroll animations while editing each section
- How to edit any section with visual controls or with AI
Resources
Video transcript
Introduction & Overview
Look at this. We've all come across websites like these. Smooth scroll animations, elements coming alive as you move down the page, and that premium experience that keeps you scrolling. But getting that same experience into WordPress and keeping it fully editable is where things get challenging.
So, the real question is, how can we bring a website like this into WordPress while keeping every section easy to edit, customizable, and expandable? And that's exactly what we're going to solve today. Let's clone this one as it looks minimal and creative with a smooth and engaging on-scroll animation. But bringing a design like this into WordPress is where things usually get complicated.
Rebuilding everything manually by dragging and dropping widgets, adjusting container settings, and matching the colors, typography, spacing, and layout, which can take days or even weeks.
Selecting & Analyzing the Animated Website
So instead of settling for these limitations, today we are exploring a completely new workflow with UI. Build anywhere, own it in WordPress. It gives you full control over your AI generated website inside WordPress with complete freedom to edit every section using both visual controls and AI. Before we get started, let me quickly walk you through the process we'll be going through.
First, we'll ask AI to clone the website and convert it into a zip file. Then install and activate the UI plug-in on our WordPress site. Next, we'll connect the UI AI agent with the AI tool we are using. Finally, we'll convert the clone website into a fully editable WordPress website using UI.
So, let's get started. The first step is to clone the website. As you can see, this is a detailed master prompt with everything clearly defined. It's reusable, so you can simply replace the URL to clone another website.
Just a quick note before we continue. I've added all the prompts used in this video to the document linked in the description below. Let's come back to the process. For highly complex animationheavy websites, results may vary.
But for minimal interactive websites, you can achieve up to 90% visual accuracy. Let's add this to clot code. You can see the target website URL along with all the key UI and UX aspects including visual hierarchy, structure, typography, colors, spacing, and other important details that need to be replicated to closely match the original design.
Setting Up UiChemy / Prerequisites
Let's hit enter and start the execution. You can see it opening the page, capturing the reference geometry, building the source version, and running the verification. And within a few minutes, we have our clone site ready. Here you can see the clone site along with the generated zip file, the project architecture, and all the execution details.
Let's open the built-in browser first. We can also check the responsive views here. Now, let's open it in an external browser. And there you have it.
The same visual appearance along with the same smooth onscroll effects. All right. Now, let's move on to the step we've been waiting for. This is where the workflow takes a major shift in WordPress AI.
Step two, install UiChemy plug-in. Let's go to the WordPress dashboard and search for UI. Here it is. Let's install and activate it.
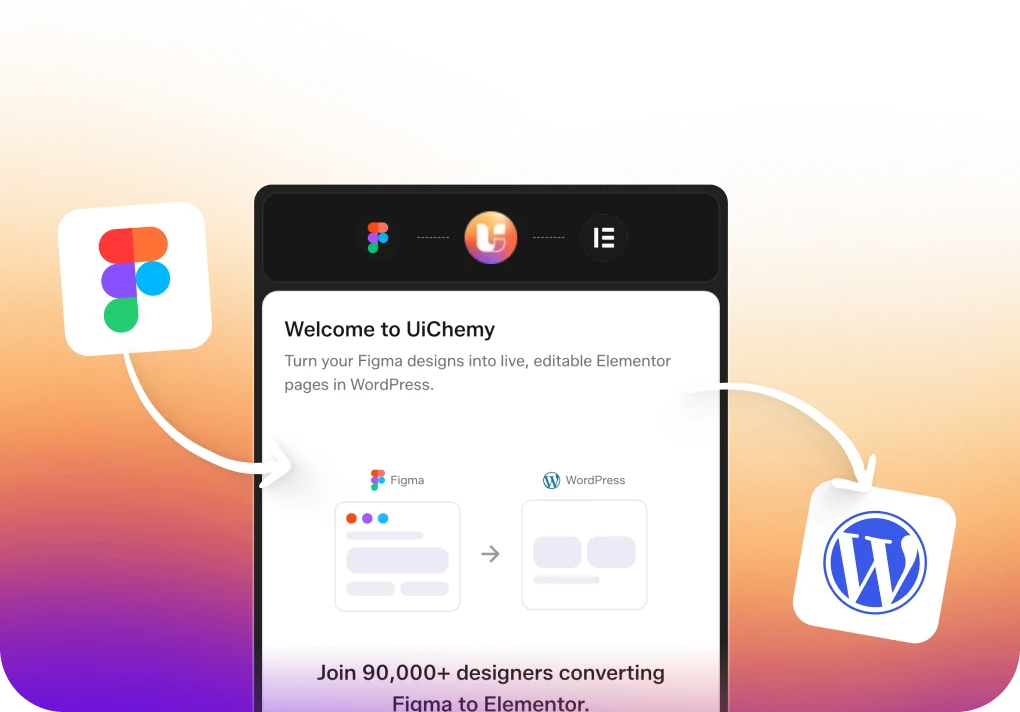
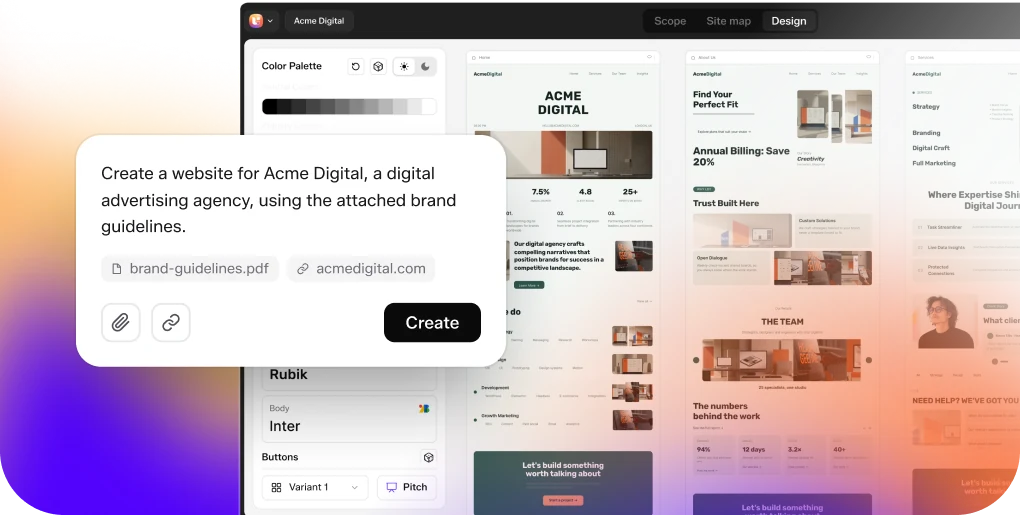
Once we are inside the UiChemy dashboard, you will see three modules. Figma plug-in where you can convert any Figma design into an editable WordPress page. AI Website Creator where you can build a complete website from a prompt or plan brief. and AI agent where you can connect any AI tool to WordPress.
Once connected, convert any AI generated website into an editable WordPress site. We'll cover the other two in separate videos. So for this workflow, we're going straight to AI agent. And this is our third step.
Connect the AI agent. To set up the AI agent, there are three simple steps. First, generate the connection. Then select your AI tool.
You'll find the most popular AI tools listed here. For this demo, I'm selecting Claude desktop. And step three, add the MCP server. There are two ways to connect your AI tool with MCP using a prompt or using the config. With config, you simply copy the configuration and add it to your cloud config file.
Cloning the Website & Animations with AI
There's also a quick way to do this. You get an autoconnect option where you copy the provided command, run it in your terminal, and it handles the setup automatically. For this demo, we'll use the easiest option. Copy the prompt and paste it into Claude Code.
After the execution finishes, quit Claude completely and reopen it. So let's ask plaud to confirm the connection. And there we go. The connection is properly established.
Now the fourth step, convert to WordPress. Before we run the prompt, let me show you my pages section. It's completely empty. Not a single page has been created.
I want to show you this up front so you can clearly see that everything we're about to create comes directly from this workflow. Let's go back to Claude Code. Here I'll attach the zip file of the clone site and add the WordPress conversion prompt. The prompt is simple.
Now using the UI MCP, import this landing page into WordPress where each section is created using the UI composer. Ensure that the appearance and overall experience in WordPress exactly match the original index. html. Let's send it.
The conversion has started and UI is now handling the process. As you can see, it's first loading the required skills and mapping the documents tople structure to the planned sections. Next, it's setting up the complete design system in WordPress, then building the structure, and applying the design. And now you can see it opening the page in the built-in browser, checking the result, applying changes, refreshing, and continuing to build out the design.
This process can take some time, around 30 minutes depending on the website. So let's give it a little time to complete. As you can see, the process runs iteratively. It captures the page, checks the result, makes adjustments, and continues refining the design until the conversion is complete.
And there we go. The process is complete. It's confirming that the section has been successfully converted using UI Composer. Let's open the link.
And here are the results. We're getting around 95% visual accuracy. The visuals, layout, and on-scroll effects are almost identical to the original. Now, let's go back to WordPress pages.
And there it is. A brand new page has been created. Now, let's come back to the browser. You can also see the floating panel at the bottom.
This is part of UI composer. Let's open it. One of the great things about the UI composer is that you don't need to open the full editor every time you want to make a quick change. You can apply changes directly from here.
Of course, if you want to make edits directly in the element editor, you can open it as well.
Importing into WordPress & Elementor / Gutenberg
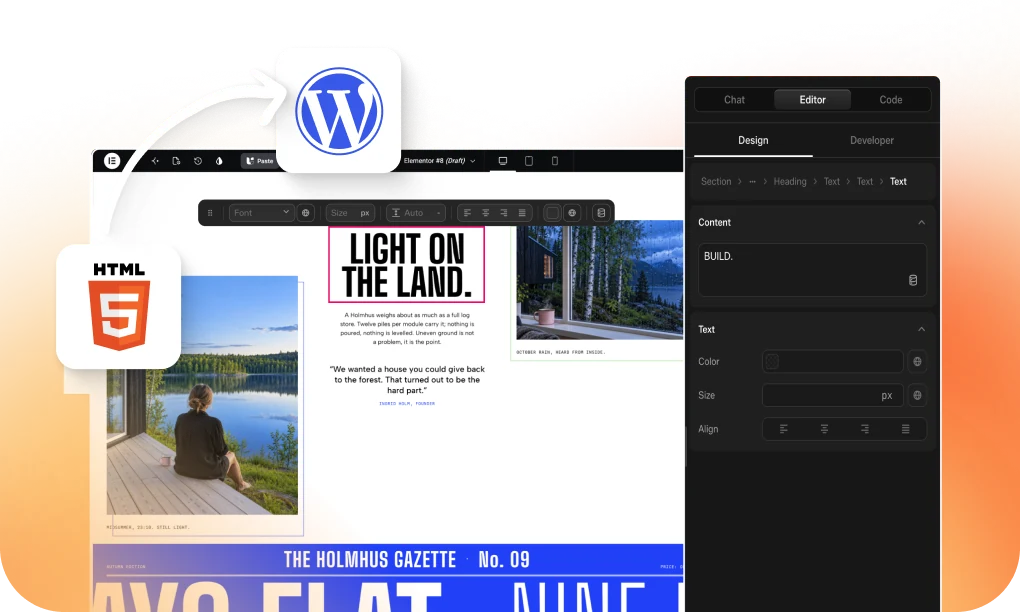
But for quick changes, this gives you a much faster way to work. All right, here you can see two tabs, chat and editor. Let's start by understanding the editor tab. Inside the editor, you'll find all the content and styling controls, including options for editing content, adding links, typography, font family, and other font related design properties.
You'll also find layout and styling controls for the element. For example, you can see that the text inside each card is currently sitting very close to the edges with almost no spacing. Let's add some padding to give it a little more breathing room. Simply click the pick tool and select the element.
Then from the spacing controls, let's add some padding. You can see the spacing has been applied and it already looks much better. Now suppose we want to apply the same padding to every card. For that let's switch to the developer tab.
Here you can see that local is currently selected. Let's switch to the global class. Now when we apply the padding you can see that it's automatically applied to every card. This makes the process quick and easy because the global class lets us identify the same class being used across multiple cards and update them all at once.
Now let's change the background color of the cards. Since the global class is still selected, you can see that the background color is being applied to all the cards. Instead, let's switch back to local and change the background color. This time, the change is applied only to the selected card.
There's another quick and very handy way to make small edits. Here you can see the floating panel which gives us some basic editing options. For example, we have the alignment controls right here. Let's quickly change the color.
All right. Next up is the code tab. This one has four inner tabs. Standard, page, site, and globals.
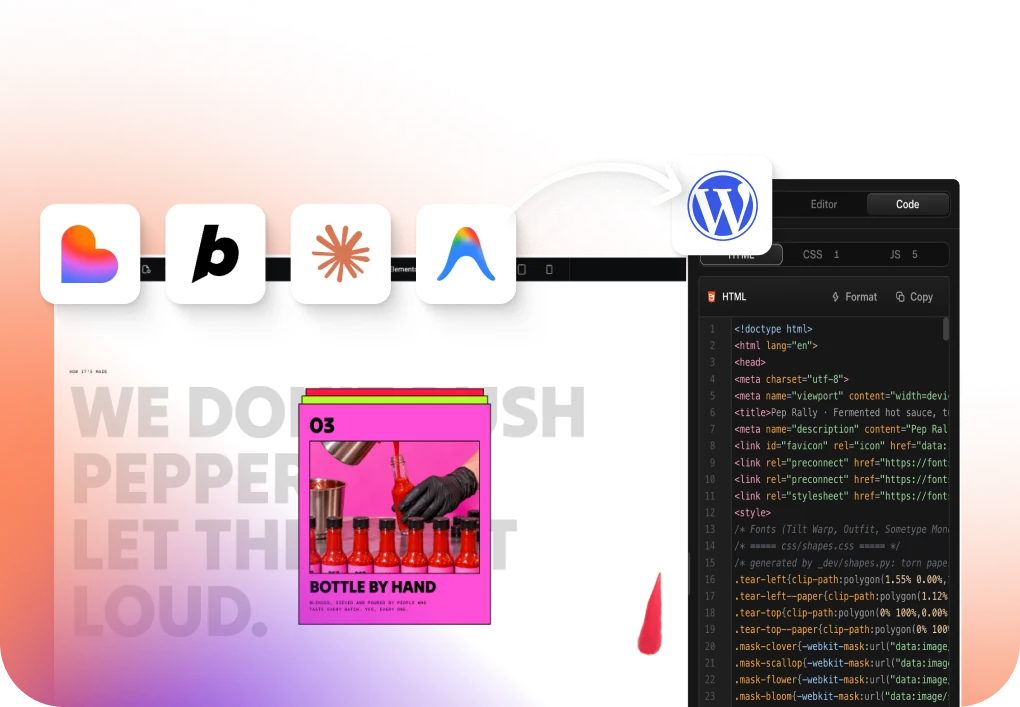
Standard provides the complete code right here including HTML, CSS and JavaScript. Page contains all the page level information including the head and footer sections. It also includes details about global design properties and any third-party CSS or JavaScript libraries used on the page. Then we have the site tab which contains all the site level information and finally globals. Let's open the global manager.
Customizing & Editing the Imported Sections
Here you'll find all the global styles used throughout the design including colors, typography, and dimensions. You can also import and export your global settings from here. Okay, now let's move on to AI chat. A powerful way to make quick design changes with AI and turn your ideas into reality faster.
To enable AI chat, we need to connect our AI tool with UI composer. And there are two ways to do this. The first is connect CLI. The second is AI connector.
When you open the settings, you'll find a list of popular AI tool connectors. Simply install the connector, add your API key, and AI chat will be enabled. For this demo, I'll connect using the CLI. So, let's click connect CLI, allow access to the browser.
Next, you'll see two options, terminal and AI assistance. The quickest option is terminal. Simply copy the command and run it in your terminal. Before running the command, make sure you're already logged in to Claude Code.
I'm already logged in. So, let's run the command. And within a few seconds, the AI tool connection is established. Now, let's click start chatting.
Okay, it looks like we have a small glitch here. So, let me refresh the page first. Now, let's use the pick tool and target any element. You can see the selected element right here.
At the bottom inside the chat box, we have AI models available for both CLI and WP connectors. Since we using CLI, let's keep the CLI tab selected. Now, let's try a simple prompt. Add a subtle shine effect on card hover.
Let's send it. And within a few seconds, the execution is complete and the effect has been applied. Now, let's hover over the card. And you can see the subtle shine effect appearing on hover. Perfect. Let me show you another quick and handy AI feature.
Testing Responsiveness & Animations
Select the draw tool and let's change this text. Simply draw a line around the element you want to target and the floating AI chat box will appear. Let's write the prompt replace imagery with gallery. Send it.
And within a few moments, the text is updated. And there you have it. Imagery has been replaced with gallery. Next, we have outline view where you can see the outline of each element.
This makes it easy to understand which element occupies how much space and how large or small each section is. Then we have layers where you can see the complete layer structure of the page. We can easily see the nested view of each element and understand how everything is organized. Next is history where you can view the history of all the changes.
Now let's refresh the page once. You can see the element bar appearing here. Let's quickly check the page in an incognito window and everything looks good. We have cloned an engaging landing page with AI, brought it into WordPress using UiChemy AI agent and turned it into a fully editable page with visual controls and AI.
And the same workflow can be used to clone an entire website as well. So there's no need for manual rebuilding, no broken layouts, and most importantly, no loss of control over your website.
Summary & Final Thoughts
This is the smart, quick, and efficient way of building sites in WordPress. And honestly, I think it is a revolutionary one. So go ahead and try UI. You can clone any website, generate a complete website directly inside composer or even create one with Claude Code or any popular AI tool and bring it into WordPress.
Then edit it however you want with complete control and the power of AI. And if you want to explore more workflows like this, drop a comment below and subscribe the channel. We'll keep planning, creating, and bringing you the best AI powered WordPress workflow videos.
Transcript generated from the video's captions.
More videos
 3:59
3:59 3:26
3:26 2:29
2:29 3:02
3:02 6:35
6:35