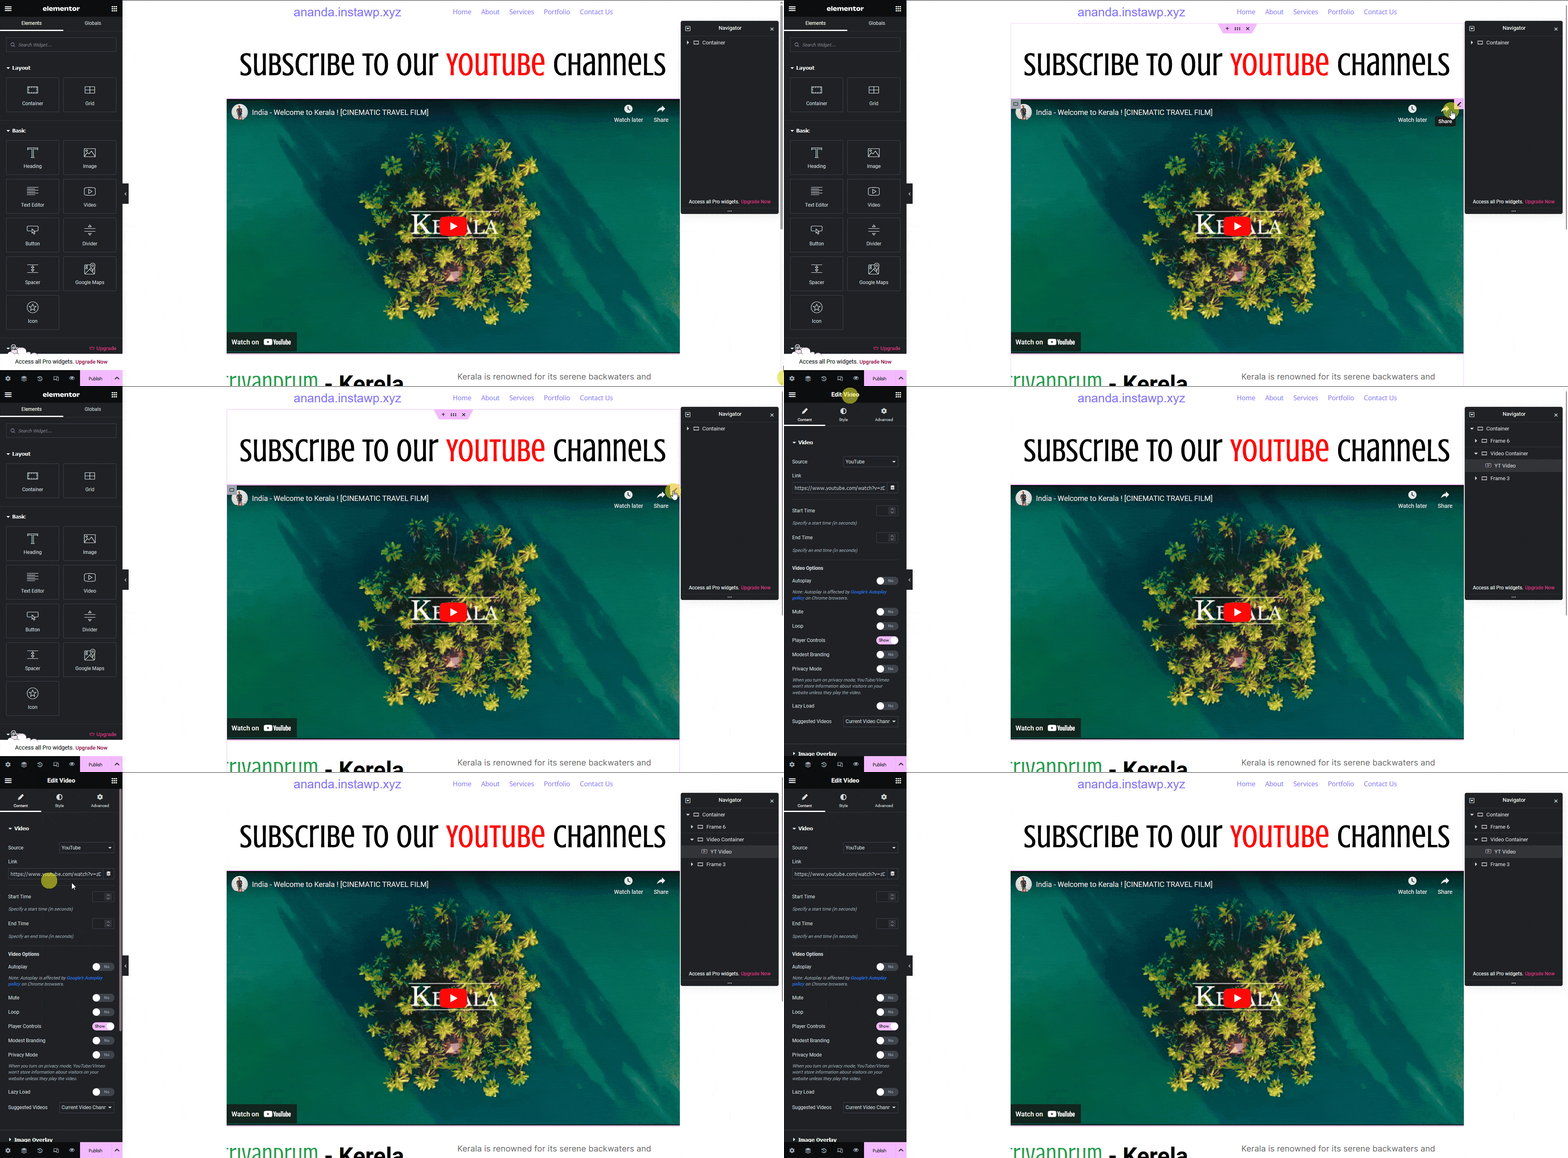
If there is a video in your Figma design, you can tag that element as an Elementor Video widget using the UiChemy plugin, so when you export the design as an Elementor template, it will use the Video widget out of the box.
What Can be Tagged?
A frame or an image can be tagged as a Video widget.
How to Tag?
To do this, you can choose between two options: Step by Step Method or Express Conversion.
Here, we’ll go with the Step by Step Method.
- First, select the Step by Step Method and click on the Start button.
- Select the top-level page or frame of your layout, then click on the Next button.
- Under the Widget Tagging Mode tab, select the Manual Widget Tagging Option.
- Next, under the Manage Auto Layout tab, you’ll see two options: It’s already in Auto Layout and Convert to Auto Layout. We’ll go with the first option.
- After that, under the Tag Widgets tab, choose the frame or container that contains your element (Widget). Then, search for the Video widget in the UiChemy panel and select it. Here, you’ll see all the supported Elementor widgets.
Note: Don’t tag the direct child frame of the top level frame, create a nested frame inside the child frame and add the elements to it. Then tag the nested frame.
On the next screen, you’ll get the information on which element you are tagging as what widget.
Then you’ll see widget-specific tagging options.
- In the Source field, you have to select the video source.
- Then, in the Link field, you have to add the video URL.
- Once done, click the Save button to complete the tagging, and you’ll see a Tagged successfully message.
Now, if you export the design, that element will use the Video widget with all your specified information.

