Figma Make to Figma Design: Getting Editable Layers Back
 Sagar Patel
A prompt in Figma Make produced a landing page that is better than the one you sketched. The client likes it.
Now it has to become a real page on their WordPress site, and the file you have is a code-backed prototype rather than a design you can hand to anything.
Figma ships a route back, and it is narrower than most people expect.
This post covers exactly what the Copy design feature returns, the three limits Figma states in its own documentation, the one step that has to happen before you paste, and the second route back that avoids Figma Design entirely.
Checked against Figma’s help centre and pricing page on 8 September 2026.
What Copy Design Actually Does
The feature is called Copy design and it sits at the top of a Figma Make file. You open the preview, navigate to the exact state you want, and click it.
Figma converts that view into a collection of design layers, which can take a minute depending on complexity, and tells you when they are ready to paste.
The word state is doing real work in that sentence. Figma’s own guidance is that the feature copies the current state of the preview, so you can open a menu, trigger an overlay, or navigate to a specific page in the app and copy that view instead.
A five screen app becomes five separate copies rather than one.
Availability is worth checking before you plan a workflow around it. Figma Make itself is for Full seats on paid plans, and Figma states that copying a Make preview as design layers is available on all paid plans.
A free account is not the place to build this habit.
Why the Output Is Code and Not Layers
It helps to know what Make is optimised for, because it explains the shape of what comes back.
Figma’s Make product page describes everything you build as code-backed and visually editable, and the feature list has grown toward engineering: Make kits bundling npm packages and library styles, plan mode that writes a structured plan before generation, MCP connectors for external context, and a beta for working in your local codebase.
None of that produces Figma layers as a native artefact. Layers are a conversion of the rendered preview, which is why the result behaves like an import rather than an export.
Our comparison of Figma Make alternatives covers how other prompt-to-app tools handle the same handover.
The Three Limits Figma States Up Front
Credit where it is due: Figma does not hide any of this. The help centre article lists three things to keep in mind, and each one has a downstream consequence for a WordPress build.
First, the layers are not connected to the Make file.
Edit them in Figma Design and the prototype does not change, and Figma’s advanced workflows article adds the other direction explicitly: you cannot get a functional version of a Make file in Figma Design, and Design edits are not applied back to Make.
It is a one-way snapshot, not a sync.
Second, the layers are not automatically tied to your design system. Third, they are not interactive, because they represent a snapshot of the preview rather than a working app.
The second of those is the one that costs money later, and it deserves its own section.
Bind Your Variables Before You Paste
Buried in the same article is the step that changes the outcome. Figma states that any available variables in the file will be matched and bound to layers, and the instructions include an optional step before pasting: add a library containing the variables you want connected to the pasted design.
Read those two together and the order becomes load-bearing. Paste into an empty file and you get literal values.
Add your library to the destination file first, then paste, and Figma matches what it can against your variables as the layers land.
This is the difference between a page that arrives in WordPress carrying your global colours and one that arrives carrying forty hex codes. It costs one step and it happens before the paste, which is the only moment it can happen at all.
| What you want back | Does Copy design return it | What to do about it |
|---|---|---|
| Editable layers on the canvas | Yes | Nothing, this is the feature |
| Bound variables | Only if a library is present first | Add the library to the destination file before pasting |
| Your design system components | No, not automatically tied | Swap in real components by hand |
| Interactivity and prototype behaviour | No, it is a snapshot | Rebuild motion at the WordPress end |
| A live link back to the Make file | No, the copy is one way | Treat the paste as a fork, not a branch |
| Every screen of a multi page app | One state per copy | Copy each state separately |
Making the Pasted Layers Convertible
Generated layout tends to arrive positioned rather than structured.
That is not a flaw in Copy design, it reflects how the underlying code was written, and Figma’s own guidance to Make points the same direction: its default guidelines file advises using absolute positioning only when necessary and preferring responsive layouts built on flexbox and grid.
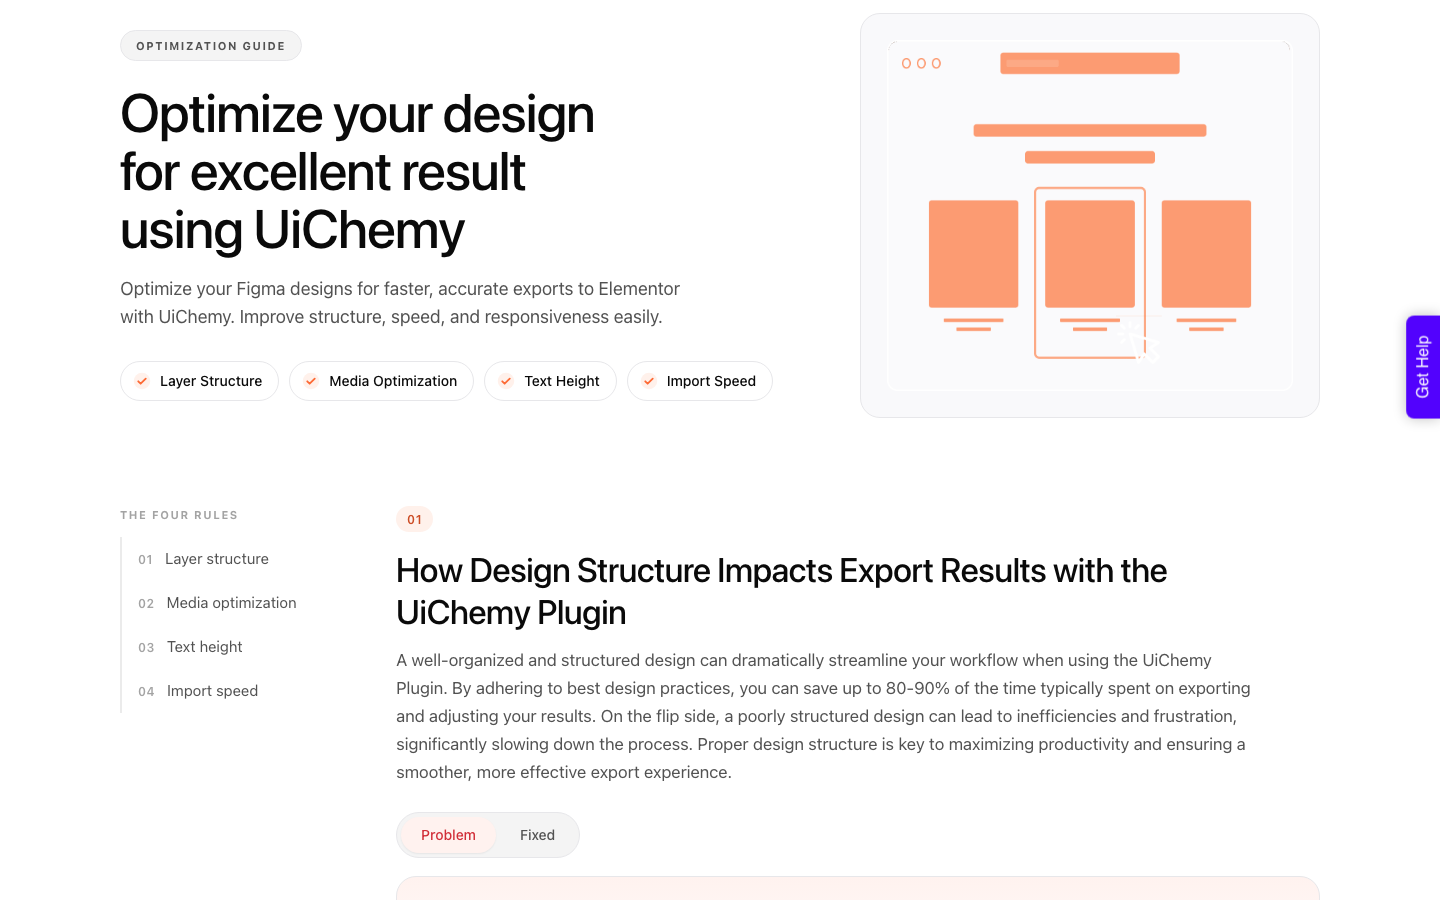
A converter reads structure, not appearance. UiChemy’s auto layout documentation is precise about the shape it expects.
Everything sits inside one top level frame with auto layout enabled, set to vertical layout and align top centre, with horizontal padding, vertical padding and vertical gap between items all set to zero, and a fixed width on that frame.
Sections go inside that frame, stacked vertically, each with auto layout of its own and width set to fill container. The documentation also warns that anything placed outside the container is ignored during export, which is the failure mode that produces a missing section rather than an error message.
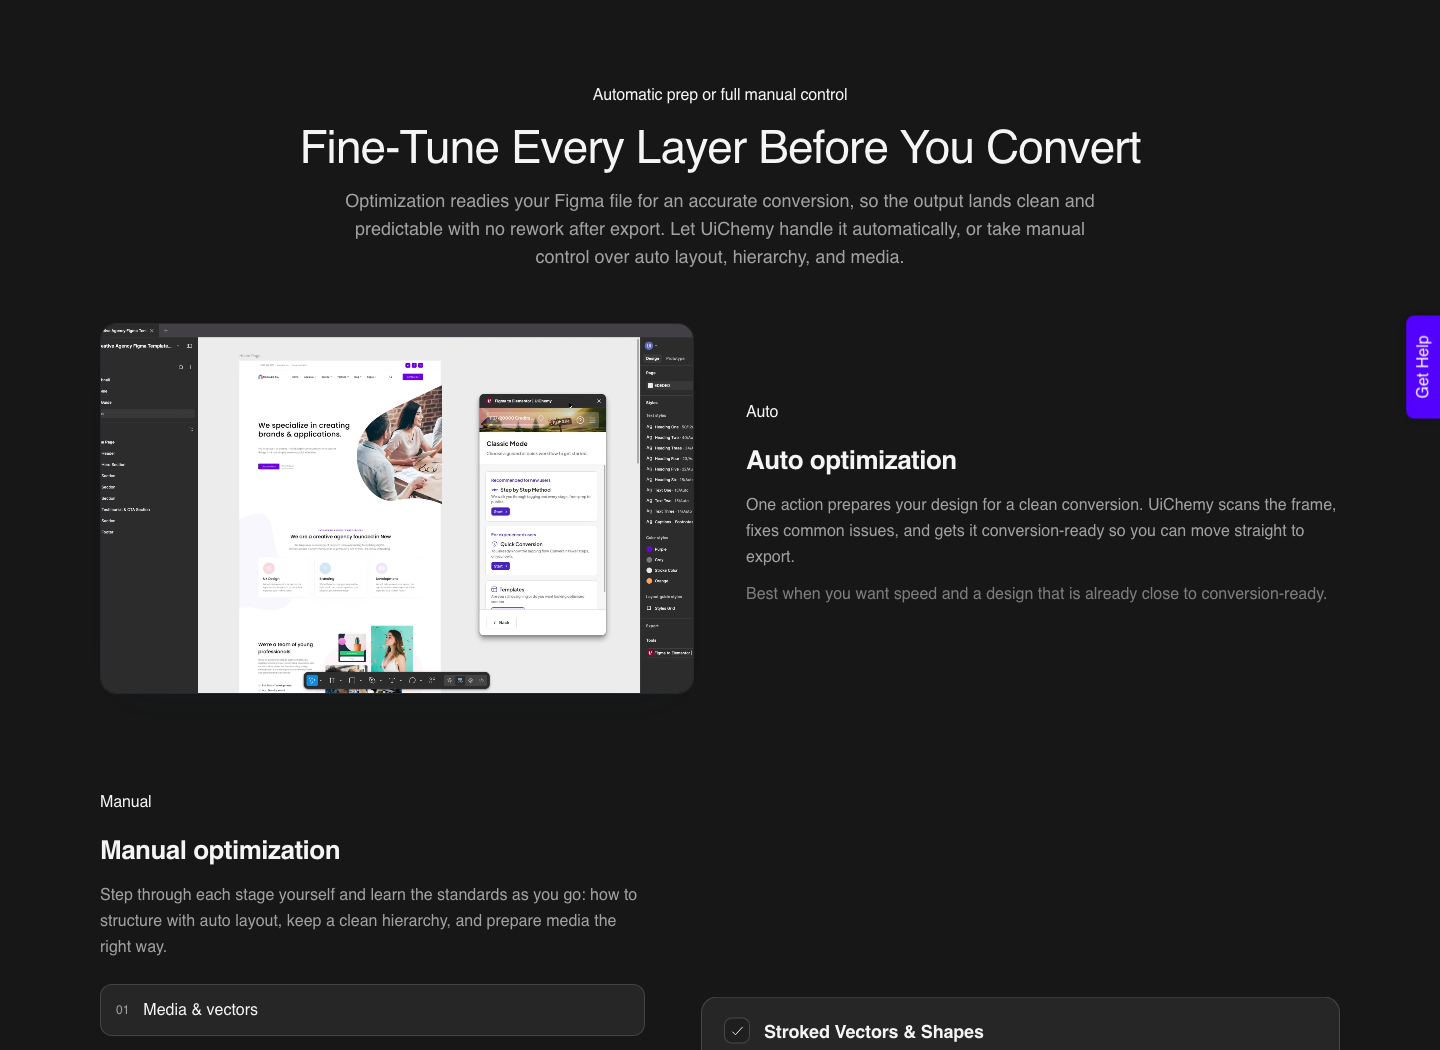
There is a shortcut for the non-auto-layout case. Classic Mode supports exporting non-autolayout designs through both automatic and manual methods, and it includes a design optimiser that analyses the file first.
That does not make restructuring pointless, it makes a half-restructured file survivable.
The Other Route Back, and When to Prefer It
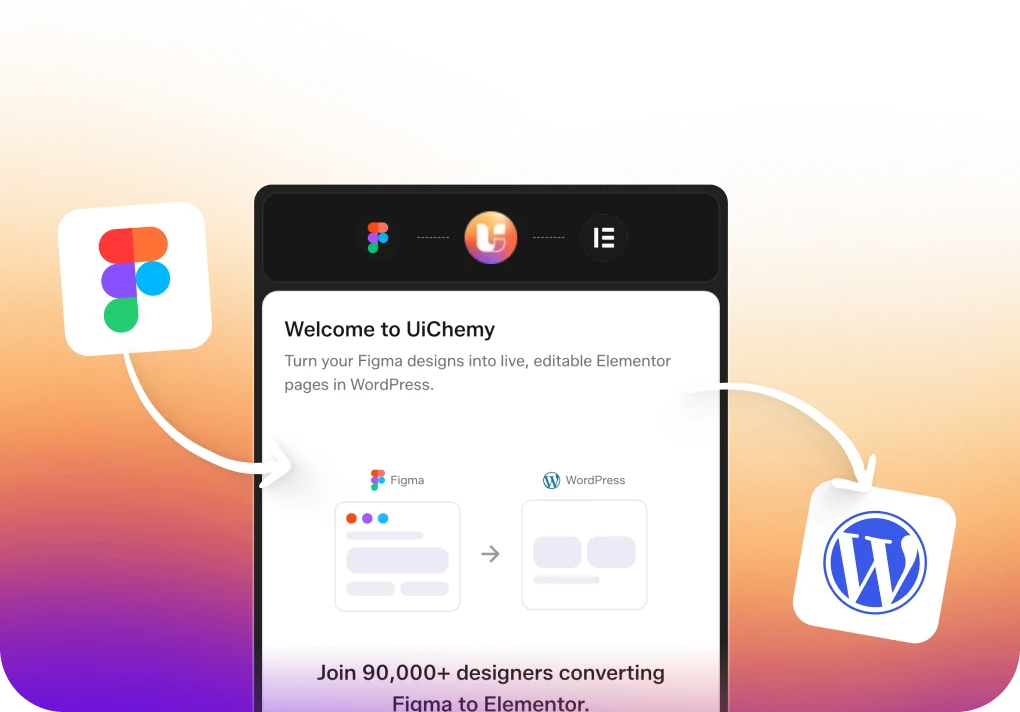
Figma Design is not the only path from a Make build to WordPress. A published Make app has a live URL, and that URL is where UiChemy’s AI to WordPress route starts.
The build comes across through the UiChemy Composer widget as real, editable WordPress rather than a flat copy of a screenshot, and it skips the canvas entirely.
The dedicated per-tool landing pages for Lovable, Codex and Clone Site are marked Soon on the site, but the conversion itself runs through Composer today.
Which one you want depends on what you intend to do next. If the design still needs work as a design, go through Figma Design so the file becomes a proper source of truth.
If the Make output is already the approved artefact and you only want it in WordPress, taking the published URL through Composer avoids restructuring layers you were never going to keep.
| Copy design into Figma Design | Publish and bring the URL through Composer | |
|---|---|---|
| What you end up owning | An editable Figma file | An editable WordPress page |
| Design system can be applied | Yes, if the library is added first | Not at this step |
| Restructuring needed | Yes, into auto layout frames | Handled by Composer |
| Keeps a design source of truth | Yes | No |
| Plan requirement | Any paid Figma plan | A published Make URL |
| Best when | The design will keep changing | The design is already approved |
Neither route is a trick. They are two different answers to the question of where the design should live afterwards, and picking wrong costs an afternoon rather than a project.
It is worth knowing what sits behind that second route, because UiChemy is one engine with four ways in rather than a single converter. Figma to WordPress takes an approved design.
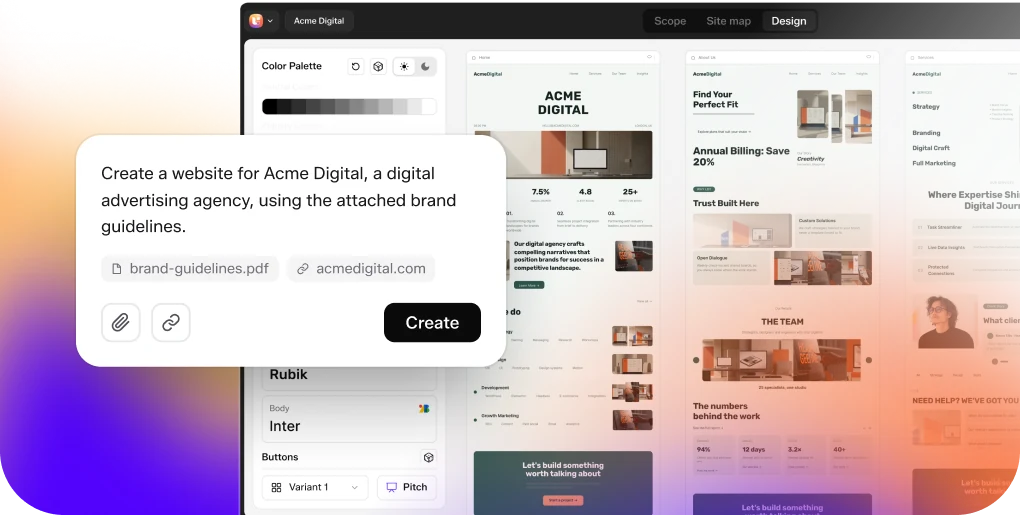
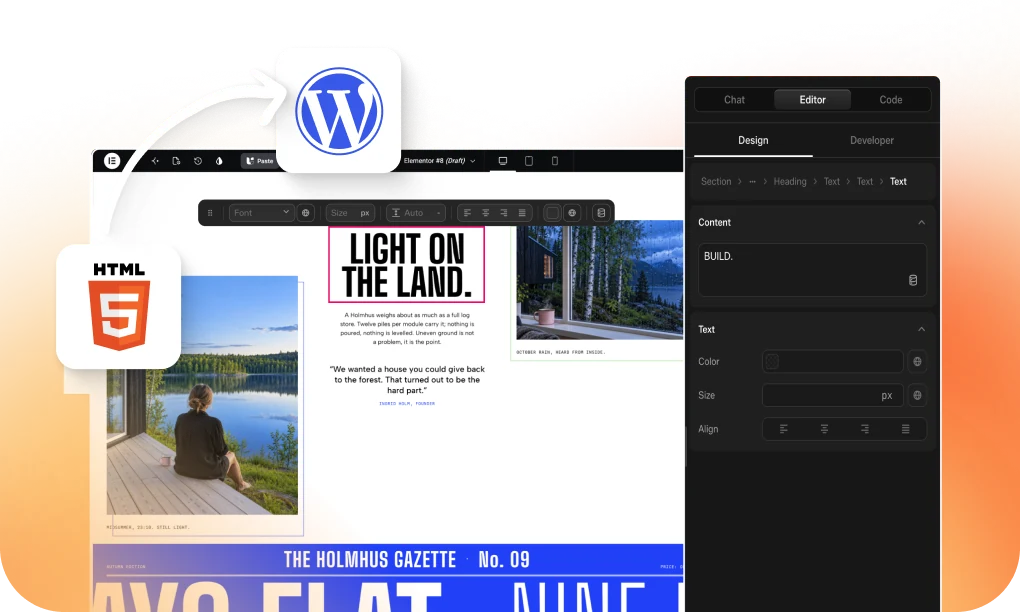
AI Website Creator takes a prompt or a client brief and returns a sitemap, pages and a design you export to Elementor. Composer takes a prompt inside the builder and writes real, editable HTML, CSS and JavaScript.
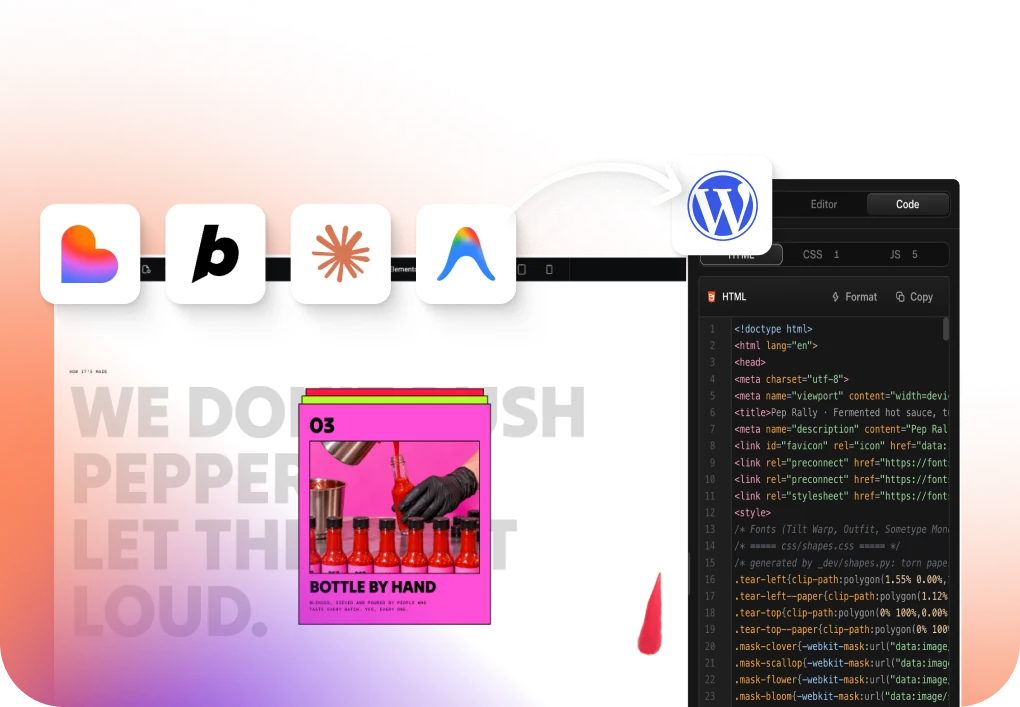
AI to WordPress takes a build that already exists in Lovable, Claude, Bolt or v0. A Make file coming back through Figma Design uses the first of those.
A published Make URL uses the last.
A Worked Sequence
Here is the order that avoids the most rework, assuming you want the Figma Design route and a WordPress page at the end.
- In the Make preview, navigate to the exact state you want, then click Copy design and wait for Figma to confirm the layers are ready.
- Open or create the destination Figma Design file and add the library containing the variables you want bound.
- Paste. Check which values bound to variables and which arrived as literals.
- Create one top level frame, enable auto layout, set vertical layout and align top centre, set both paddings and the vertical gap to zero, and give it a fixed width.
- Move each section inside that frame as its own auto layout child with width set to fill container, and confirm nothing you need is sitting outside the container.
- Swap generated elements for real components where your system has one.
- Convert to Elementor, then finish spacing and motion in the editor.
Figma’s own advanced workflows guide covers the first step in more detail, including community files you can remix to test how different canvas states copy across. Trying it on a throwaway file first is worth the ten minutes, because the behaviour is easier to see than to describe.
Step two is the one people skip, and it is the only step in the list that cannot be done later. Everything else in that sequence can be repaired after the fact at some cost.
Variable binding happens at paste time or not at all.
The Honest Limits
Copy design does not round trip. There is no version of this workflow where the Make file and the Figma file stay in step, and pretending otherwise leads to two diverging sources of truth on the same project.
Decide which one is canonical the moment you paste.
Interactivity does not survive either. Anything that moved in the Make preview is a still image of itself on the canvas, so motion is rebuilt rather than carried across.
On the WordPress side that means choosing motion at conversion time, where the options are off, subtle scroll fades, or immersive effects, with GSAP motion available on the Studio and Agency plans.
Credits are worth watching on both sides, since every regeneration in Make costs Figma AI credits and every conversion costs UiChemy credits.
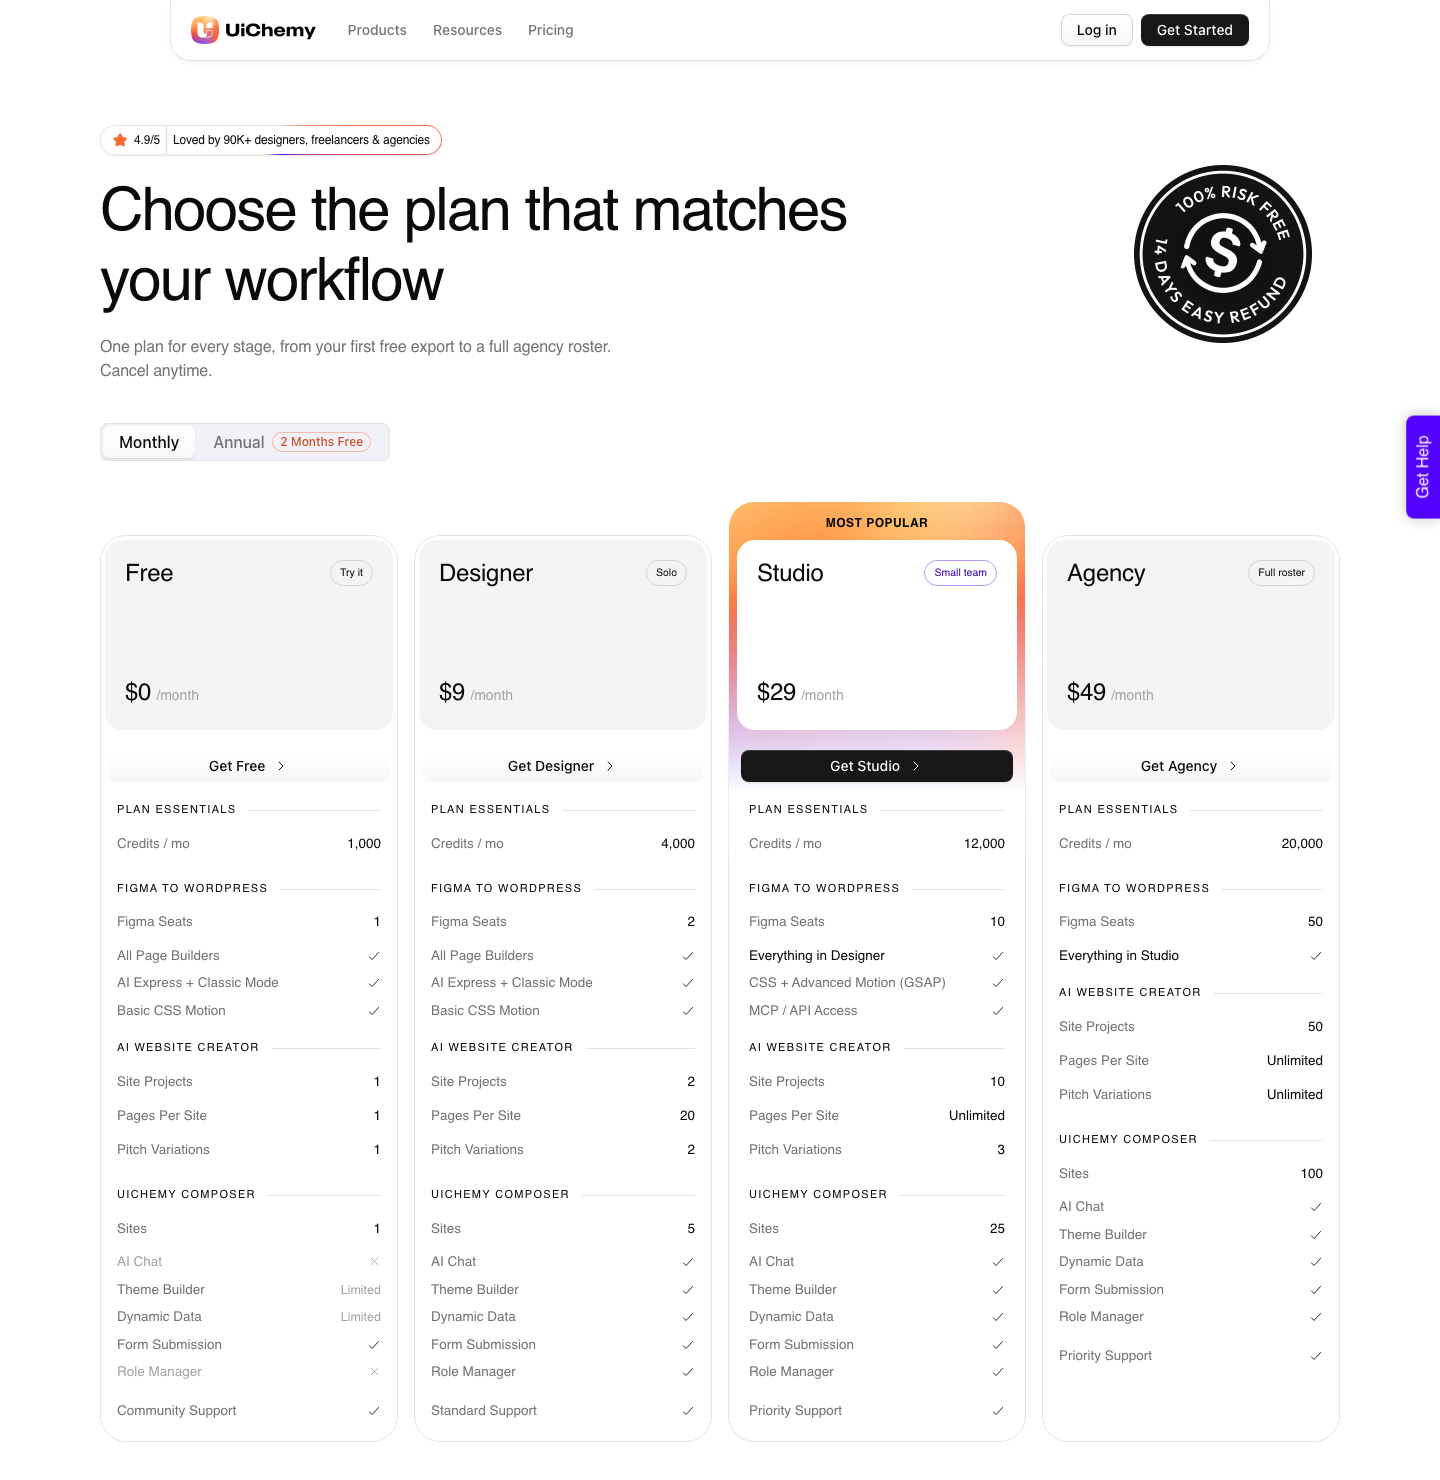
The arithmetic on the Figma side is set out in our post on what Figma Make actually spends, and the UiChemy side starts at 1,000 credits a month on the Free plan at $0, with 4,000 a month on Designer at $9.
The balance refreshes monthly and you can top up between refreshes.
And the conversion itself is not a finished page. The realistic split, in a verified reviewer’s own words, is roughly 70% of the design work handled and 30% left to fine-tune in Elementor.
The output arrives responsive and is then tuned in the responsive manager. AI Express outputs to Elementor today, with Gutenberg and Bricks still ahead.
Questions People Ask About Figma Make to Figma Design
Can I edit Make output in Figma Design and push it back?
No. Figma states that changes made to layers in Figma Design are not applied back to the Make file, and that you cannot get a functional version of a Make file in Figma Design.
The copy is one directional.
Why did my design system not come across?
Because it is not meant to. Figma says the pasted layers are not automatically tied to your design system.
Variables are the exception, and only when a library holding them is already present in the destination file at the moment you paste.
Do I need to copy each screen separately?
Yes. The feature copies the current state of the preview, so a multi screen app needs one copy per state.
Navigating the preview to an open menu or an overlay first is how you capture those variations.
Is the pasted result good enough to convert straight away?
Usually not without restructuring. Generated layout leans on absolute positioning, and a converter reads auto layout frames.
Rebuilding the frame hierarchy first is faster than correcting spacing in the page builder afterwards.
Which plans allow this?
Figma Make is for Full seats on paid plans, and copying a preview as design layers is available on all paid plans. Free accounts can try Make on other seats and plans but should not plan a client workflow around this route.
What to Take From This
Copy design is a snapshot tool that Figma describes accurately, and most of the frustration around it comes from expecting a sync. Treat the paste as a fork, add your variable library before you press paste, and restructure into auto layout frames before you convert.
If the design has stopped changing, ask whether it needs to go through Figma Design at all. A published Make URL cloned directly into WordPress skips a restructuring pass you were only doing to satisfy a converter.
Choosing the shorter route on purpose is not a shortcut, it is scoping.