

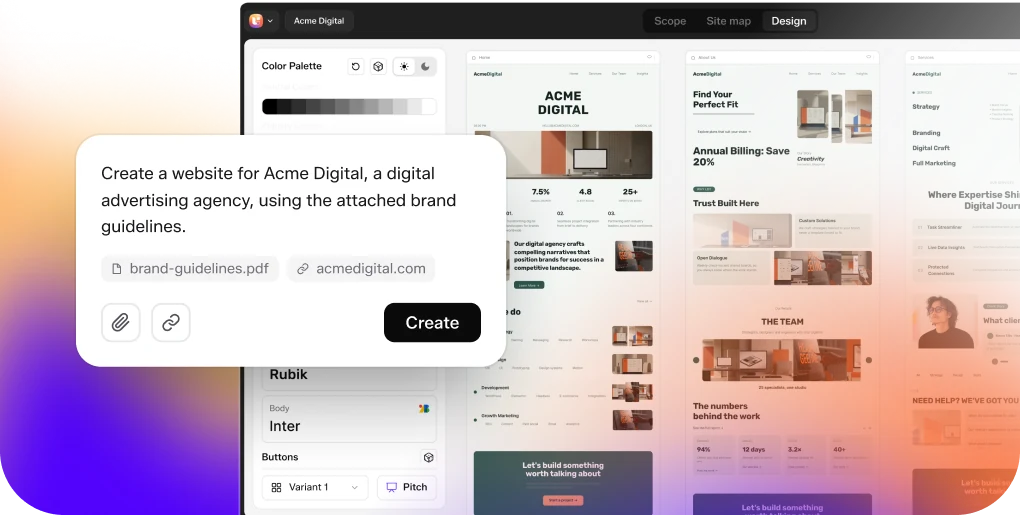
Write Real HTML, CSS and JavaScript Inside Elementor With AI
 Sagar Patel
UiChemy Composer is a single Elementor widget that stores real HTML, CSS and JavaScript instead of fixed settings. You can write or paste code in its Code tab, edit visually, or describe changes to your own AI in Chat AI. Editing custom CSS and JavaScript, and Chat AI, need the Pro plugin.
Most Elementor add-ons ship dozens of widgets, and you are limited to what each one can output. Composer takes the opposite approach: one container, and the design is the code. Everything in this post comes from the UiChemy docs, and I have kept it to what they state. For the wider shift this belongs to, see why the widget era is ending.
What Is the Composer Widget?
The docs describe UiChemy as a WordPress plugin built around one widget called Composer. Instead of a hero widget, a pricing widget and a team widget, you get one flexible container. A hero is a Composer with hero HTML, CSS and JS inside it. A pricing table is a Composer with pricing code inside it.

The difference is what is stored. A traditional widget stores configuration such as “number of columns: 3”. Composer stores the markup and styles for those three columns. That has three consequences the docs highlight:
- You are not limited to what a widget can output. If you can write it in HTML and CSS, it can go in.
- AI can write and edit it, because the output is real code and not a settings object.
- The design is portable. Copy a Composer from one page to another and the HTML, CSS and JavaScript move with it.
The docs say Composer works in Elementor (Free or Pro), Gutenberg and Bricks. This post focuses on Elementor, and we cover Gutenberg in custom code in Gutenberg without code plugins.
What Are the Three Ways to Build a Section?
The quickstart in the docs gives the flow: open a page in Elementor, search for Composer in the widget panel, drag it onto the canvas, then build the section in one of three ways.
1. Write or paste code
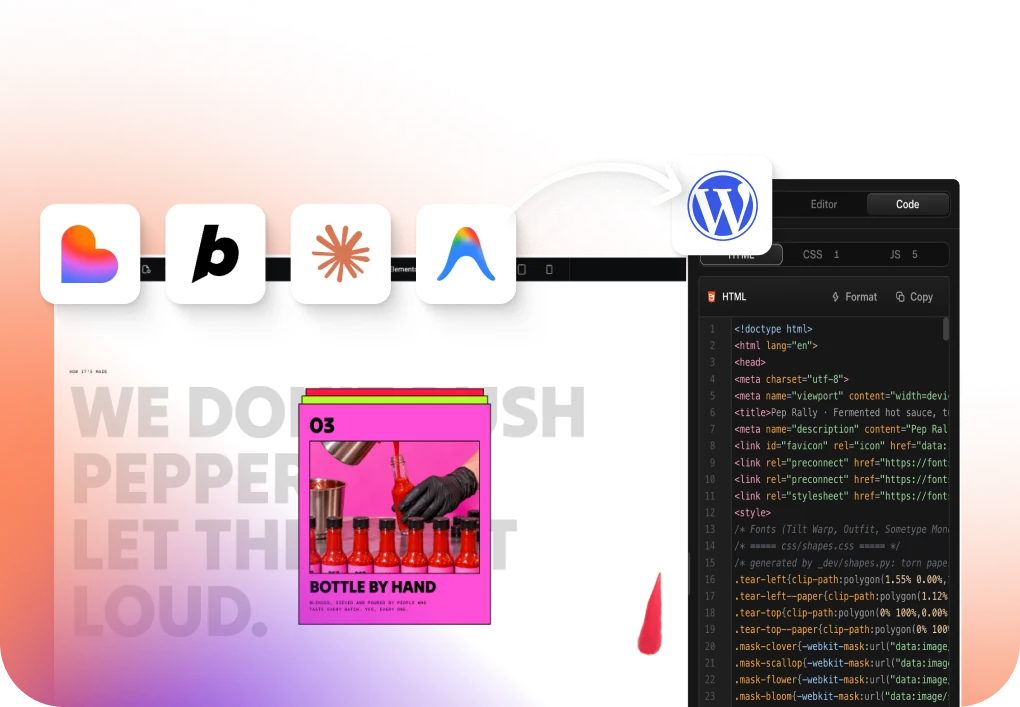
Select the widget and click Edit Code. The Code tab shows HTML, CSS and JS in one view with a live preview, and each panel has a Format button and a Copy button.
You can paste a layout from an AI tool, a template library or a Figma export and it renders right away. The Code tab only appears once the editor is switched to Developer mode, per the docs. Editing custom CSS and JavaScript here is a Pro feature.
2. Edit visually
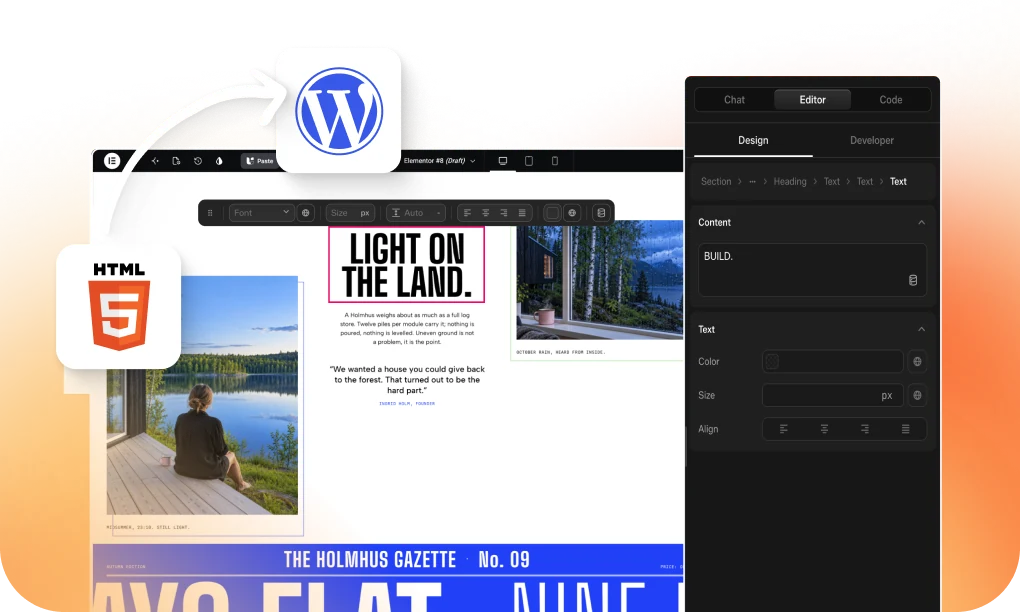
The Editor tab is a visual layer editor, available on Free. Anything you write in code stays editable here, so a developer and a content editor can work on the same section.
3. Chat with your own AI
Chat AI lets you describe a section or a change in plain English. It runs on your own AI, which you connect once through an Agent Bridge (Claude, Codex, Gemini or OpenCode through a local bridge that needs Node.js 18 or newer) or a WordPress AI Connector. Chat AI requires Pro.
The docs also describe an MCP integration that lets an external AI client such as Claude or Cursor read and edit your pages. We explain how that setup works in our post on what WordPress MCP is, and setup and credit use are explained in the docs.
A Code Example to Paste
This is a small hand-written example of the kind of code the Code tab holds. It is illustrative and was not generated by UiChemy. We did not test it inside a live Composer, so check it in the live preview before you rely on it. It needs custom CSS and JavaScript, which are Pro features to edit.
<!-- HTML panel -->
<section class="faq-card">
  <h2>Do you ship worldwide?</h2>
  <button class="faq-toggle" aria-expanded="false">Show answer</button>
  <p class="faq-answer" hidden>Yes, to most countries. Rates are shown at checkout.</p>
</section>

/* CSS panel (scoped to this widget automatically) */
.faq-card { max-width: 32rem; padding: 1.5rem; border: 1px solid #d9d9d9; border-radius: 12px; }
.faq-card h2 { font-size: 1.25rem; margin: 0 0 0.75rem; }
.faq-toggle { padding: 0.5rem 1rem; cursor: pointer; }
.faq-answer { margin-top: 1rem; }

/* JS panel (runs after the widget renders) */
document.querySelectorAll('.faq-card').forEach((el) => {
  const btn = el.querySelector('.faq-toggle');
  const answer = el.querySelector('.faq-answer');
  btn.addEventListener('click', () => {
    const open = btn.getAttribute('aria-expanded') === 'true';
    btn.setAttribute('aria-expanded', String(!open));
    answer.hidden = open;
    btn.textContent = open ? 'Show answer' : 'Hide answer';
  });
});
Two habits from the docs apply. First, write standard JavaScript and scope your selectors to avoid conflicting with other widgets or scripts on the page. Second, changes are not saved to the page until you click Apply in the code editor, then Update or Publish in Elementor.
How Do Slots and CSS Scoping Work?
Two features make real code safe to hand to someone else.
CSS auto-scoping. The plugin rewrites every CSS rule to be specific to that widget’s selector, so a rule like h2 { font-size: 2rem; } cannot affect other elements on the page, and one Composer cannot bleed into another. In Elementor, the docs say the widget reuses Elementor’s own per-instance class for this.
Slots. Every text, link and image in the widget’s HTML is extracted automatically and shown as editable fields in the Elementor Content panel. A content editor can change copy and swap images without opening the code. Changes you make in the HTML panel update the available slots.
What Needs Pro?
The docs split features between the Free plugin and the Pro companion plugin. Both stay installed and active together.
| Capability | Free plugin | Pro plugin |
|---|---|---|
| Composer widget, Editor tab, Code tab (HTML) | Yes | Yes |
| Code already in a widget keeps rendering | Yes | Yes |
| Edit custom CSS and JavaScript | No | Yes |
| Chat AI with your own AI | No | Yes |
| Draw and Ask AI | No | Yes |
| CSS auto-scoping, animations, Theme Builder, basic forms | Yes | Yes |
| Motion controls, all dynamic tags, more loop sources | No | Yes |
| Role Manager and White Label | No | Yes |
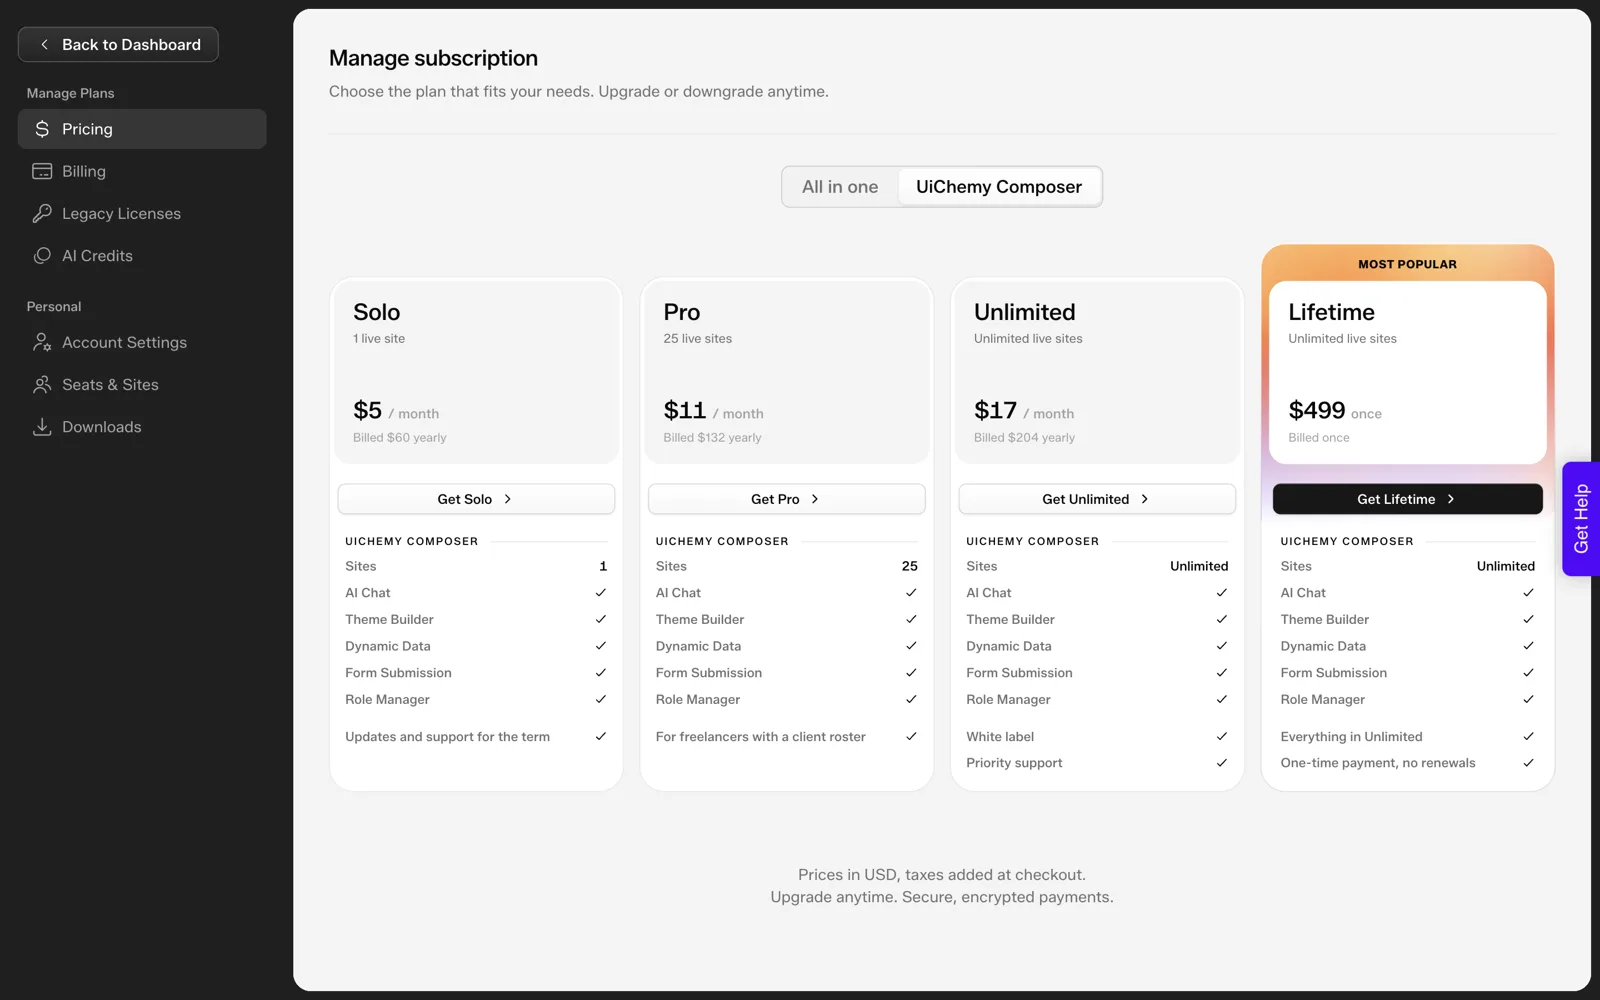
The docs add that Pro does not need a license key to work: every Pro feature is available once the Pro plugin is active, and the key is only for updates and support. The full list is on the Free vs Pro page, and our Composer plans explained covers pricing.
How Do You Try It Without Risk?
- Install on a staging site. The docs list WordPress 6.9 or higher, PHP 7.4 or higher and Elementor Free or Pro.
- Follow the Build Your First Section quickstart.
- Paste a section you already have into the Code tab, and check the live preview.
- Click Apply, then Update, and view the page on the front end at desktop and mobile widths.
- Only then try Chat AI, with a small, specific request.
If AI writes code into your site, you should read it. Our guides on keeping AI-written code clean and on Composer versus custom HTML widgets and snippets explain what to look for. For a broader look at AI inside the builder, see our Elementor AI guide.
How Does the Example Code Work, Line by Line?
The example above is short, and each part is there for a reason. Reading it once teaches you what to look for in any generated section.
The HTML panel holds a section, a heading, a button and a paragraph. The paragraph starts with the hidden attribute, so the answer is out of sight until someone asks for it. The button has aria-expanded="false", which tells assistive technology that it controls something collapsed.
The CSS panel sets a card width, a border and spacing. Every selector starts with a class from this widget, and the docs say the plugin scopes the CSS to the widget, so these rules should not reach the rest of the page.
The JavaScript panel finds every card, reads the button state on click, flips the attribute, shows or hides the paragraph and swaps the button text. That is about ten lines, which is the size of effect Composer suits.
The slot extraction described earlier turns the heading, the paragraph and the button text into editable fields. A content editor can change the question and the answer without touching the code.
What Should You Check Before You Click Apply?
The docs say changes are not saved to the page until you click Apply, then Update or Publish. That makes Apply the natural place for a quick review. This is the list I use, and it works for code from any source.
- Selectors: every rule is tied to a class in this section. No bare
h2orbodyrules. - Keyboard: every interactive element is a real button or link and can be reached with Tab.
- State: the default state is correct before anyone clicks.
- Text: every visible string is something the client supplied or approved.
- Libraries: no external script is loaded for a small effect.
- Empty and long content: a very long question still fits the card.
- Mobile: the card fits at a narrow width with no sideways scrolling.
Then click Apply, Update and view the front end. The live preview in the editor is a guide, and the page on the front end is the thing visitors see. Our guide to keeping AI-written code clean goes further into each point.
Which Mistakes Trip People Up First?
Most of these follow directly from the docs, and each has a one-step fix.
| Mistake | What you see | Fix |
|---|---|---|
| Looking for the Code tab in the wrong mode | The tab is missing | Switch the editor to Developer mode |
| Editing CSS or JavaScript on the Free plan | You cannot edit them, though existing code keeps rendering | Check the Free vs Pro page before you plan the work |
| Forgetting Apply | The page does not change | Click Apply, then Update or Publish in Elementor |
| Generic selectors in your own code | Styles clash with other scripts on the page | Use classes tied to the section |
| Starting on a live page | Visitors see half-finished work | Build on a staging site first |
| Chat AI without a connected AI | Nothing to talk to | Connect Claude, Codex, Gemini or OpenCode through the Agent Bridge, or use a WordPress AI Connector |
If you are choosing between this and a plain HTML widget, the comparison sets out where each wins.
FAQ
What is UiChemy Composer?
It is the flexible widget the UiChemy plugin adds to Elementor, Gutenberg and Bricks. It holds any HTML, CSS and JavaScript, and you edit it through a visual layer editor, a code editor or a Chat AI tab. The design is stored as real code, not as widget settings.
Do I need Pro to write custom code?
Editing custom CSS and JavaScript is a Pro feature, per the docs. Code already in a widget, for example from an imported design, keeps rendering on Free. The Code tab shows HTML on Free, so check the Free vs Pro page for the exact split on your version.
Can editors change content without touching code?
Yes. Slots surface every text, link and image from the widget’s HTML as editable fields in the Elementor Content panel. The Role Manager, a Pro feature, controls which user roles can access each editing mode, so you can limit clients to Design mode.
Does Composer work with Gutenberg and Bricks?
The requirements page lists Elementor and Gutenberg as fully supported and Bricks as supported, and says the Composer widget works the same way across all three. We only walked through Elementor here, so test your own builder on a staging site first.
If you want to see how it feels in your own builder, you can Get Started and install Composer on a staging site.
Every feature named in this post is listed by product: all UiChemy features, UiChemy Composer features.