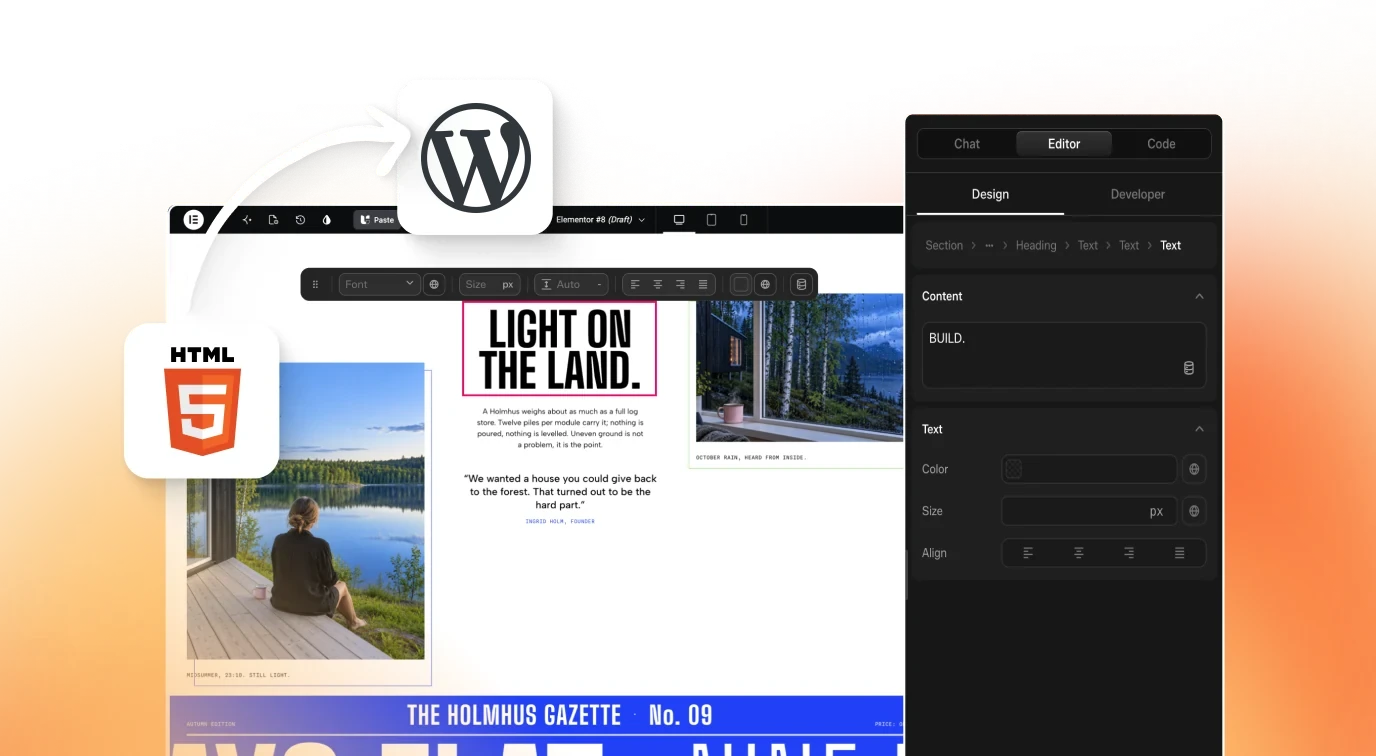
Publish an AI Website: UiChemy Options Compared
 Sagar Patel
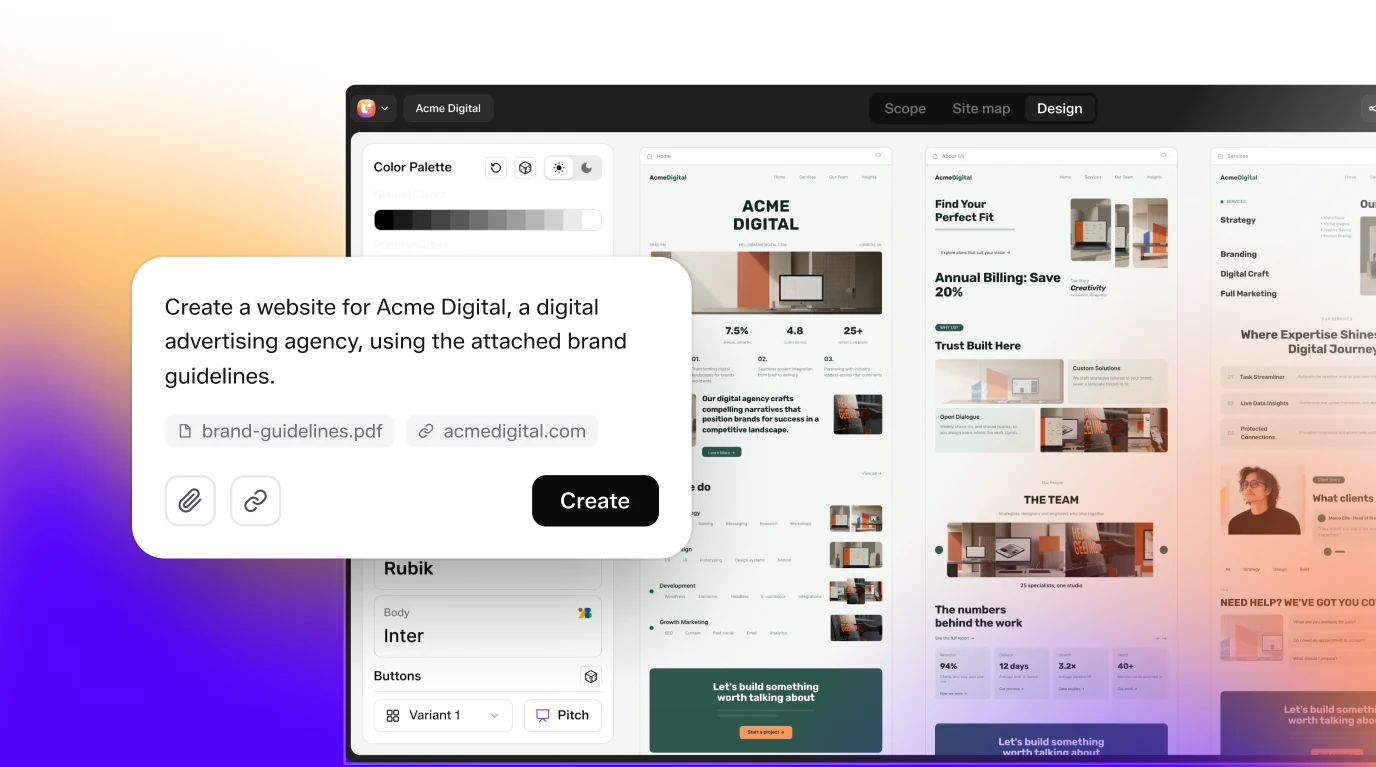
After you design a site in UiChemy AI Website Creator, the Publish panel gives you several ways to ship it. The fastest is Publish sandbox, a real WordPress site on uichemysites.com. If you already have WordPress hosting, use Manual setup. For a fast static site, deploy Astro to your own Cloudflare account. For code you host yourself, download an Astro zip, or Next.js, React or HTML. Everything here comes from the UiChemy docs, read on 13 November 2026.
Not sure which one fits? The comparison table below matches each goal to one option. After that, we walk through every route, step by step.
Which publish option should you pick?
| You want | Choose | Hosting | Edit afterwards in |
|---|---|---|---|
| A link for a client review or a test | Publish sandbox, Temporary site | UiChemy, your-site.uichemysites.com, 24 hours | WordPress with Elementor or Gutenberg |
| A hosted site that stays online | Publish sandbox, Sandbox site | UiChemy, your-site.uichemysites.com | WordPress with Elementor or Gutenberg |
| The site on hosting you already have | Manual setup | Your WordPress host | Elementor (as UiChemy Composer sections) or Gutenberg |
| A fast site a client edits in a CMS | Cloudflare, Astro + EmDash | Your Cloudflare account, free workers.dev address | The EmDash CMS admin |
| A fast static site edited only in UiChemy | Cloudflare, Astro frontend | Your Cloudflare account, free workers.dev address | UiChemy, then publish again |
| The source code to host anywhere | Manual download, or Other | Anywhere you host code | Your code editor or the CMS you picked |
Still undecided? The docs suggest starting with a Temporary site. You get a shareable link today, and you can still import the same project into your own WordPress or deploy it to Cloudflare later.
When the Publish button turns on
The Publish button sits in the top-right corner of the Design Editor, on the Design tab. It stays hidden while AI is generating and is disabled until your design is at least 70% generated. If you click while AI copy is still being written, you see a message to wait and click again.
Guests are asked to create a free account before publishing, and the project stays where it is. In a shared project, collaborators need edit access to see Publish. When the panel opens, UiChemy saves your latest edits first, so the published version is the one you see.
Step 1 and 2: pick a platform, then a route
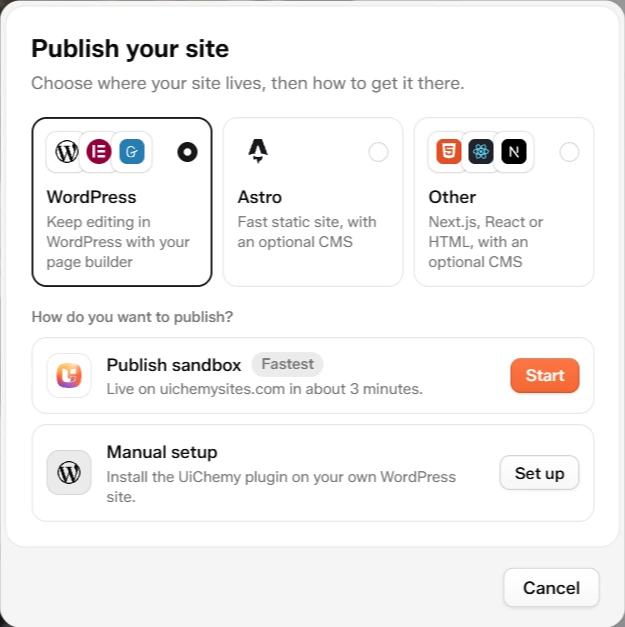
The panel has two steps. First you choose where your site lives: WordPress, Astro or Other. Then you choose how to get it there, and the option opens its own screen. A breadcrumb such as Publish, Astro, Cloudflare takes you back, and it is locked while something is running so a publish cannot be interrupted by accident.
| Platform card | What the panel says |
|---|---|
| WordPress | Keep editing in WordPress with your page builder |
| Astro | Fast static site, with an optional CMS |
| Other | Next.js, React or HTML, with an optional CMS |
Vercel and Netlify show as Coming soon under Astro and cannot be clicked yet.
Option 1: Publish sandbox on uichemysites.com
Publish sandbox puts your design online as a real WordPress site at an address like your-site.uichemysites.com. UiChemy creates the site, installs what it needs and imports your pages. You get a live link and a WordPress admin where you keep editing in Elementor or Gutenberg. The panel marks it Fastest. The docs say Publish sandbox is in Beta.
Here is the flow from the docs:
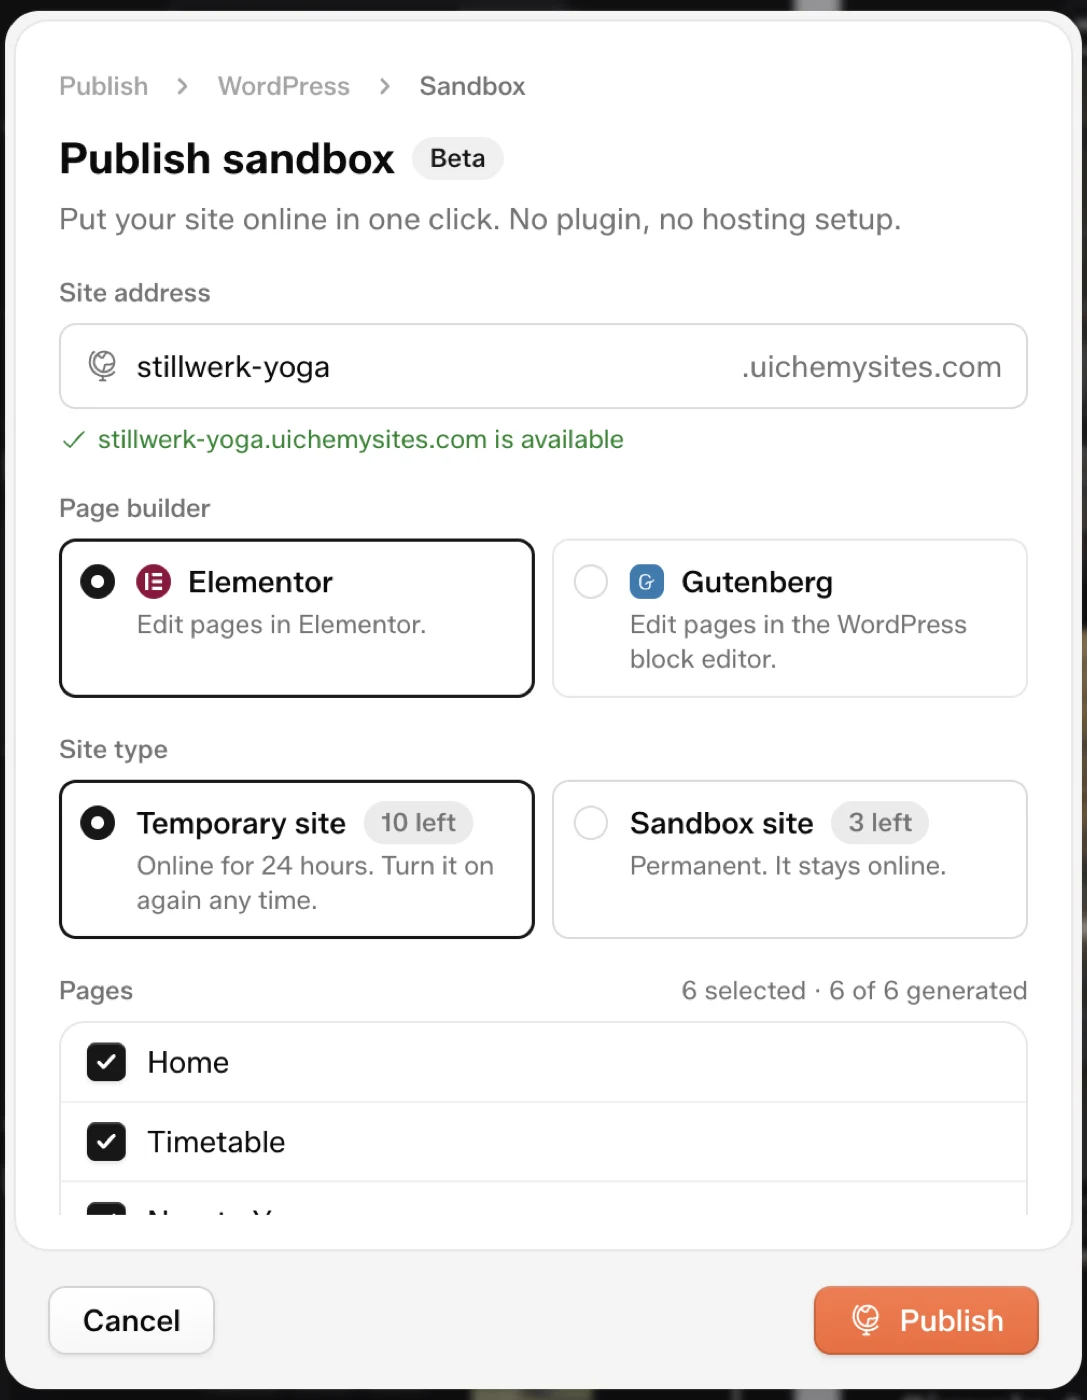
- Click Publish, keep WordPress selected, then click Start on Publish sandbox.
- Type your site address. UiChemy checks it as you type and tells you when it is available. The docs warn that the address cannot be changed after the first publish.
- Pick a page builder: Elementor or Gutenberg.
- Pick a site type: Temporary site or Sandbox site. Temporary is selected by default.
- Tick the pages to publish. Pages that are not generated yet are listed as not published.
- Click Publish and keep the window open. A progress list runs through saving, preparing your pages, setting up your site and publishing pages, then shows Your site is live.
The docs give about 2 to 3 minutes for a first publish and usually 1 to 2 minutes for updates.
Temporary site or Sandbox site
| Temporary site | Sandbox site | |
|---|---|---|
| Stays online | 24 hours, with a countdown | Until you unpublish it |
| Suits | Client reviews, quick tests, sharing a draft | A site you keep working on |
| Real WordPress admin | Yes | Yes |
| Change it later | Make permanent turns it into a Sandbox site | Unpublish deletes it |
Your plan sets how many Temporary and Sandbox sites you can have at once. Check the current numbers on the UiChemy pricing page rather than relying on this post.
Managing a live sandbox site
Click Publish, then Start on Publish sandbox again, and the panel opens on Your site is live. From there you can open the WordPress admin already signed in, get login details, update the site or unpublish it.
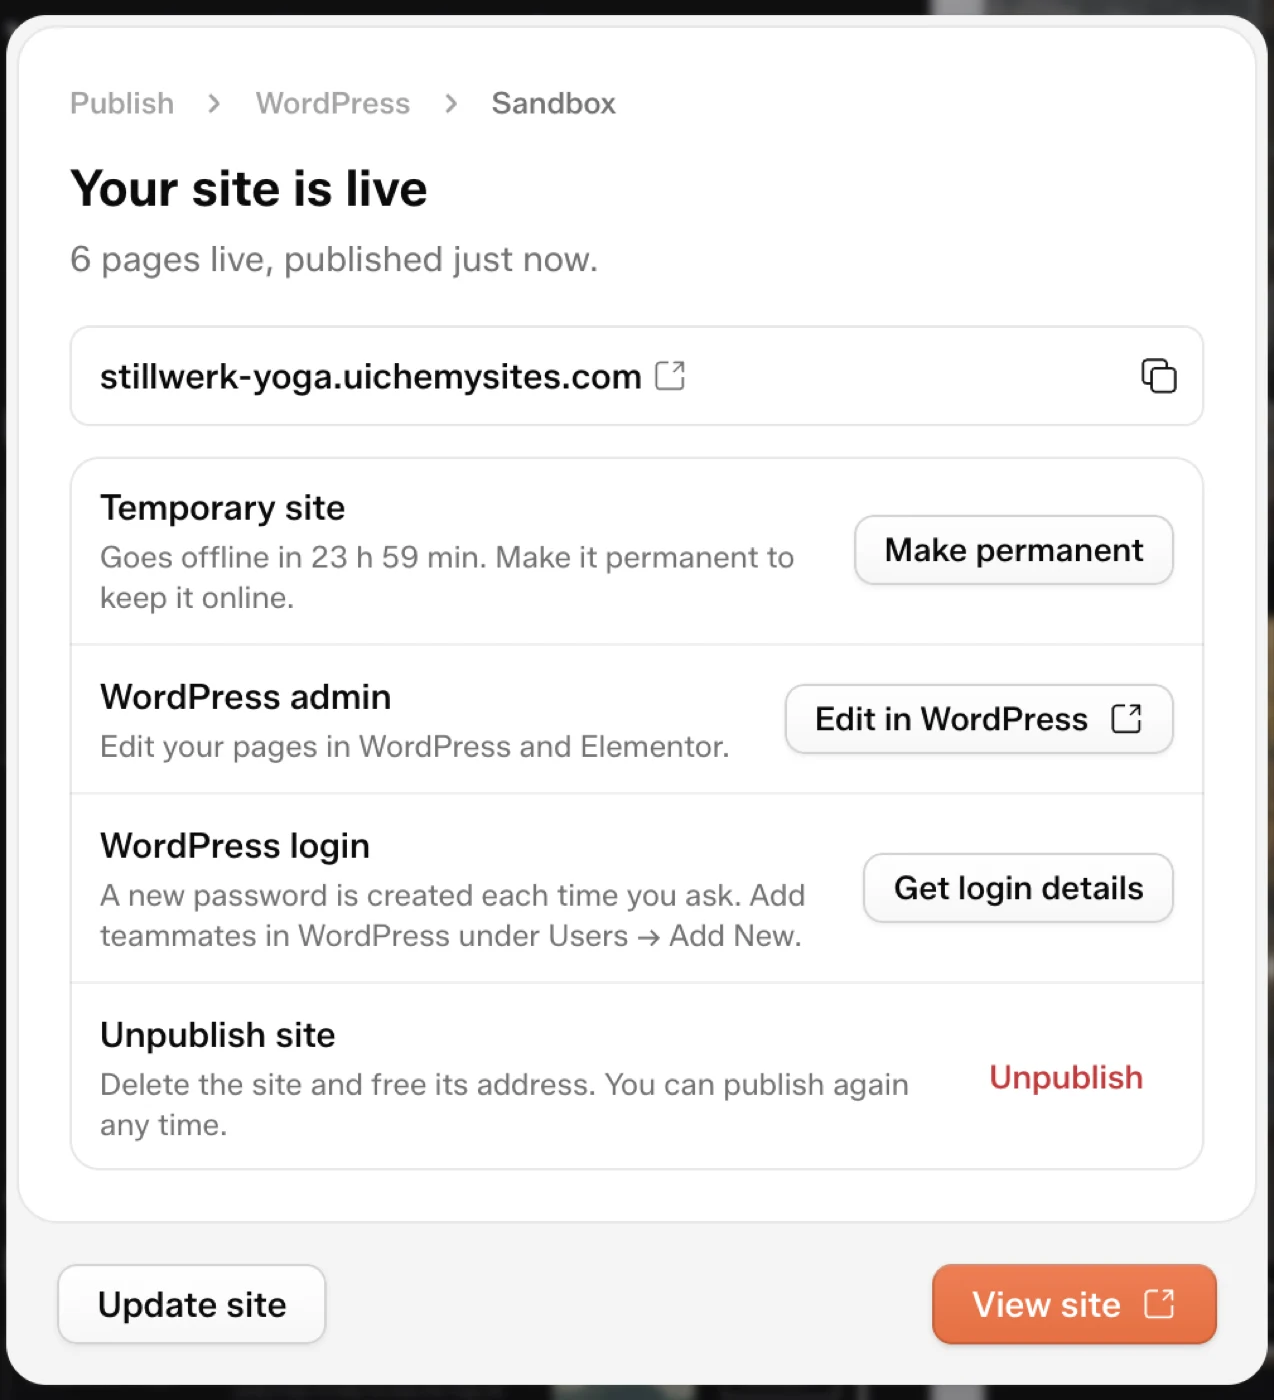
One detail that saves trouble: the docs say UiChemy does not keep the WordPress password, and a new one is created each time you click Get login details. Copy it right away. To give a client access, add them under Users, Add New in WordPress so they get their own login.
Option 2: Manual setup on your own WordPress
Manual setup sends your project to your own WordPress site through the UiChemy plugin. You choose the project and pages inside WordPress. In Elementor, the layouts arrive as UiChemy Composer sections.
- In the Publish panel, keep WordPress selected and click Set up on Manual setup.
- Click Download plugin, or get UiChemy from wordpress.org.
- In WordPress, go to Plugins, Add Plugin, Upload Plugin, choose the zip without unzipping it, then install and activate.
- Open UiChemy, select AI Website Creator, and log in with the account that owns the project.
- Open your project, choose Elementor or Gutenberg, select the pages and templates, and click Import.
Two cautions from the docs. First, take a full backup before importing into a live site. Leaving the Reset Previous Content option off does not make the import a no-change preview, because media, menus, styles and settings are also applied. Second, imported templates still depend on the plugins you have installed and their license tiers, so an import can finish with a warning that a template was skipped. Read the warnings. Gutenberg import needs UiChemy 5.4.0 or later, and Bricks is not offered in this flow.
Option 3: Deploy Astro to your Cloudflare account
Under the Astro card, Cloudflare is marked Recommended. UiChemy builds your design as an Astro site and deploys it to a free workers.dev address in your own Cloudflare account, so the site, its files and any CMS data live with you, not with UiChemy.
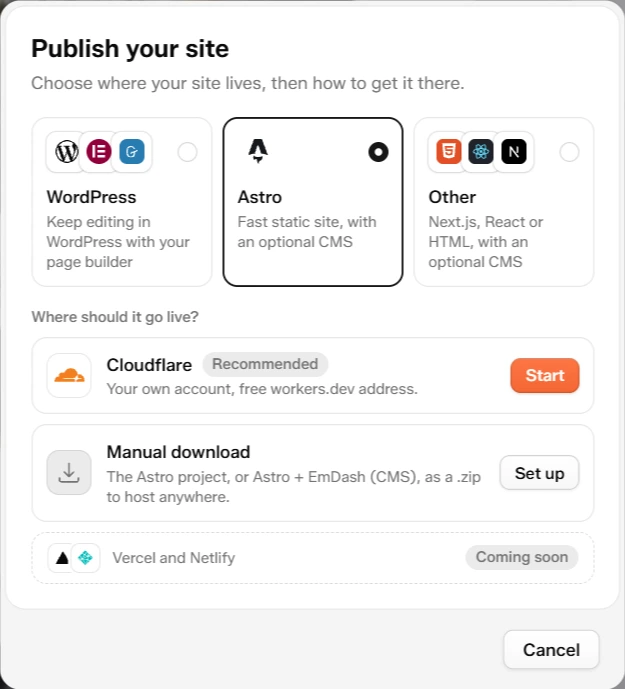
- Click Publish, select Astro, then click Start on Cloudflare.
- Click Connect Cloudflare, sign in and approve every permission on the consent screen. The docs warn that missing permissions can make deploys fail later.
- If your login has several Cloudflare accounts, choose the one to publish to.
- Under What to publish, choose Astro + EmDash or Astro frontend.
- Click Publish, keep the window open, then click Open site when it shows Live.
| Astro + EmDash | Astro frontend | |
|---|---|---|
| What you get | Your site with a CMS | Static pages only, no CMS |
| Who edits | You or your client, in the CMS | You, in UiChemy, then publish again |
| Blog pages | Supported | Not available if the site has a blog |
| Docs timing | About a minute, a few minutes the first time | Usually under a minute |
Changed your design? Open Publish, Astro, click Manage on the Cloudflare card and click Resync. Every generated page is published, since there is no page picker for Cloudflare. A custom domain shows as Coming soon in the panel. The docs also note that Cloudflare publishing needs UiChemy’s server-side connection setup, and that Cloudflare’s own account limits and any charges still apply. A free workers.dev address is not a promise of unlimited hosting. If the screen says Coming soon, use Manual download instead.
For a longer walk through the Astro route, see our guide to the Astro website builder from brief to live site.
Option 4: Manual download of the Astro project
Manual download gives you the Astro project, or Astro + EmDash with a CMS, as a .zip to host anywhere. Click Set up on Manual download, then Download .zip, and run the project yourself. This route suits you when your host or your client policy rules out Cloudflare.
Option 5: Next.js, React or HTML code
Choose Other to download code instead of publishing. The panel describes three choices: Next.js (plain code, or with a CMS, with Payload built in or Sanity), React (a Vite app, plain or with Sanity as the CMS), and HTML (plain HTML, CSS and JavaScript with no build step). You host the result wherever you like.
Related guides
Our other guides cover the UiChemy ChatGPT website builder and the wider route from an AI builder to real WordPress.
A quick checklist before you publish
- Design at least 70% generated, and AI copy finished.
- Site address chosen carefully, because it cannot be changed later.
- Page builder decided: Elementor or Gutenberg.
- Backup taken if you import into a live WordPress site.
- Cloudflare permissions approved in full, if you deploy Astro.
- Credits and plan limits checked. See how many credits an AI website costs.
Frequently asked questions
When does the Publish button turn on?
The UiChemy docs say Publish is disabled until your design is at least 70% generated, and it stays hidden while AI is still generating. It only shows on the Design tab.
Can I publish the same project in more than one way?
Yes. According to the docs, a project can have a UiChemy Sites site, a Cloudflare site, and be imported into your own WordPress at the same time. Each one is updated separately.
Can I use my own domain?
Through your own WordPress host or your own code hosting, yes. In the Publish panel, a custom domain for Cloudflare is marked Coming soon, and sandbox sites use a uichemysites.com address.
Does a Temporary site disappear for good?
A Temporary site is online for 24 hours. The docs say you can make it permanent at any time with Make permanent. Unpublishing deletes the WordPress site and frees its address, but your design stays in UiChemy.
Can I choose Gutenberg instead of Elementor?
Yes. Publish sandbox lets you pick Elementor or Gutenberg for the hosted site. For your own WordPress, the plugin offers both when you import, and Gutenberg needs UiChemy 5.4.0 or later.
Ready to publish your own? See what AI Website Creator includes, then pick a plan. Get Started
See also: the Publish panel documentation. Sources: UiChemy docs pages The Publish Panel, Publish to UiChemy Sites, Export to WordPress and Deploy to Cloudflare, read 13 November 2026.