


When you export your Figma design using UiChemy, you get an option to preview your template live. The Preview option automatically exports and uploads your design from Figma to your WordPress website through a token key and shows a preview of the template.
The Preview option is an alternative to the manual download and upload, it reduces a lot of manual work and saves time, especially if you are testing a layout. The Preview option will directly import the template to your website with a single click.
Install UiChemy Plugin
To use the Preview option you have to install the UiChemy plugin on your WordPress website.
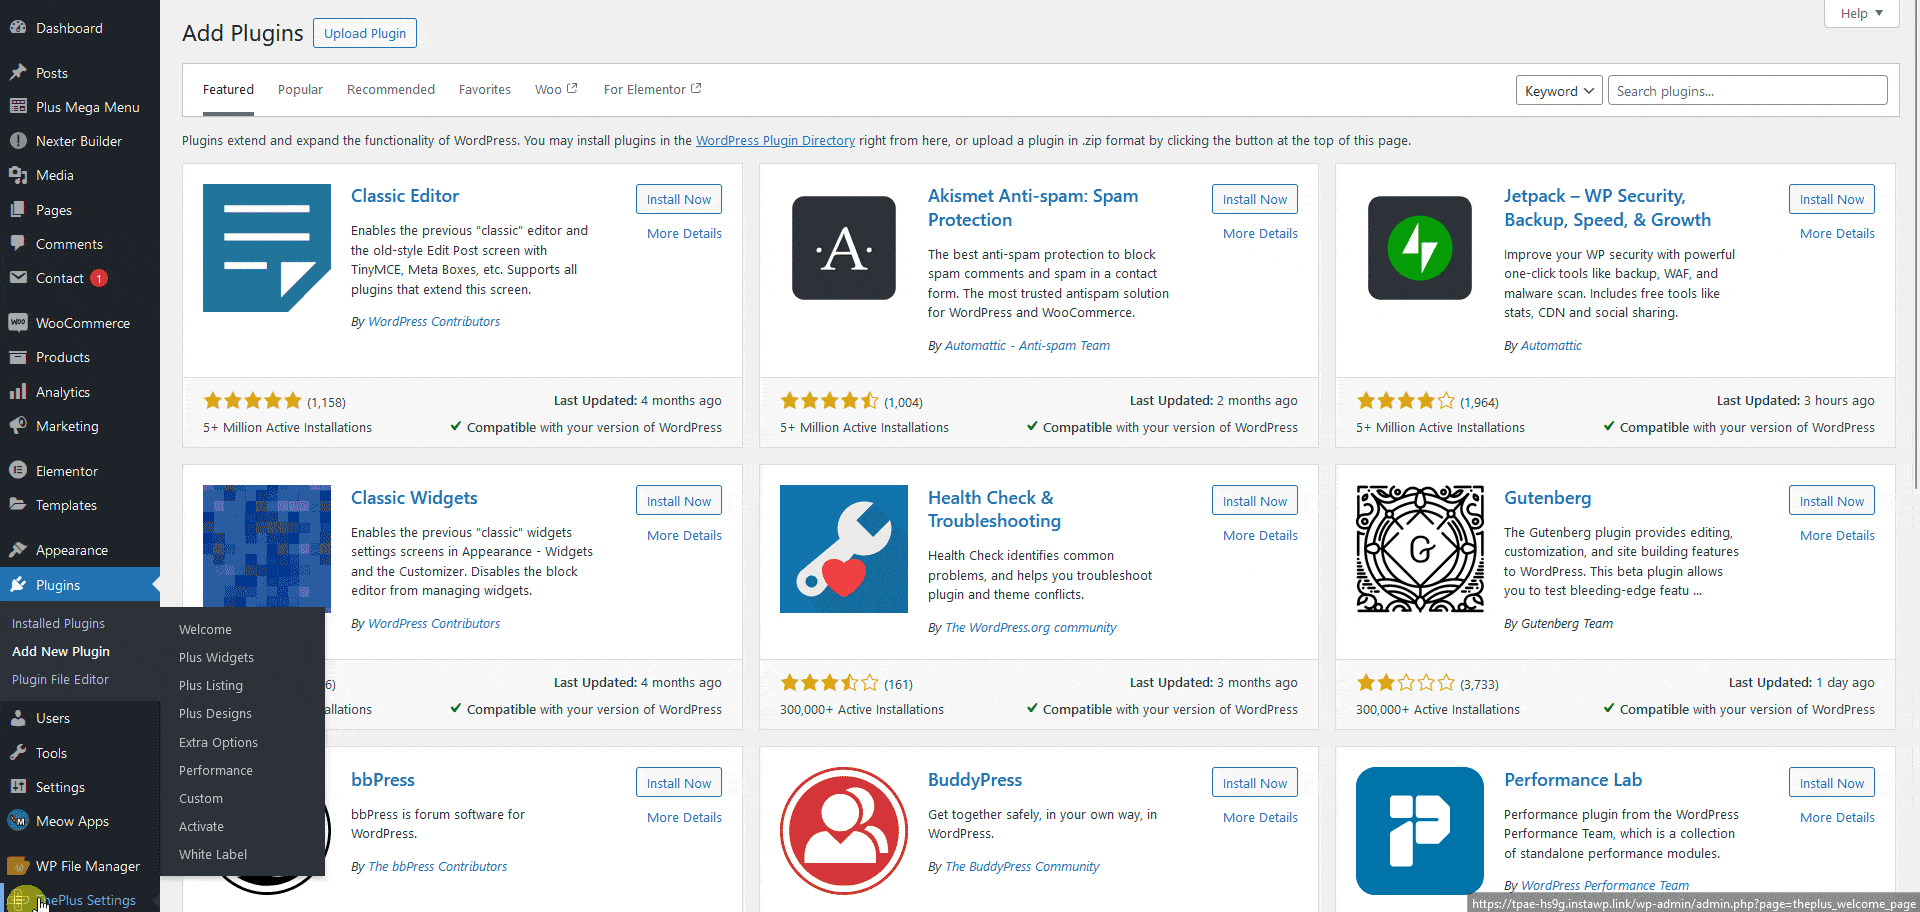
- From the WordPress Dashboard, go to Plugins > Add New Plugin.
- In the search field, search for “UiChemy”, you’ll find the UiChemy – Figma to WordPress (Gutenberg, Elementor, Bricks) plugin.
- Click on Install Now and then Activate.
- Once activated make sure to Enable auto-updates, so you are always using the updated version.
Generate Security Token
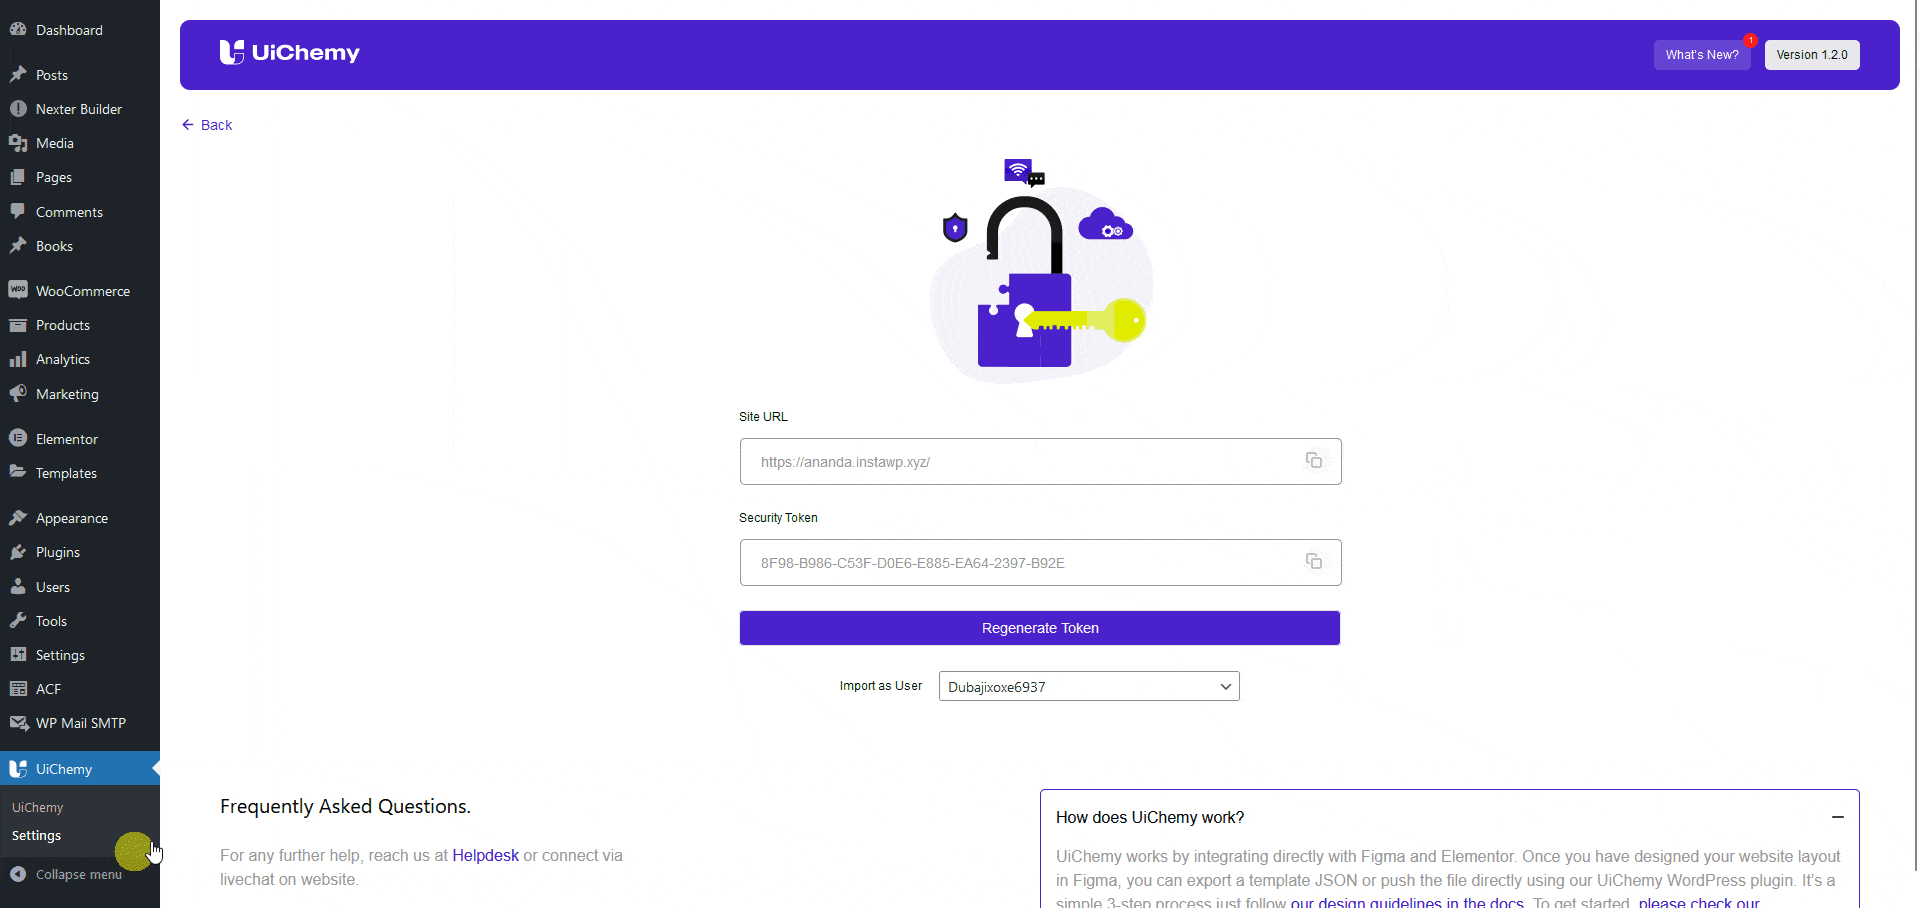
Now you have to connect your WordPress website with the UiChemy plugin using a token key and site URL.
- Once you’ve installed and activated the plugin, from the Dashboard, go to UiChemy > Settings.
- On the next page, you’ll see your website URL and token key, you can also click on the Regenerate Token button to generate new tokens.
- Then from the Import as User dropdown, you can select the user name. This user will be the author of all the templates imported from Figma using UiChemy. The list will only show the administrator role users.
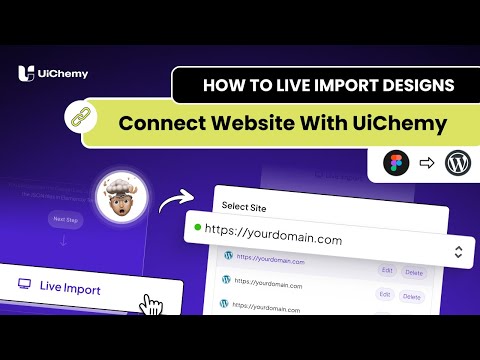
Use Live Import
- Open the UiChemy plugin and select the top level frame of your layout.
- Then select either the Optimize or Express option and click the Optimize or Convert button as per your selection.
- Click on the Convert button on the next screen.
- Then, on the next slide, click on the Live Import button.
- In the Select Site dropdown, click on the + Add Site button under the Import tab.
- Then you’ll see a Live Import popup here, you have to add the Site URL and Security Token.
- Once you’ve added the URL and Token, click on the Connect button. If everything is correct, you’ll see a success message otherwise, you’ll see an error message if anything is wrong.
- Then you’ll see your website URL is selected in the Select Site dropdown.
- Once the dot beside the website URL turns green, click on the dropdown under the Import Settings.
- Then select New from the Select Method section. You can also update an existing template or page.
- After that, from the Export To dropdown, you have to select the template type. You can import as a Page, Elementor Template or Nexter Template.
- Then click on the Next button.
- On the next screen, you can import individual layouts or import all layouts at once by clicking the Import All button. It will import the layout directly to your website.
- Once the layout is uploaded, you can preview the layout by clicking the button beside the layout.
Note: For Elementor Template and Nexter Template, you have to select the template type as well.
You have to make the connection between UiChemy and your WordPress website just once, then you can click on the Preview button to see the live preview of any Figma design.
Regenerate Security Token
- To regenerate the security token from the Dashboard, go to UiChemy > Settings.
- On the next page, click on the Regenerate Token button to generate a new token.
- Once you’ve regenerated a token, repeat steps 1 to 4 from the process mentioned above.
- In the Select Site dropdown, click on the Edit button beside your website URL.
- Then add the new token in the Token field and click on the Connect button. If everything is correct, you’ll see a success message otherwise, you’ll see an error message if anything is wrong.
- Once done, you’ll see the dot beside the website URL turn green.