
Figma to Elementor: The Definitive Guide
 Sagar Patel
A client approves a 1440px Figma frame on a Tuesday and wants it live on Friday. The design is finished.
The website is not, and that gap is where most of a project’s remaining hours disappear.
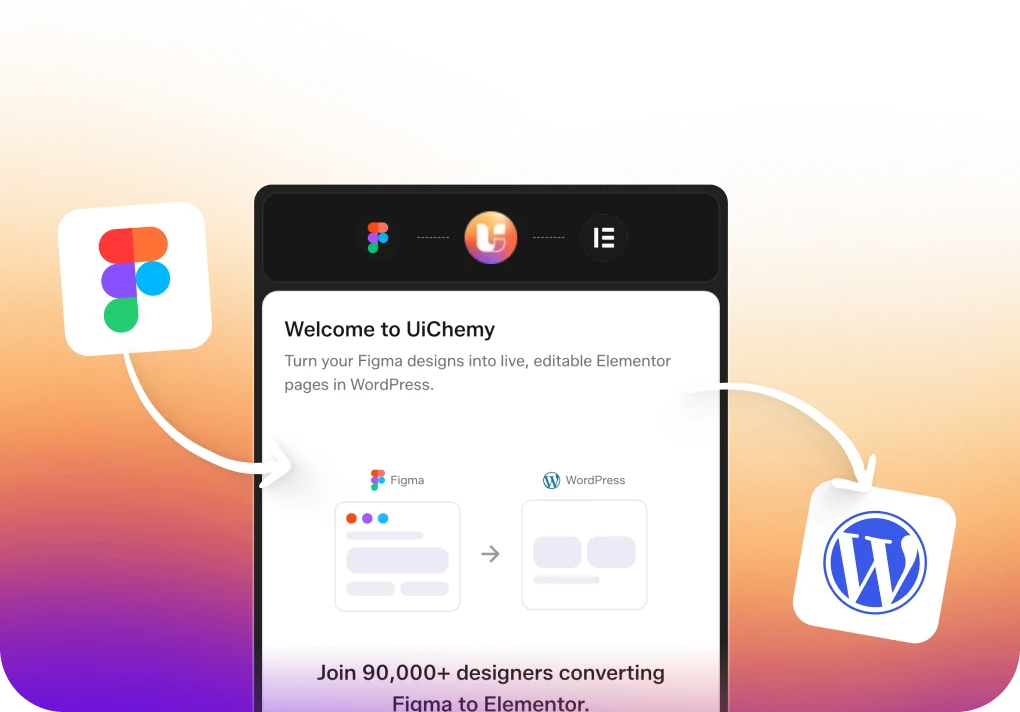
Figma to Elementor is the name for closing that gap. Prepared properly it is a short conversion plus an afternoon of refinement.
Attempted without preparation it becomes three days of rebuilding, by hand, in a second tool, the page you already finished once.
This guide covers the whole path: the two conversion modes, the site settings that have to be right before you start, the widget map and where it stops, what the Responsive Manager calculates, the Figma properties that quietly do not survive, and the five failures you are most likely to hit.
Every fact was re-checked against the UiChemy documentation and Figma’s own material on 8 September 2026.
The Two Ways a Figma Frame Becomes an Elementor Page
UiChemy ships two modes in the same plugin on the same plan. They are not beginner and advanced versions of each other; they answer different questions about how much control you want over the mapping.
| Decision | AI Express Mode | Classic Mode |
|---|---|---|
| Layer to widget mapping | Not required | You map each layer |
| Layout styling | Automatic | Manual |
| Motion and hover | Built in, three levels | Added by hand |
| Spacing and gaps | Auto fix, optional | Manual |
| Responsiveness | Automatic, tuned afterwards | Responsive Manager |
| Header and footer | Sent to Theme Builder | Exported as templates |
| Builders available today | Elementor only | Elementor, Elementor v4 Atomic, Gutenberg, Bricks, Nexter Blocks, GenerateBlocks, Spectra, Kadence |
Classic Mode exists for projects where every pixel has to be exact and you would rather decide yourself that a Figma group becomes an Icon Box rather than three stacked containers. That control costs tagging time.
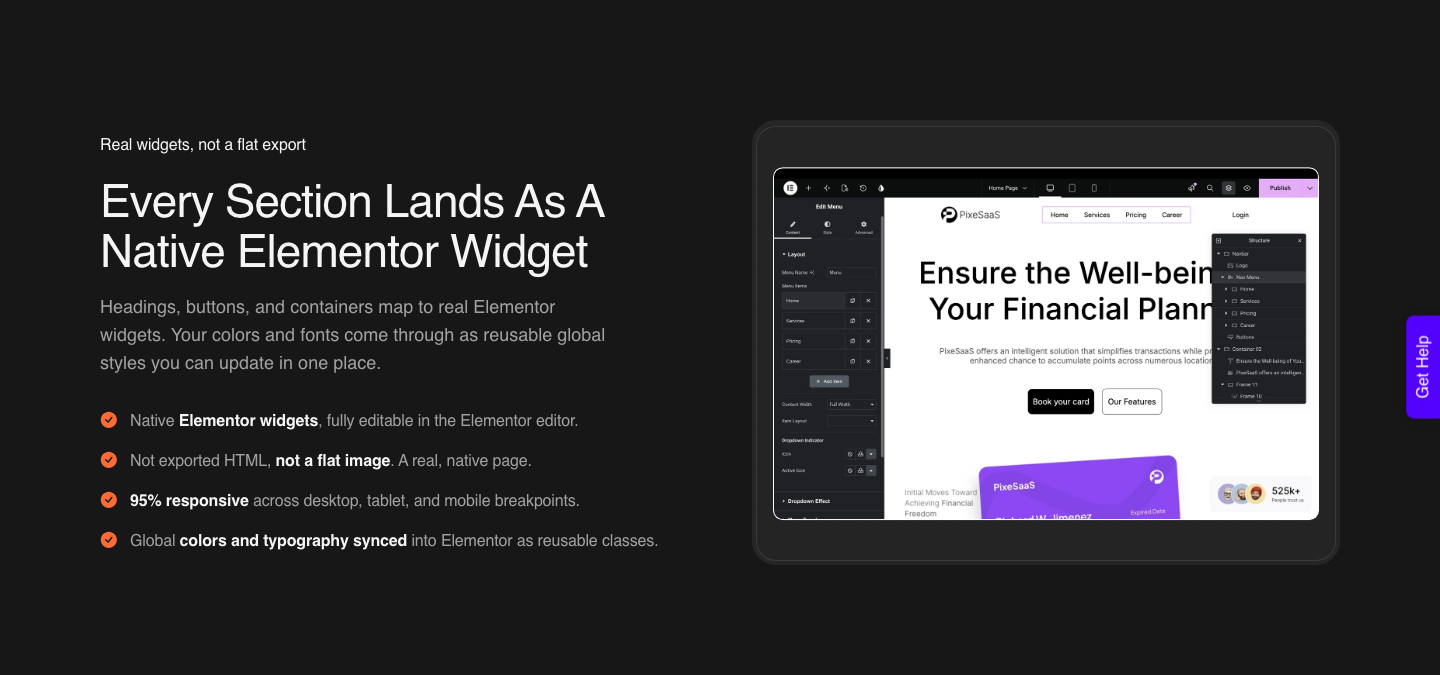
Both modes produce native editable widgets rather than a flattened export.
Set Up the Site Before You Open the Plugin
Most first conversions fail on server limits and two Elementor toggles rather than on anything wrong with the design. Fixing them takes ten minutes and removes the two most common support tickets before they happen.
| Setting | Required value | Where it lives |
|---|---|---|
| PHP max_execution_time | 300 seconds | Host or php.ini |
| PHP memory limit | 256M | Host or php.ini |
| PHP upload limit | Over 100M | Host or php.ini |
| MySQL max_allowed_packet | Over 5MB | Database configuration |
| Elementor version | 3.11.5 or above, free plugin | Plugins screen |
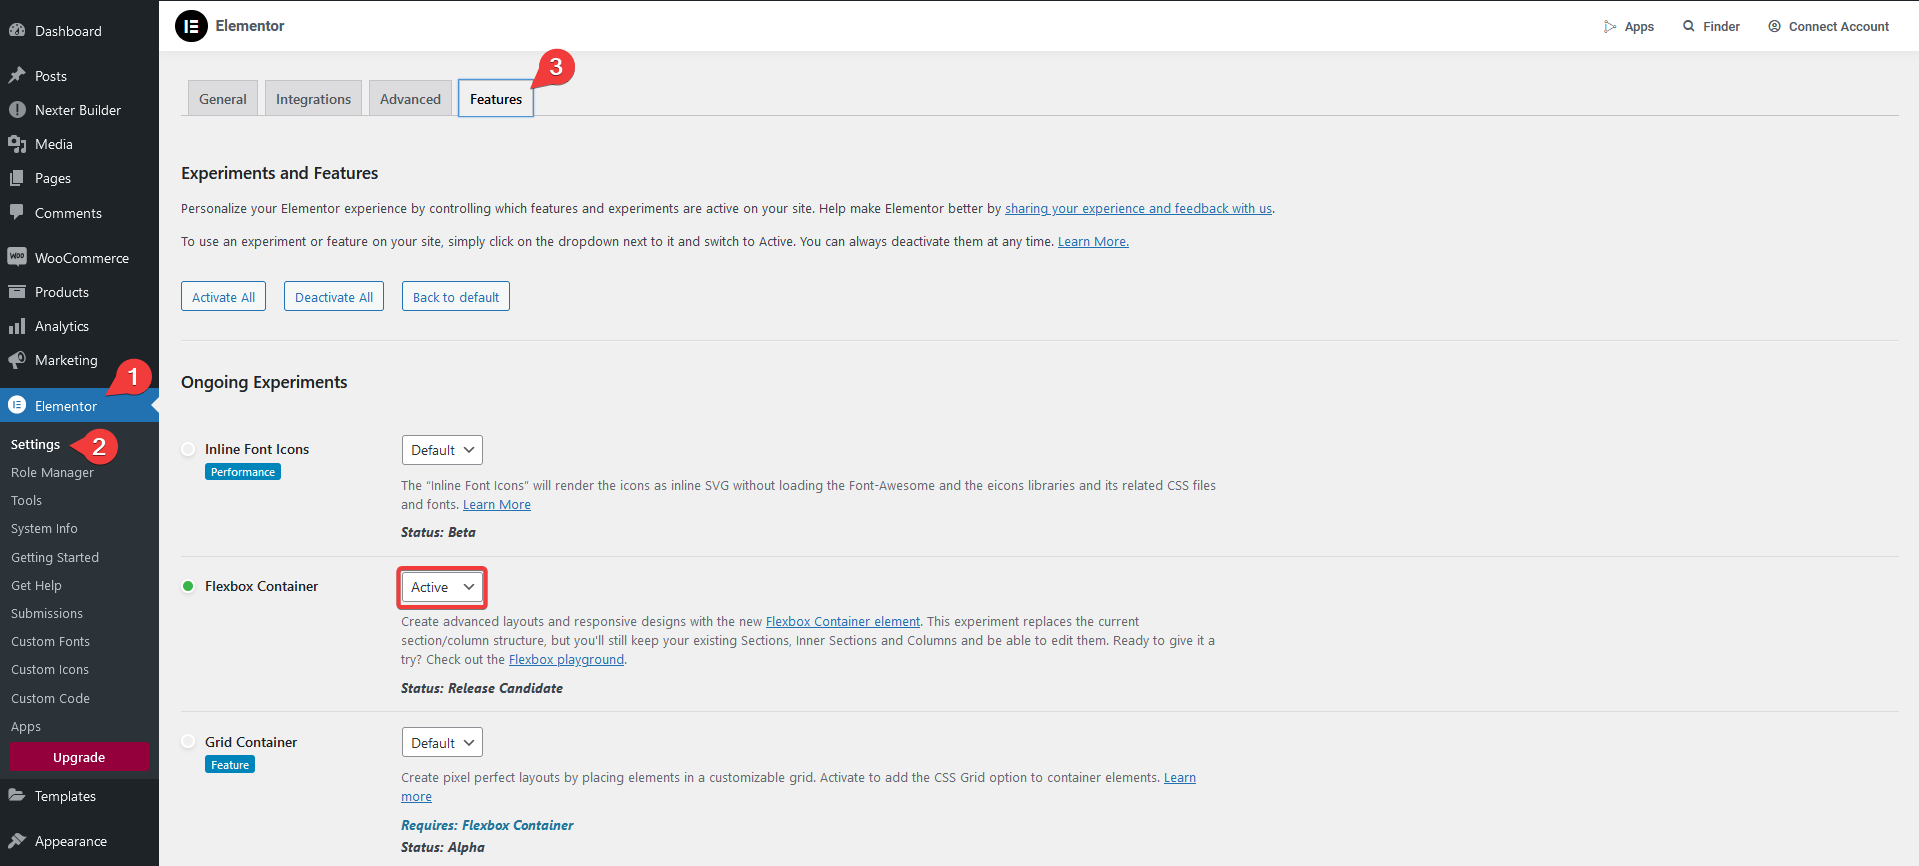
| Flexbox Container | Active | Elementor, Settings, Features |
| Unfiltered File Uploads | Enable, for SVG | Elementor, Settings, Advanced |
The Flexbox Container toggle matters more than the rest combined. UiChemy builds the exported layout out of Elementor flexbox containers, described in Elementor’s container documentation, so an import landing where the feature is inactive produces a template with data in the JSON and nothing on screen.
The Design Decisions That Decide the Output
Converting a Figma file you have not cleaned up costs more time than it saves. That is an opinion resting on a documented list of structures that translate badly or get dropped.
Seven rules carry almost all the weight.
- Auto layout on every frame. Set the main frame width to Fixed and inner section widths to Fill. Auto layout is what becomes a flexbox container on the other side.
- Nothing outside the top level frame or a container. Text and images floating outside the structure are ignored in the exported template. They do not move, they do not warn, they simply are not there.
- No negative gaps. Figma will let you set a negative item gap. The CSS gap property will not, so the value arrives as 0 and the overlap you designed disappears.
- Avoid absolute objects. Use auto layout instead. Constraints set to Left and Right, or to Scale, are on the unsupported list for both axes.
- Avoid unnecessary frames. Every frame becomes a container. A design with five nested wrappers around one heading gives you five containers to click through in the editor forever.
- Compress images first. Images are pulled directly from Figma into the media library, so an unoptimised hero slows the import and then slows the page.
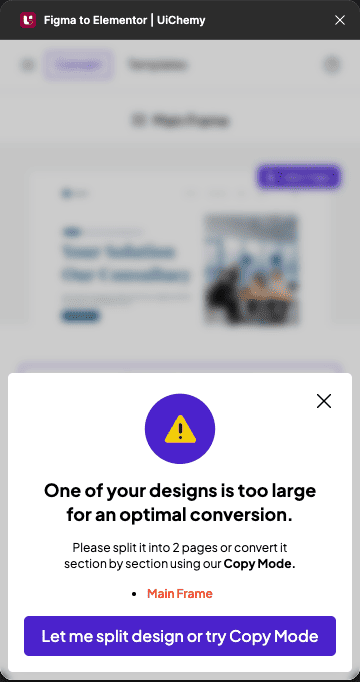
- Stay under 12,000 pixels of height. Past that the design cannot be exported as a single file and has to be split into sections.
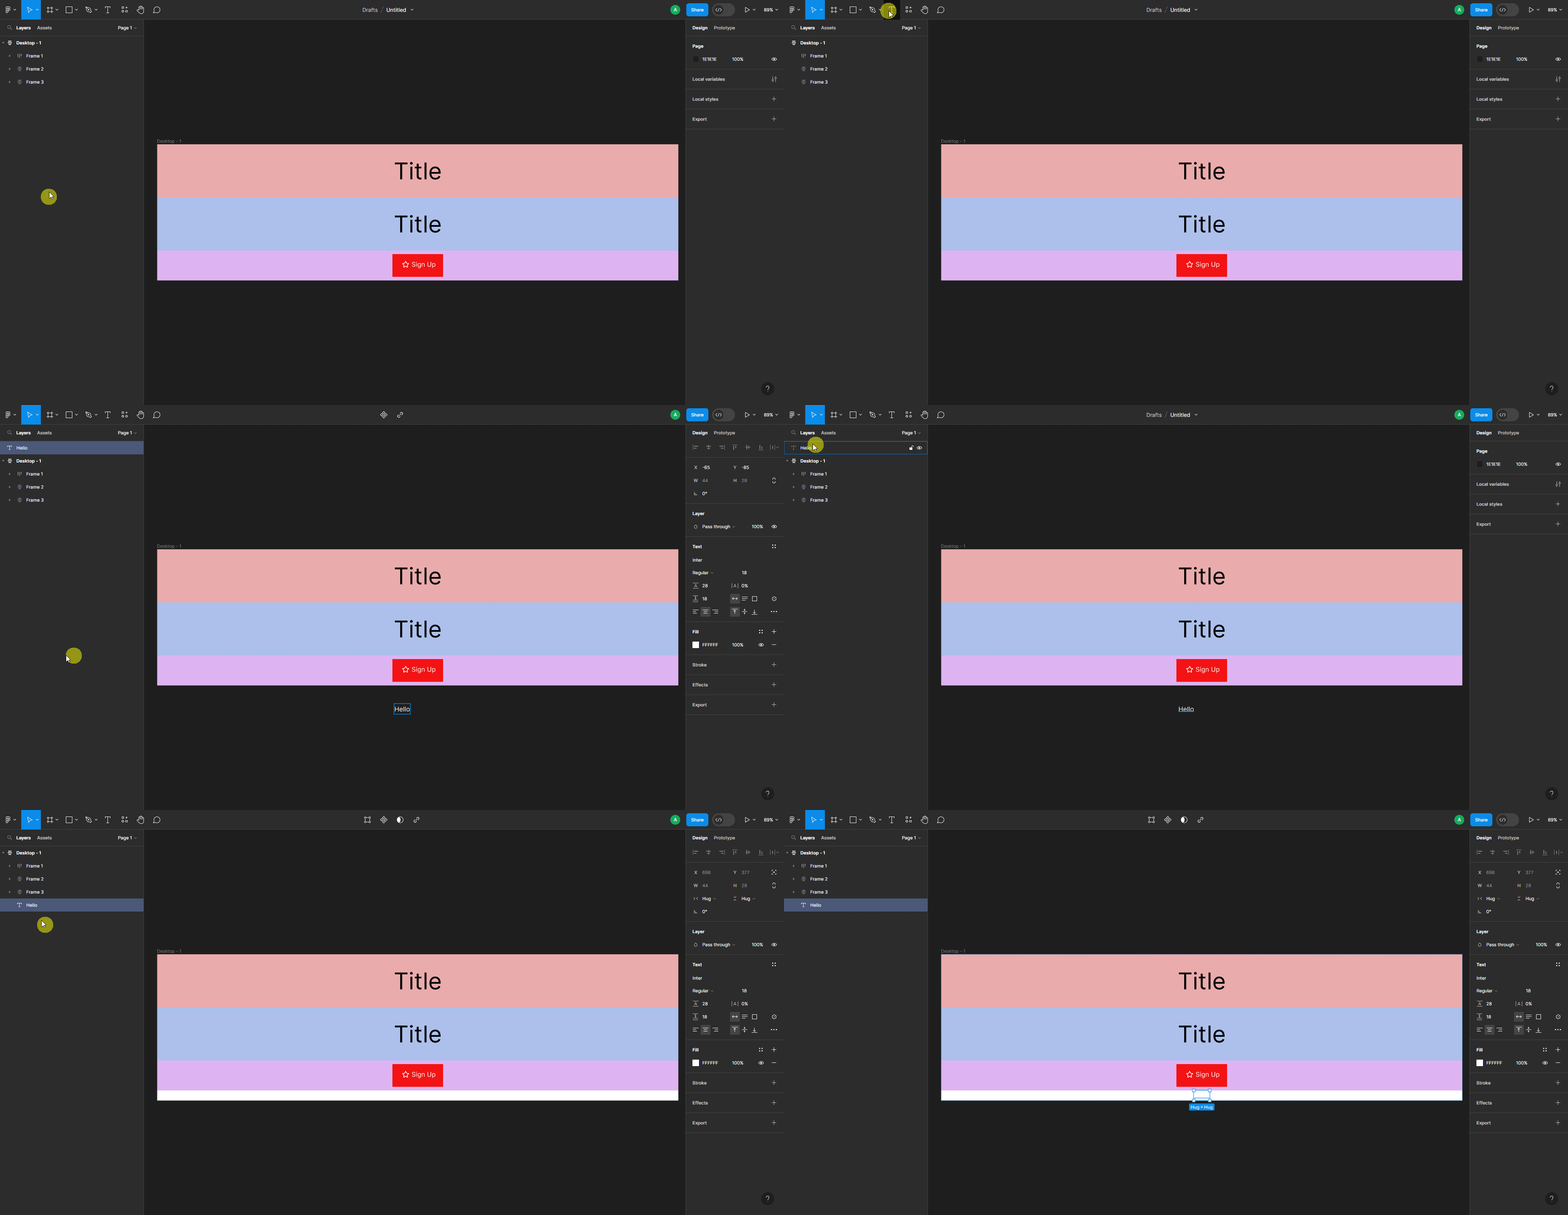
The 12,000 pixel ceiling deserves a note because long marketing pages hit it routinely.
Duplicate a section with Alt and drag, run Optimize, open the Optimization Companion tab, use Fix All under Lock Multi Layer Media, set the auto layout toggle to Manual, then click Duplicate and Optimize Design. Your original file is untouched throughout.
The Widget Map, and Where It Ends
A conversion is only as good as the widget it targets. Counted from the supported widgets list, updated 14 April 2026 and re-counted on 8 September, 64 widgets are live across four families and 28 more are marked coming soon.
| Family | Live | Coming soon | Examples of what is live |
|---|---|---|---|
| Elementor Free | 15 | 2 | Button, Icon Box, Icon List, Image Carousel, Image Gallery, Progress Bar, Star Rating, Testimonial, Video |
| The Plus Addons Free | 16 | 8 | Advanced Text Block, Before After, Countdown, Dark Mode, Flip Box, Heading Animation, Contact Form 7, WP Form |
| Elementor Pro | 18 | 1 | Animated Headline, Form, Gallery, Post Title, Price List, Search Form, Site Logo, Slides |
| The Plus Addons Pro | 15 | 17 | Advanced Chart, Blog Listing, Coupon Code, Mailchimp, Navigation Menu, Table of Content, Woo Product Listing |
The licensing line runs along the same seam, and anything with no widget on the list still converts. It arrives as containers, text and images rather than as a component with behaviour, which is usually acceptable for a static block and rarely acceptable for an accordion.
Four Ways to Move the Design Into Elementor
The plugin picks the available methods from what you selected. Choose the top frame and you are offered both Copy to Clipboard and Live Import.
Choose a single section and you get Copy to Clipboard alone.
- Copy to Clipboard. Copy in Figma, open the page in the Elementor editor, right click the dotted border, choose Paste from other site, then press Ctrl and V. Fastest route for one section.
- Live Import. Add your site once under the Import tab with a URL and a security token. When the dot beside it turns green, pick New under Select Method, choose Page, Elementor Template or Nexter Template under Export To, then import layouts individually or with Import All.
- Download JSON. Open Live Import, switch to the Download JSON tab, save the file, then load it through Templates and Import Templates in the dashboard. Useful behind a firewall that blocks the direct connection.
- Copy Code. The Gutenberg path rather than the Elementor one, pasted with the Plus Paste button. Listed here so you recognise it when the plugin offers it.
What the Responsive Manager Actually Calculates
Export through Optimize mode and the breakpoints are generated for you, close on most devices and not finished. That last stretch is the part people argue about, and the Responsive Manager is where you settle it.
Keep the Recommended option and it decides for you. Switch to Custom and you take over four properties by hand.
Those four are font size, line height, padding and flex gap, each on its own tab. Whatever you set in Figma is treated as the desktop value, and tablet and mobile are expressed as a percentage of it rather than as absolute pixels.
That indirection is the thing to understand before you type a number.
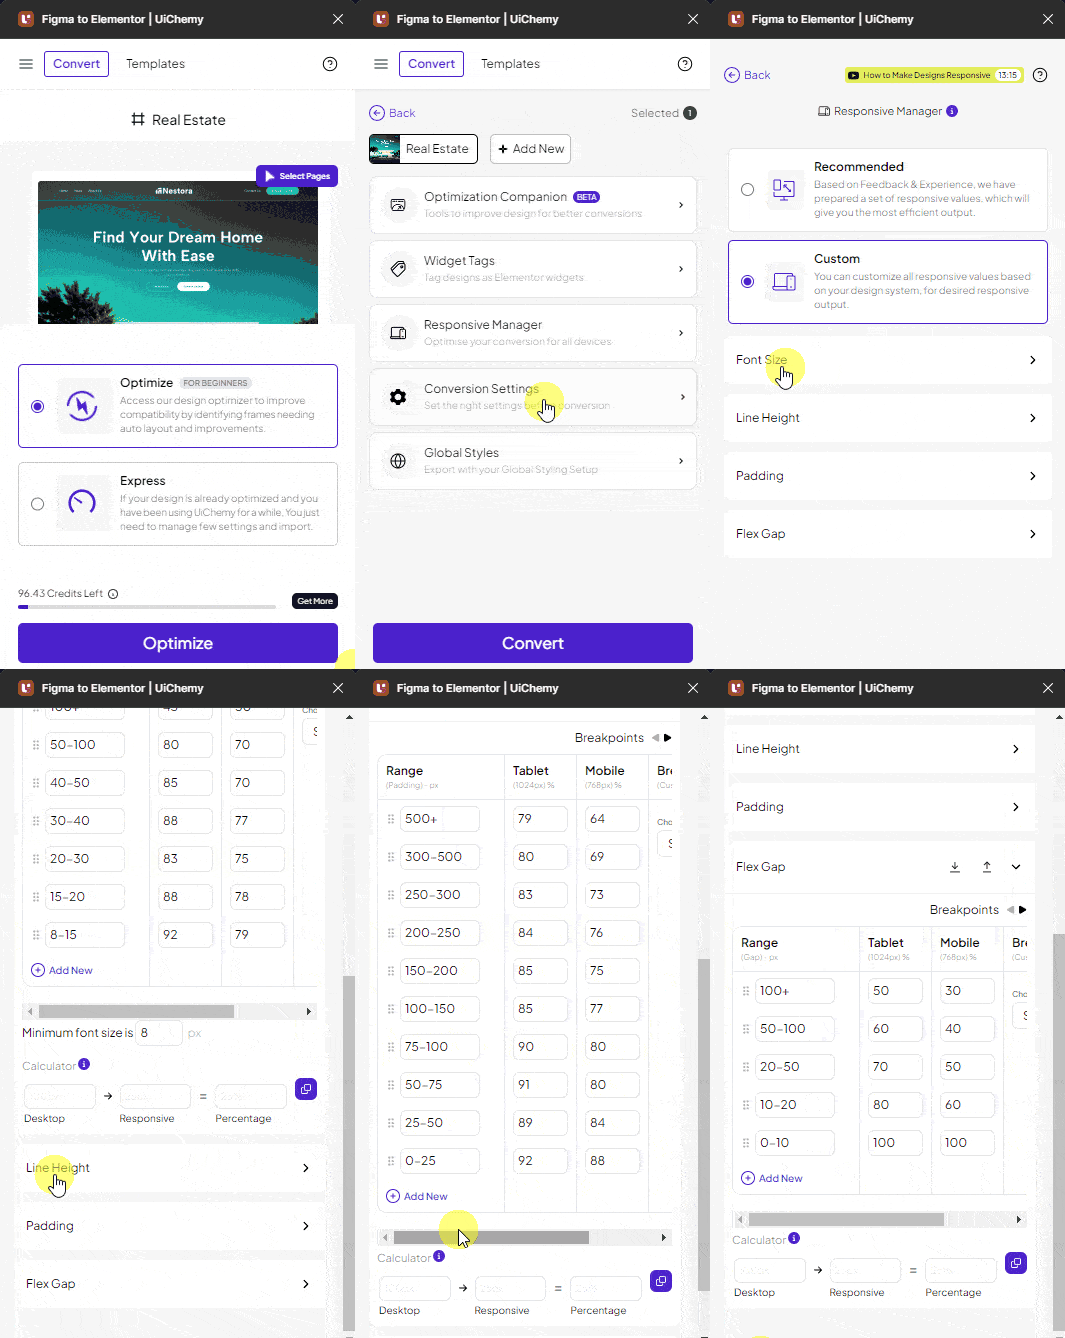
A worked example makes the model concrete. Set a row with Range 20-30, Tablet 50 and Mobile 40, then give a heading 30px in Figma.
The export carries 15px on tablet and 12px on mobile, because those percentages are applied to the 30px desktop value. Nothing in that calculation looks at the design at other widths, which is why the output needs a look rather than trust.
Two behaviours cause most of the confusion. Rules apply top down, so 20-30 placed above 10-25 wins for a 20px font even though both match.
And a broken set of ranges falls to the nearest one: with 20-30 and 40-50 defined, 31px uses the first row and 39px the second rather than being skipped.
Three more controls are worth knowing. Minimum Font Size stops the table shrinking body copy past a floor you choose, and blank means no floor.
The Calculator converts between a desktop value, a responsive value and a percentage in either direction, so 100px desktop against 45px tablet returns the percentage to paste into the Tablet field.
Clamp swaps fixed pixel steps for a fluid CSS clamp value, and extra breakpoints follow Elementor’s own breakpoint system rather than a UiChemy invention.
If you are setting this up for the first time, the design optimisation guide is the shorter path than reading four tab pages in order.
The Figma Properties That Do Not Survive the Trip
Some of what Figma can do has no Elementor equivalent, and those properties are dropped quietly rather than flagged. Below is the published set of unsupported options, current at the documentation update of 14 April 2026.
Reading it once saves the frustration of a blur that was in the file and is not on the page.
| Where it lives | What does not come across |
|---|---|
| Region tools | Section and Slice |
| Frame | Video fill, Layer Blur, Background Blur, Mask |
| Absolute objects other than frames | Constraints set to Left and Right, or to Scale, on either axis |
| Text layout | Align Top, Align Middle, Align Bottom, fixed size resizing, small caps, vertical trim, list style, truncate text, indentation |
| Text fill and stroke | Gradient, Image and Video fill, blend mode, Center and Inside stroke, end points, join, miter angle |
| Image | Tile as an element fill, blend mode, and the Exposure, Temperature, Tint, Highlights and Shadows filters |
| Icon as Font Awesome 5 Free | Line height, letter spacing, paragraph spacing, every width setting except Auto Width, all stroke and effect options |
| Group and Text effects | Inner shadow, Layer Blur, Background Blur |
Icons deserve their own line because there are only two supported routes: an SVG, or the Font Awesome 5 Free font. Auto Width is recommended on the Font Awesome route, where almost every typographic control is unsupported.
Design an icon set any third way and you are designing an image. The full list sits in the unsupported properties documentation.
Five Failures You Are Most Likely to Hit
Nobody publishes the failure list for their own product, which is why this section exists. All five are documented, all five have a fix that takes under ten minutes, and all five are server settings or Elementor toggles rather than a bad conversion.
| What you see | Why | Fix |
|---|---|---|
| Template imports, page renders blank | Flexbox Container inactive, or MySQL max_allowed_packet under 5MB on a large template | Elementor, Settings, Features, set Flexbox Container to Active. Ask the host to raise the packet size |
| Images replaced by Elementor placeholders | Images move via a cloud server and the default HTTP timeout is 5 seconds, which files above 5MB routinely exceed | PHP time limit 300s, memory 256M, upload above 100M, or export with scaled images |
| SVG icons missing entirely | WordPress and Elementor block SVG uploads by default for security | Elementor, Settings, Advanced, set Enable Unfiltered File Uploads to Enable |
| Icons sitting off centre | Body line height inherited from the theme. A rotated SVG also shifts its own bounding box | Set body line height to 1 in the theme typography settings |
| Live Import returns URL Unreachable | http instead of https, permalinks not set to Post name, REST API disabled by a security plugin, LiteSpeed Cache REST API on, or site storage full | Load your site URL with wp-json appended and confirm it does not return a 4xx, then set permalinks to Post name |
The honest summary of all of this is the one a verified reviewer already gave: the conversion handles about 70 percent of the design work and leaves the remaining 30 percent to fine tune in Elementor.
Treat the 30 percent as scheduled work rather than as a defect and the estimate you give a client holds. Treat it as a surprise and it does not.
When There Is No Figma File to Start From
Everything above assumes an approved frame exists. Often it does not, and the same destination is reachable from three other starting points.
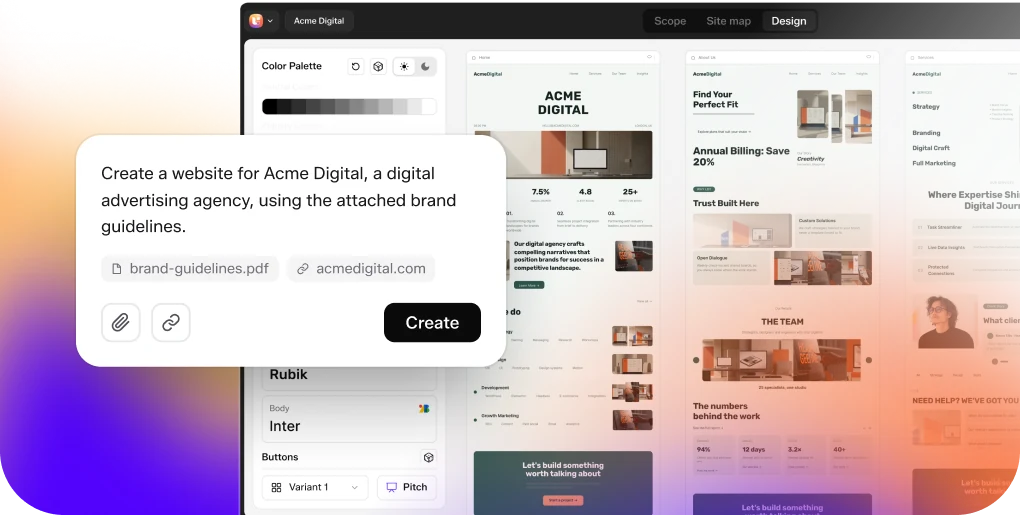
AI Website Creator takes a written prompt or a client brief, builds a scope, a sitemap and a set of pages, and exports them to Elementor; Gutenberg export is marked Soon on every plan, Agency included.
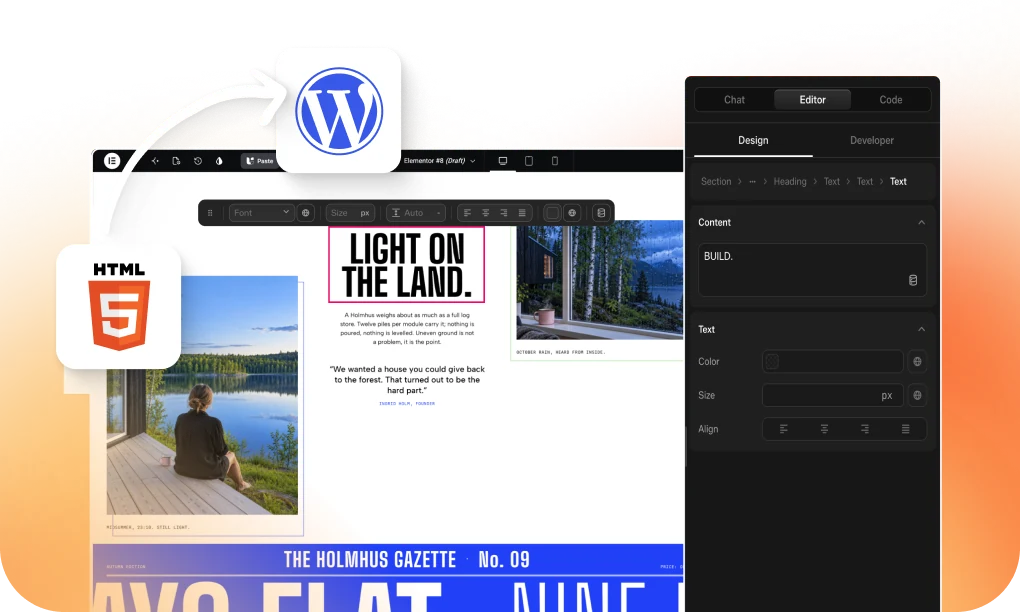
UiChemy Composer is one widget you drop into a page once, after which AI writes real, editable HTML, CSS and JS for a section, in Design Mode with plain fields or Developer Mode with a class editor and code tabs.
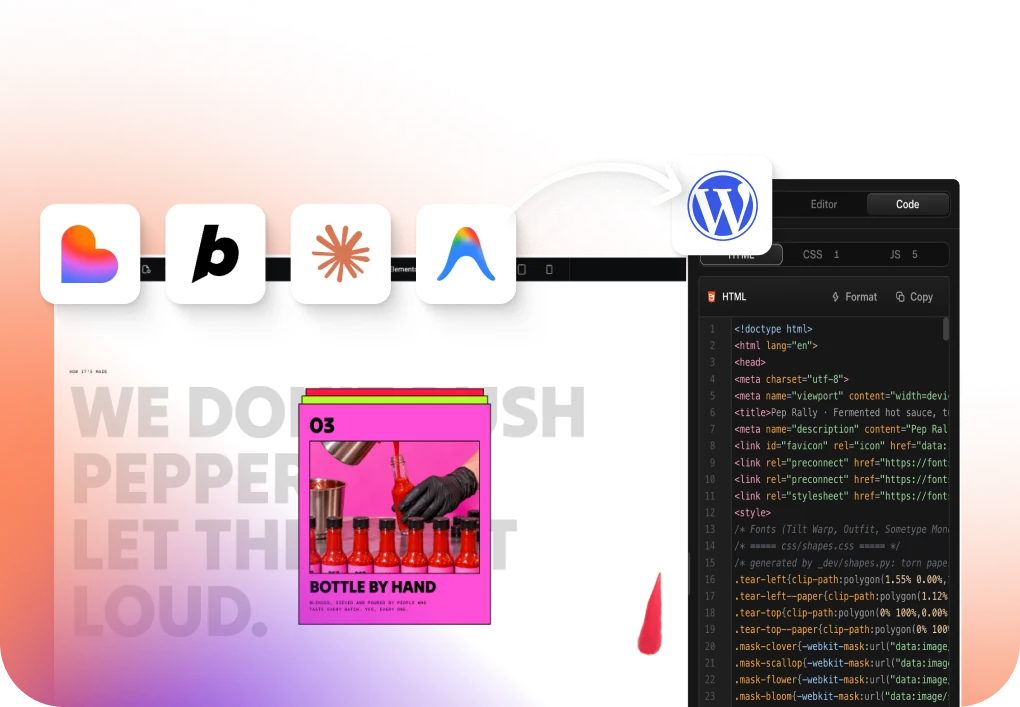
And a build you already made in Lovable, Claude, Bolt or v0 comes into WordPress through Composer.
The Figma route is still what this guide is about, and it is the one to use when a design is signed off and a pixel is contractual. The point of naming the others is that they land in the same place: native Elementor widgets on your own install, editable by hand, by code or by prompt.
Questions People Actually Ask
Do I need Elementor Pro to convert a Figma design?
No, and the line is drawn along widget families rather than along features. Elementor free and The Plus Addons for Elementor free account for 31 of the 64 live widgets.
Map a design onto Elementor Pro or The Plus Addons Pro widgets and you need the Pro side of those products too.
Is the converted page still editable in Elementor?
Yes, and it is the point of the whole approach. Every block arrives as a real WordPress element rather than a flattened export, so the marquee slides, the accordion opens where an accordion widget exists, and you edit visually, in code, or by describing the change to Chat AI.
What happens to a Figma file that has no auto layout?
It converts, but you lose the mapping that makes the output easy to work with. Without auto layout on a frame, Figma exposes Constraints instead, and the Left and Right and Scale options on both axes are unsupported.
Adding auto layout before you export is the single highest return preparation step, because auto layout is what becomes an Elementor flexbox container.
Will the exported page be responsive without extra work?
Mostly, and not entirely. Breakpoints are generated with the Recommended setting untouched, then finished by hand through the four Responsive Manager tabs.
Budget a short pass on any page with large display type, where the generated tablet and mobile sizes are most likely to need a nudge.
Can the same design go to Gutenberg or Bricks instead?
Through Classic Mode, yes. Classic supports Elementor, Elementor v4 Atomic, Gutenberg, Bricks, Nexter Blocks, GenerateBlocks, Spectra and Kadence.
AI Express Mode converts to Elementor only today, with Gutenberg and Bricks listed as coming soon, so a Bricks project runs the Classic path and the layer tagging that goes with it.
Where to Start on Your Next Page
Do the boring part first. Auto layout on every frame, nothing loose outside the top level frame, no negative gaps, images compressed, height under 12,000 pixels, Flexbox Container active, Unfiltered File Uploads enabled.
A fifteen minute checklist that decides most of the outcome.
Then convert one section rather than a whole page, with Copy to Clipboard, and look at what arrives. A single section tells you within five minutes whether the widget mapping and the responsive ranges are right.
Fixing them after a 40 section import is a different afternoon.
Every figure above was re-checked on 8 September 2026 against the UiChemy documentation, Elementor’s container and breakpoint pages, and MDN for the CSS gap rule.