





How to Use Figma AI: A Working Designer’s Walkthrough
 Sagar Patel
It is Thursday afternoon, the client presentation is Friday morning, and your file has eighty three layers called Frame 217 through Frame 300, placeholder copy in four languages of lorem ipsum, and a hero image with a background that belongs to a different brand.
There is an AI feature for every one of those problems, and none of them is the one people talk about.
This is a practical walkthrough, not a product tour. Our companion pieces cover how Figma AI credits are counted and the wider agent picture, so this one stays on the doing: which surface suits which job, and what to check before you spend anything.
Everything here comes from Figma’s help centre, checked on 8 September 2026. Where Figma states a limit, the limit is quoted rather than smoothed over, including the one about accuracy that sits at the top of its own documentation.
First, Check You Can Actually Use It
Three conditions, and all three catch people out. Figma Design AI tools are on paid plans only, they require a Full seat, and an administrator can disable Figma AI for a team or organisation, in which case the features simply are not there.
Everything runs through one entry point. Open a Figma Design file and use Actions in the toolbar.
That is the whole navigation answer, and it is worth knowing because the features are not scattered through menus the way plugins are.
Figma’s own accuracy note sits above all of it, and it is worth reading before your first prompt rather than after your first bad output.
Its documentation says results may contain inaccuracies, omissions or misleading outcomes, that they should be treated as a general reference rather than fact, and that you should verify before relying on them.
Which Surface Suits Which Job
Figma now has several places where AI happens, and picking the wrong one is the most common way to waste an afternoon. The split is cleaner than the marketing suggests.
| The job in front of you | Where to do it | Status |
|---|---|---|
| Tidy a messy file, fix copy, edit images | Actions in Figma Design | Available on paid plans, Full seat |
| Explore a layout from a description | First Draft, now moving behind the agent | Agent in beta, rolling out gradually |
| Generate and remix designs by conversation | The agent in Figma Design | Beta, free to try during the beta |
| Build something that has to run as code | Figma Make | Available, credit metered per prompt |
| Imagery, video and audio work | Figma Weave tools | Open beta inside Figma Design |
| Publish the result as a website | Figma Sites | Open beta |
The agent’s own permission model is worth one line, because it decides who on a team can do what. Full seat holders with edit access can chat and ask for edits.
People on View, Dev or Collab seats, or with view only access, can chat but cannot change the file.
The Jobs It Is Genuinely Good At
Ignore the generation demos for a moment. The features that earn their place on a real project are the unglamorous ones, and Figma lists them plainly in its Figma Design AI documentation.
- Rename layers. Gives every layer a meaningful name in one action. On a file you are about to hand over or convert, this is the highest value minute you will spend all week.
- Replace content. Swaps placeholder or duplicated text for unique, realistic content. Presenting a pricing table where all three plans say the same thing is how a good design loses a room.
- Rewrite, translate and shorten. Change tone, move to another language, or cut copy to fit a container you already committed to.
- Add interactions. Turns a static design into an interactive prototype without wiring every connection by hand.
- Find assets and designs. Searches across your team, your organisation or Community files, starting from part of a design, a screenshot, or a description.
- Vectorize. Converts raster images into editable vector layers, which is the one that quietly saves a logo somebody sent you as a JPEG.
The image tools are a second cluster and they are more capable than most designers realise: make and edit images from a prompt, remove a background, boost the resolution of a low resolution image, expand an image beyond its original borders, and use Select area to isolate an object as a new layer or erase it entirely.
What To Check Before You Spend Credits
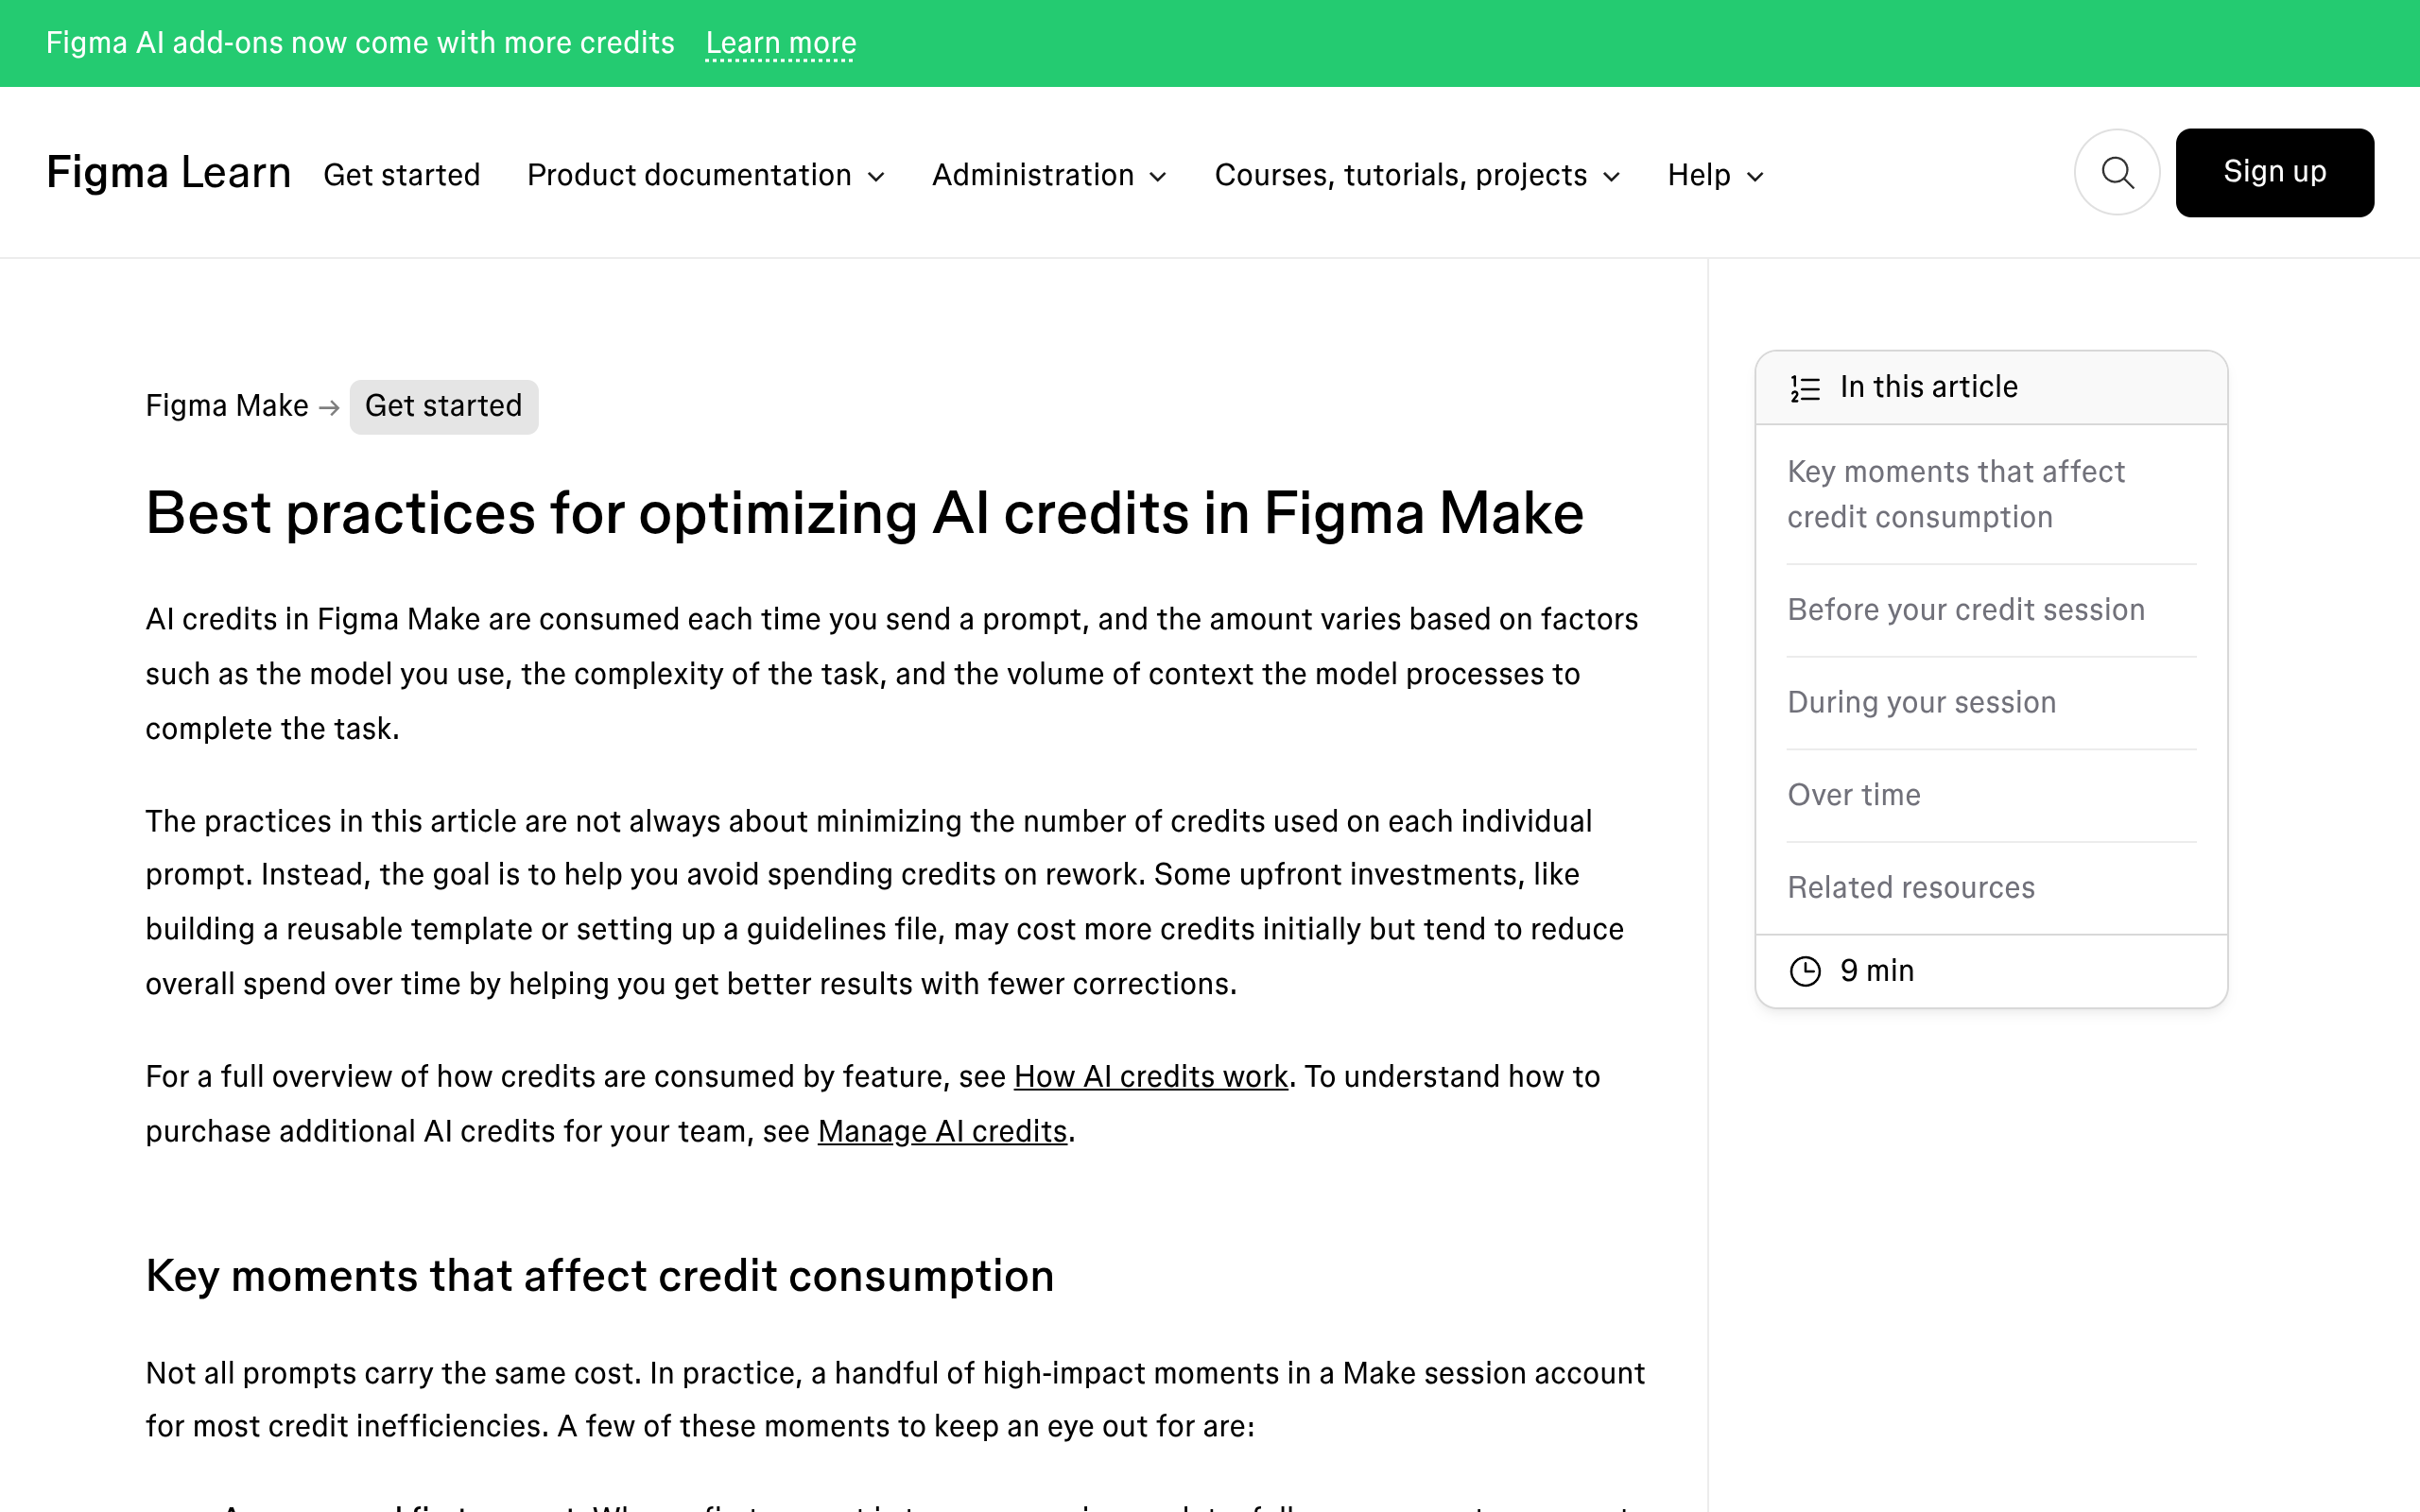
Figma AI runs on a credit system shared across all AI features and products, so a prompt in one place reduces what is available in another. The single most useful habit is to look at the balance before a session rather than after.
- Open a file where you have edit access. The balance lives in the file, not in account settings.
- Open the Main menu of the file.
- Select AI balance. It shows how many credits you have used, how many remain, and when they reset.
Figma names three moments that account for most wasted credits, and all three are avoidable. An unscoped first prompt, because the first prompt sets the direction for everything after it.
The wrong model for the job, because a heavier model than the task needs costs more than necessary. And a long prompt history, because accumulated context is processed on every prompt even when the prompt itself is trivial.
| Model | Figma’s stated fit | Reach for it when |
|---|---|---|
| Auto, the default | Balances quality and cost across a range of task types | You are unsure, or the session mixes task sizes |
| Claude Opus | Complex tasks, or work that requires exactness | Replicating an existing design closely, or complex functionality |
| Gemini Flash | Minor styling adjustments and quick iterations | Nudging spacing, colour and type after the build exists |
Two more habits from the same documentation are worth building early. Not every change needs a prompt: point and edit lets you select an element in the preview and adjust colour, corner radius, spacing and typography directly, which costs nothing and is faster.
And more context is not better, since every piece of context processed costs credits even when it does not improve the result.
A Worked Session On a Real File
Here is the Thursday afternoon problem from the top of this article, solved in order. The order matters, because doing it backwards means paying twice for the same context.
- Check the AI balance from the Main menu. If it is low and resets next week, decide now which two jobs are worth doing rather than discovering it halfway through.
- Rename layers first. Every later tool reads the file, and a file where the layers describe themselves gives better results than one full of Frame 217.
- Replace the placeholder copy next, so that anything you generate afterwards is sized against real words rather than lorem ipsum.
- Fix the images. Remove the background, boost resolution if it came off a client’s website, expand it if the crop is wrong for your hero frame.
- Vectorize any logo you were sent as a raster file, then check the paths by eye before trusting it.
- Add interactions last, once the layout has stopped moving. Prototype links attached to layers you are about to delete are wasted work.
- Then rewrite or shorten copy to fit, because by this point you know exactly how much space each string has.
Step two is the one people skip and it is the one with the largest downstream effect. Layer names are the context every other tool works from, and they are also what a conversion into WordPress reads when it decides what each section is.
If You Move Into Figma Make
Make is a different economy from the Design tools, because credits are consumed on every prompt and the amount varies with model, task complexity and how much context is processed. Figma’s advice is worth following exactly rather than approximately.
- Write one clear first prompt. Figma calls it the brief your session works from, and says the more it defines scope, constraints and end state, the fewer follow ups you need.
- Consider plan mode for anything complex. It generates a structured plan file before any code is written, costs credits up front, and Figma says that cost is often far less than a build corrected mid way.
- Set up a guidelines file. Make reads guidelines.md automatically as part of its context on every prompt, so standing instructions do not need restating.
- Keep guidelines lean. Use a parent file pointing to smaller task specific files, and remove anything already covered by your npm package or Figma library. Redundant context costs credits without adding value.
- Duplicate rather than restart. Duplicating a file costs no additional credits and gives a clean prompt history while keeping the current build state.
- Point at the specific thing. With MCP connectors, name the document or ticket rather than a workspace search, and paste a short excerpt directly instead of sending Make to fetch it.
There is a useful signal for when to start fresh. Figma lists it as being many prompts deep with a scope that has shifted, or simple prompts consuming unexpectedly high credits.
Both mean the accumulated history is now the expensive part rather than the request.
The Limits Worth Knowing In Advance
- First Draft cannot use your design system. Figma states it uses Figma built wireframing and design libraries as the foundation, and that generating designs with your own design system is not currently possible.
- It works on conventional patterns. Checkout pages and app screens go well. Anything outside standard web and mobile shapes, such as a book layout or an unusually shaped flyer, does not.
- The agent is beta and incomplete. Figma lists vector editing, icon creation, slots and prototyping as coming, and asset export and data visualisation as unavailable.
- Beta free is temporary. The agent is free to try during the beta with monthly capacity limits. That is a beta price, not a plan.
- Seats matter more than plans. Figma Design AI needs a Full seat. A colleague on a Dev or Collab seat can chat with the agent but cannot change the file.
- Verify everything. Figma’s own wording is that outputs should be treated as a general reference rather than fact, and that you should let people know when you are presenting AI generated output.
When The Output Has To Become a Website
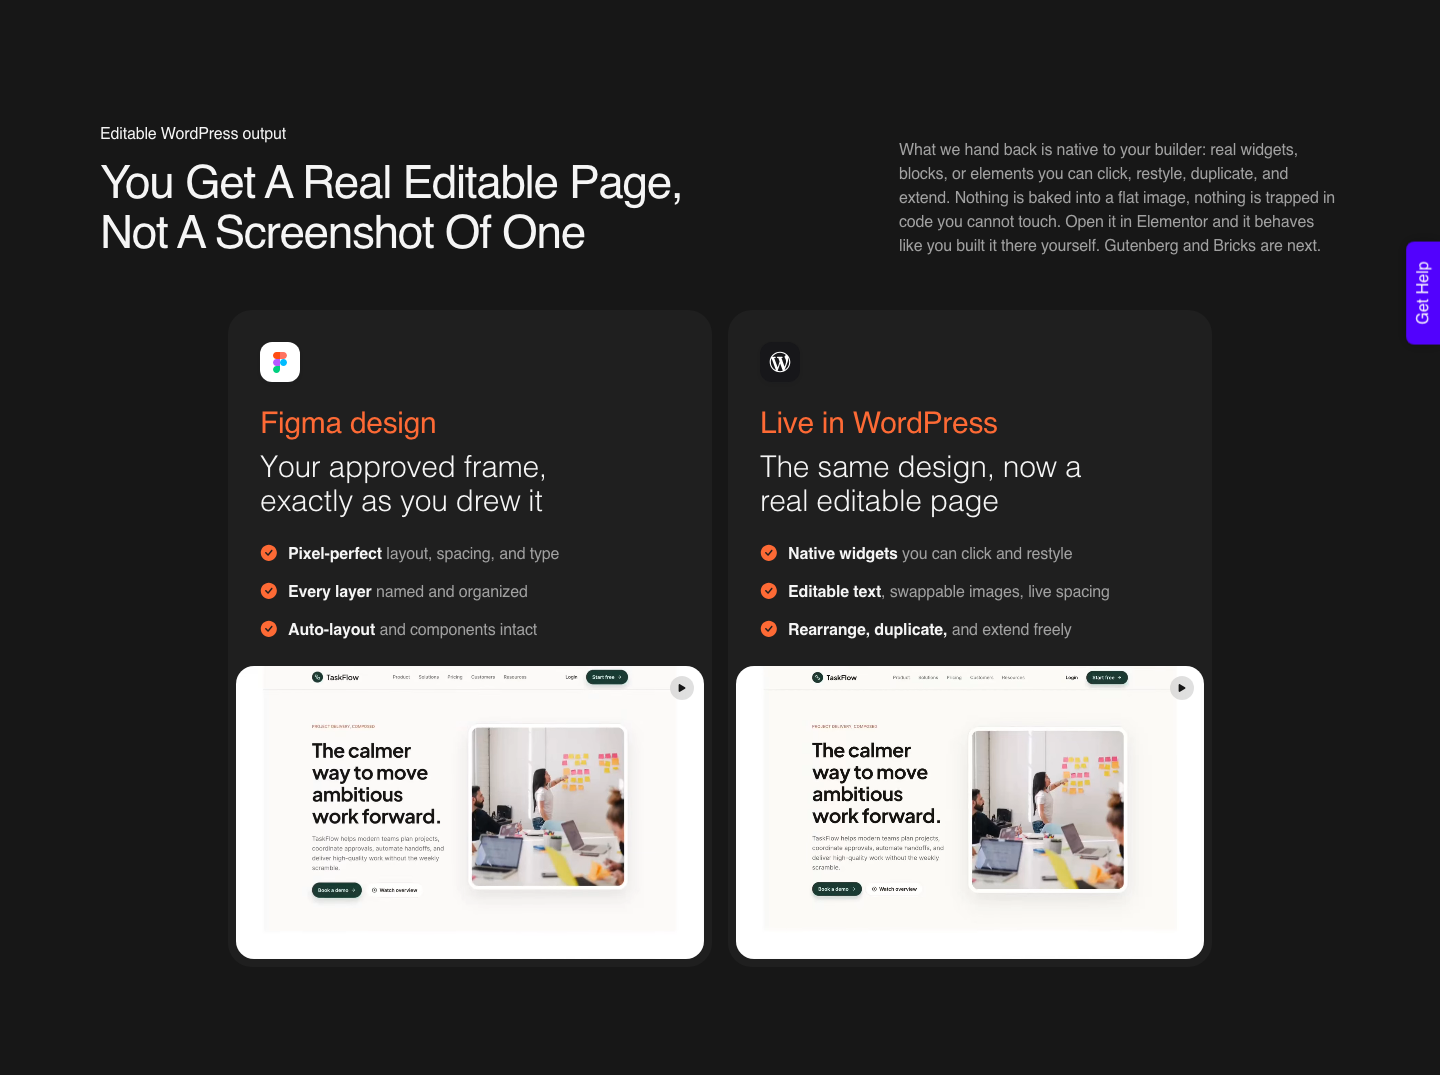
None of these tools produce a WordPress page, and none of them claim to. What they produce is a Figma file that is tidier, better written and better illustrated than it was on Thursday morning, which is exactly the input a conversion wants.
The tool I use for that step is UiChemy, which is ours, so read the next two paragraphs knowing that. The reason it belongs in a Figma AI walkthrough at all is the handover: the file you just cleaned up with Actions is the file the converter reads, and the two are reading the same thing for the same reason.
It is worth knowing there is more than one door now, because the tidy-Figma-file route is only one of four. Figma to WordPress converts the approved frame.
AI Website Creator starts from a written prompt or an attached client brief and produces a scope, a sitemap, a design and an Elementor export, which is the closer parallel to what Figma Make does.
UiChemy Composer is one widget inside Elementor where AI writes real editable HTML, CSS and JavaScript. AI to WordPress moves an existing Lovable, Claude, Bolt or v0 build across through Composer.
If your Thursday file never became a Figma file at all, that is the door.
AI Express Mode reads every layer without tagging and outputs to Elementor today, with Gutenberg and Bricks marked coming soon, while Classic Mode covers Elementor, Elementor v4 Atomic, Gutenberg, Bricks, Nexter Blocks, GenerateBlocks, Spectra and Kadence right now.
Expect the split a verified reviewer describes: roughly 70% of the design work handled, 30% fine tuned by hand in Elementor. The UiChemy design checklist is blunter still, saying it cannot guarantee 100% accuracy and that good design practice gets you between 85% and 99%.
Credits work much the same way on this side of the pipeline, and there is a Free plan at $0 a month carrying 1,000 Credits, 1 Figma seat and 1 Composer site if you only want to see the output.
Designer is $9 a month for 4,000 Credits, Studio $29 for 12,000 and Agency $49 for 20,000. Advanced Motion with GSAP and MCP or API access start at Studio, not before.
The balance refreshes monthly and you can top up between refreshes; the pricing page publishes no pack sizes or top-up prices, so treat any you have been quoted as unsourced.
Frequently Asked Questions
Where do I find Figma AI in the interface?
In a Figma Design file, open Actions in the toolbar. That is the single entry point for the Design AI tools.
If Actions shows nothing, check that you hold a Full seat on a paid plan and that an admin has not disabled Figma AI for your team or organisation.
How do I check how many AI credits I have left?
Open a file where you have edit access, open the file’s Main menu, and select AI balance. It reports credits used, credits remaining and the reset date.
Doing this before a session rather than during one is the difference between planning and rationing.
Can First Draft use my own design system?
Not currently. Figma’s documentation says First Draft uses Figma built wireframing and design libraries as its foundation and that generating designs with your own design system is not possible yet.
That single limit is why it suits early exploration rather than production work.
Which model should I pick in Figma Make?
Start on Auto, which Figma says balances quality and cost. Move to Claude Opus for complex work or anything needing exactness, such as replicating an existing design closely.
Use Gemini Flash for small styling changes and quick iterations. Decide per task, not per prompt.
Why are my simple prompts suddenly costing more?
Almost certainly accumulated prompt history. Figma explains that Make processes prior context on every new turn, so a long lived file gets more expensive per prompt over time.
Duplicate the file, save it as a template, or clear the chat context to reset it.
The Short Version
Use Actions in Figma Design for the unglamorous jobs, which is where most of the real time saving is. Check the AI balance before you start, write one scoped first prompt, pick the model for the task rather than the message, and start a fresh file when history gets long.
Then hand a tidy file to whatever builds the site.
More on the surrounding tools in our piece on using Claude with Figma.
Primary sources: Use AI tools in Figma Design, Best practices for optimizing AI credits in Figma Make, Use First Draft with Figma AI and Figma’s article on the agent in Figma Design, all fetched on 8 September 2026.