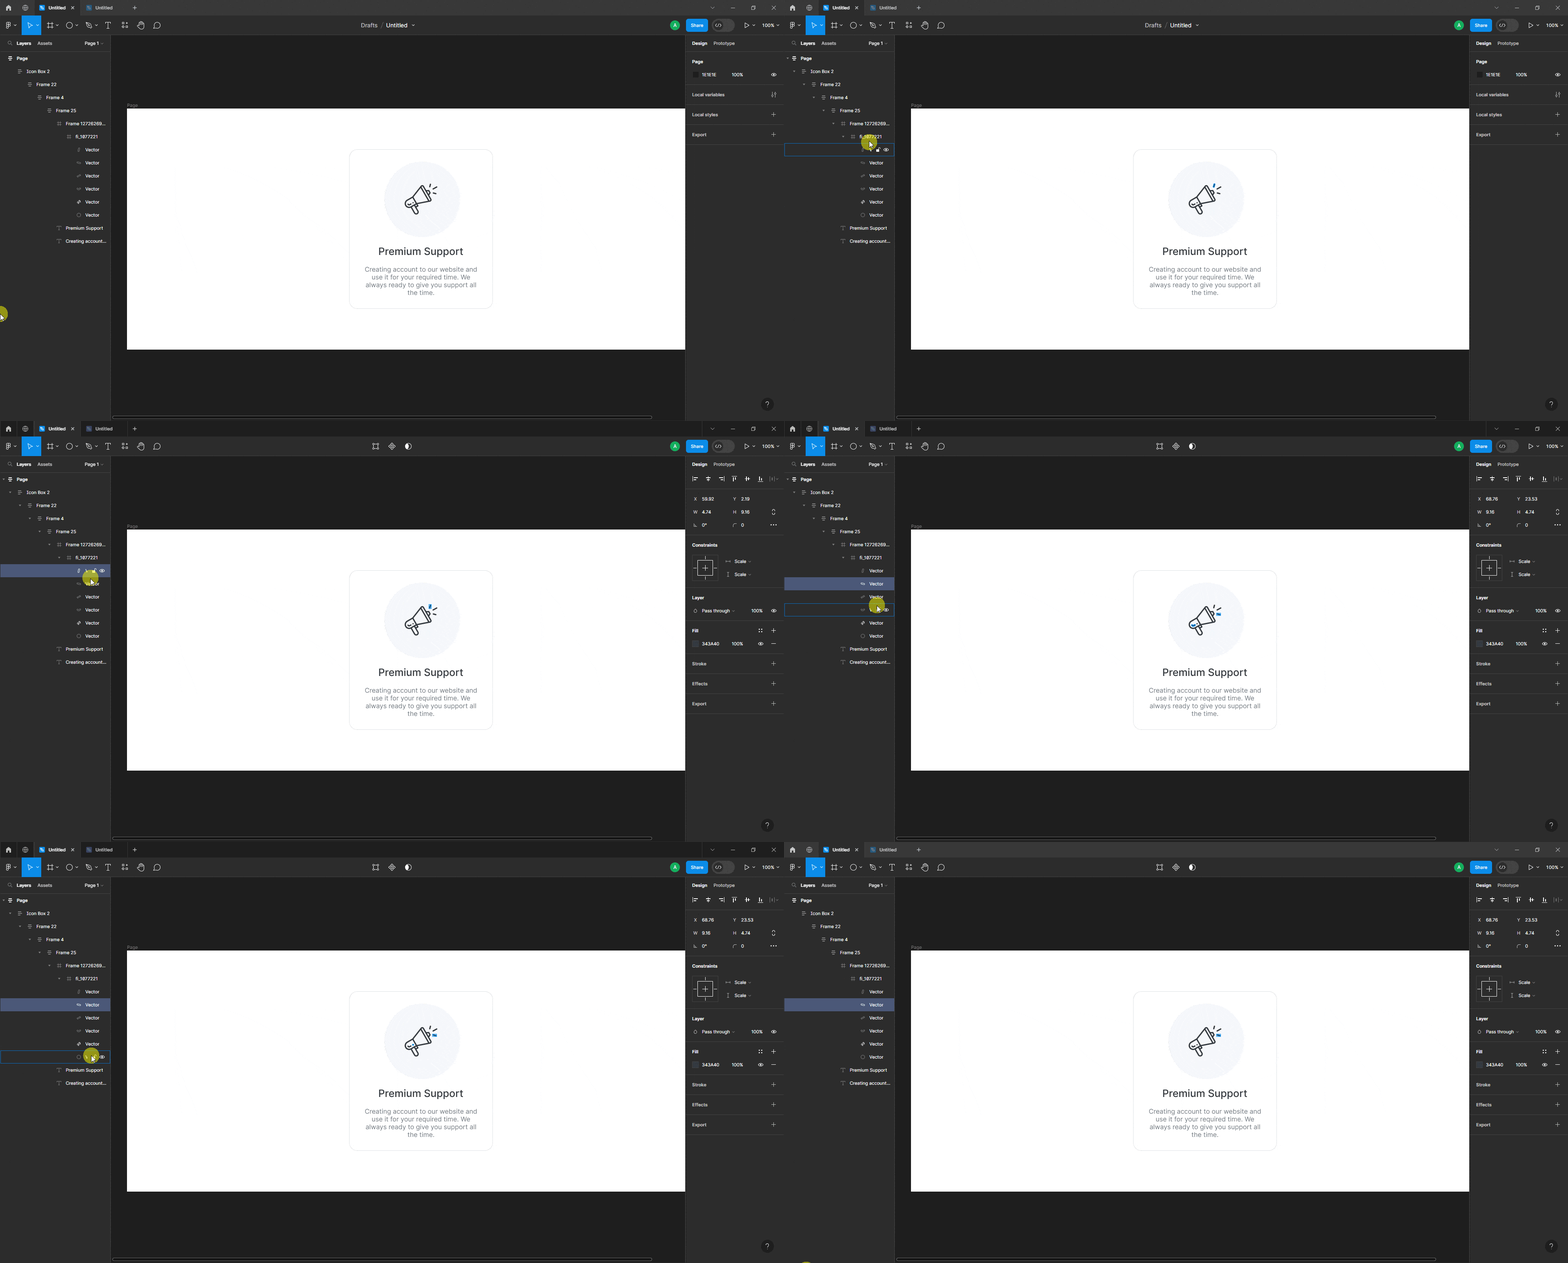
When you add an SVG image or icon in Figma, it will be divided into separate sections, which can cause problems when you import the template in Elementor.
You will not face this issue if you tag the element to an Elementor widget using UiChemy.
UiChemy also has a lock feature to combine multiple elements into a single image to counter this problem.
But both options require manual work and if you have lots of SVGs in your Figma layout, it would take a lot of time.
To solve this problem UiChemy has a simple solution where it will automatically detect an SVG and its elements and export it as a single SVG file.
Use Automatically Find SVGs
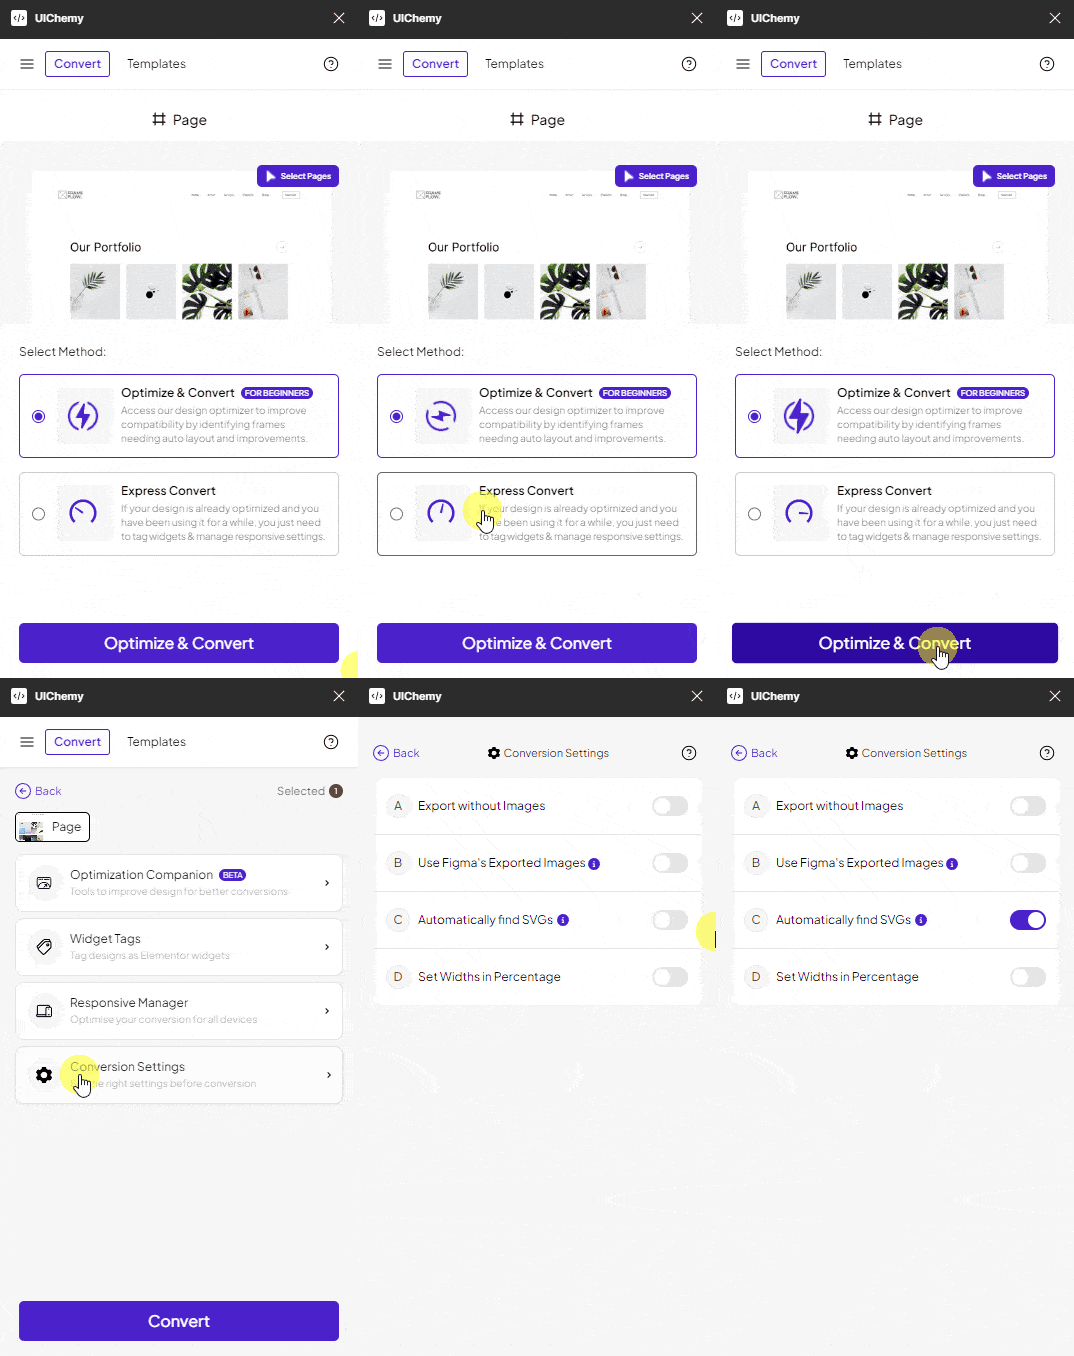
- To do this in Figma, open the UiChemy plugin.
- Select the top level frame of your layout and then select either the Optimize & Convert or Express Convert option and click the Optimize & Convert or Express Convert button as per your selection.
- Then click the Conversion Settings tab.
- Turn on the Automatically find SVGs toggle on the next screen.
- Then click the Back button at the top to return to the previous screen.
Now if you export your design, the layout will automatically detect all the SVGs and their elements and export them as single SVG images in the template.

For instance, we have this design with an SVG icon and its elements are divided into separate sections.

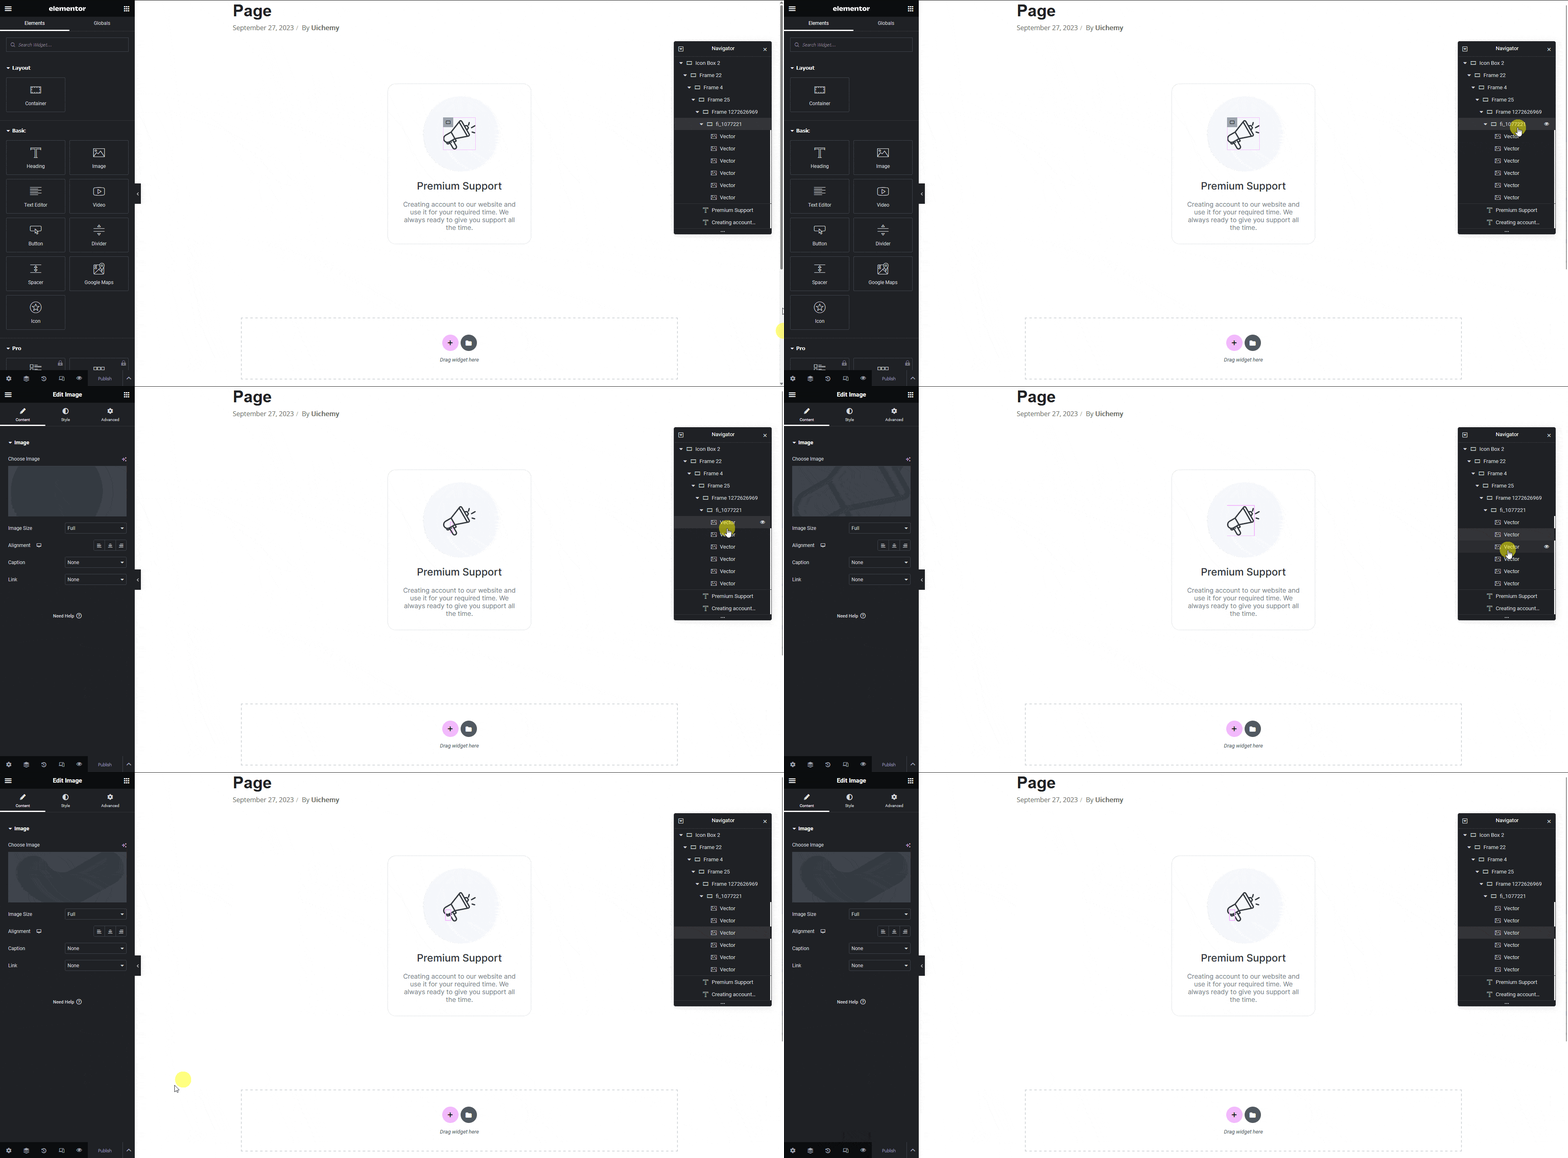
If you convert this layout normally, all the elements of the SVG icon will be exported as individual SVG images in the template.

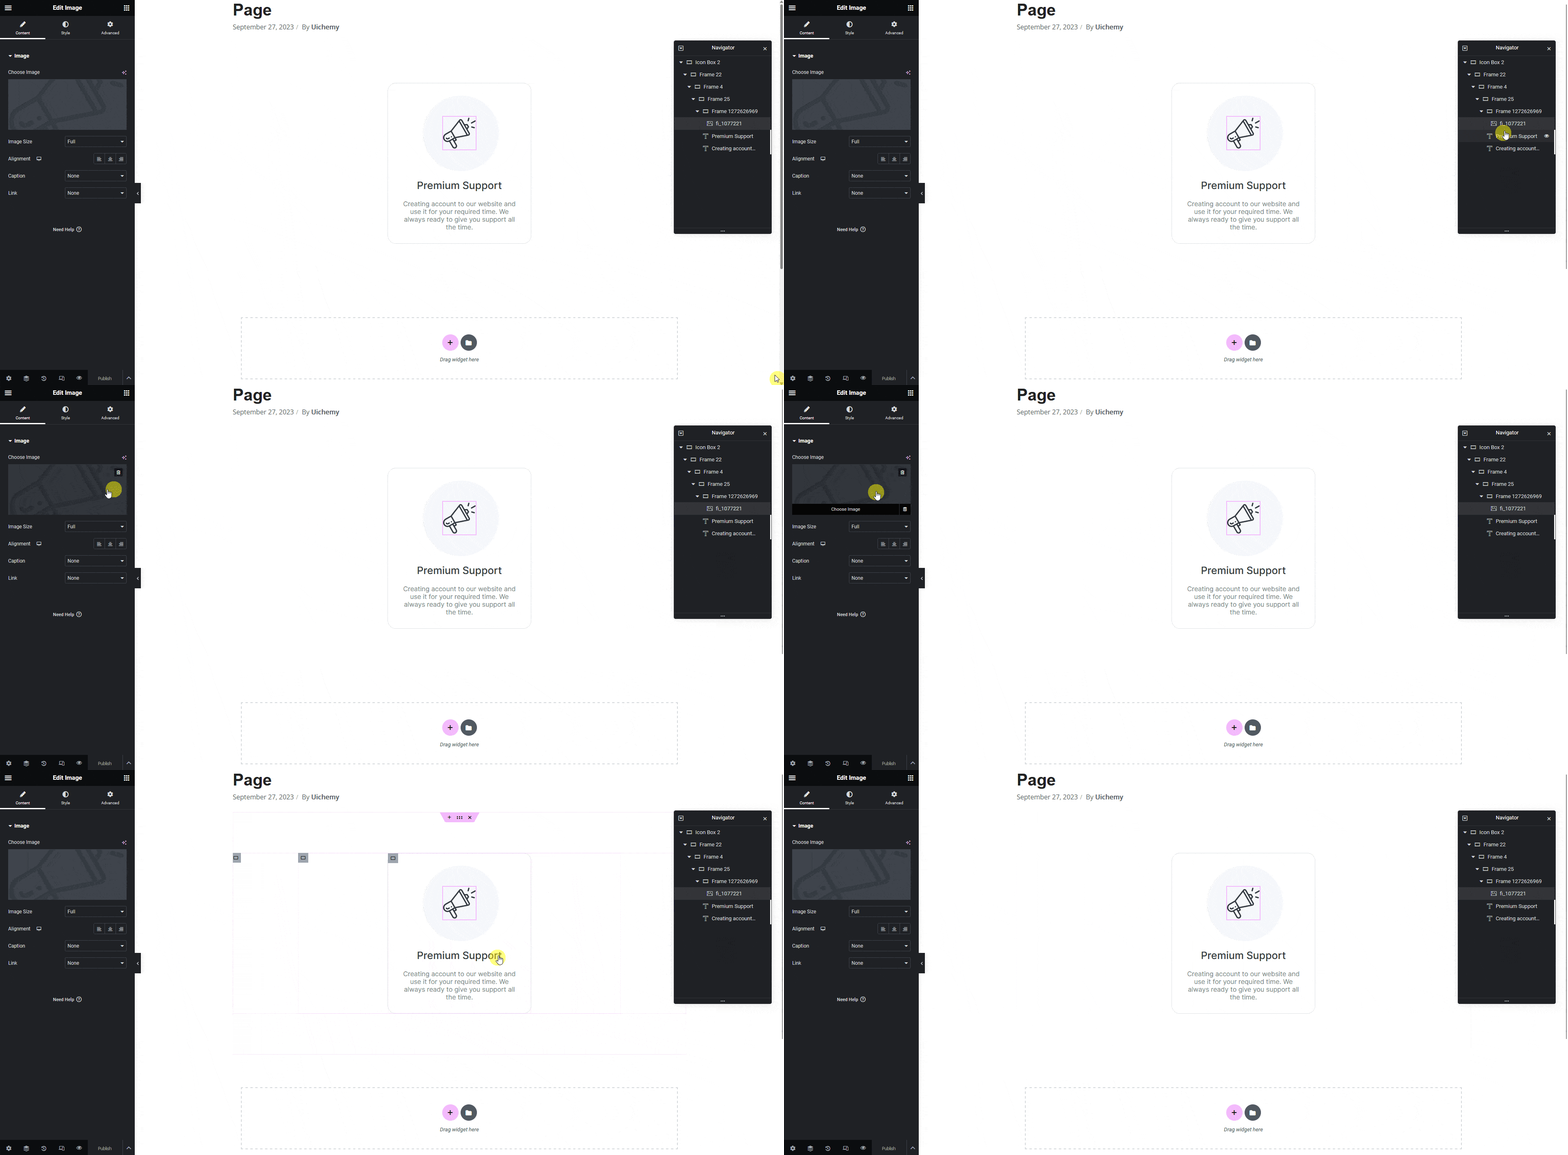
Now, when you enable the Automatically find SVGs toggle and convert the layout it will be exported as a single SVG image.
