Figma to Elementor: AI Express Mode vs Classic Mode
 Sagar Patel
To convert Figma to Elementor with UiChemy, choose AI Express Mode when you want an editable result without tagging layers, or Classic Mode when you need manual tagging for pixel-level control. Both draw from the same credit balance, so you can use each where it fits.
The two modes are easy to confuse because both start from the same Figma file. This guide keeps them apart and gives you a way to choose. If you want the long reference on the topic first, see Figma to Elementor: the definitive guide.
The Two Modes at a Glance
The AI Express vs Classic Mode documentation defines the split. The table summarises what it says and what that means in practice.
| Question | AI Express Mode | Classic Mode |
|---|---|---|
| Layer tagging | None | Manual |
| Output | Editable result | Mapped by the tags you set |
| Control | Automatic decisions | Pixel-level, you decide |
| Preparation time | Low | Higher, since you tag layers |
| Best for | Speed, drafts, standard layouts | Exact match to a precise design |
| Credits | Same shared balance | Same shared balance |
The point to keep in mind is that these are two modes of one product, Figma to WordPress. Treat them as separate tools you pick between, and do not assume what one does applies to the other.
AI Express Mode
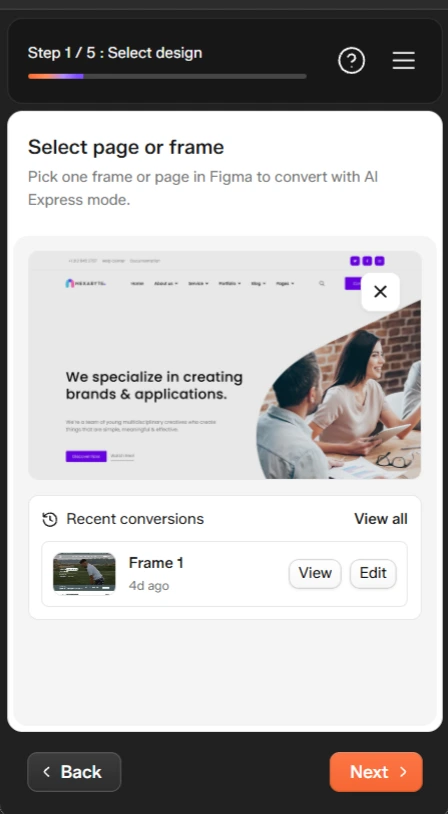
AI Express Mode skips the tagging step. You do not go through the file naming and marking layers to tell the converter what each one is. It works out the structure itself and outputs an editable result, meaning you can open it and change text, images and layout after import.
That makes it the shorter path from a design to a working page. It suits a clear, conventional layout where you care about getting to something editable quickly. Because the converter makes the structural decisions, plan to review the result against the design afterwards.
Classic Mode
Classic Mode is the manual route. You tag layers to tell UiChemy how each should map, which costs time up front and gives you control over the outcome. Reach for it when the page has to match closely, when the layout is unusual, or when you want to decide how specific elements behave.
The trade-off is plain. More preparation buys more control. If the design is simple and the match does not need to be exact, that extra effort may not pay back.
A short example of each
Imagine a four-section landing page with a hero, a three-column feature row, a testimonial strip and a footer. The layout is conventional, the client is not fussy about exact spacing, and you want it editable by the afternoon. That page suits AI Express Mode, since the structure is easy to infer and the preparation is light.
Now imagine a portfolio page with overlapping images, a custom grid and a client who will hold a ruler to the result. Here the manual tagging of Classic Mode earns its time, because you decide how each layer maps instead of accepting the converter’s call.
How to Choose
Ask three questions in order.
- How exact must the match be? If a designer will compare the page to the design line by line, lean towards Classic Mode.
- How much time do you have to prepare the file? Limited time points to AI Express.
- How unusual is the layout? Standard sections suit AI Express. Complex or overlapping layouts may reward manual tagging.
You are not locked in. Since the credits are shared, you can convert one page in AI Express, look at the result, and use Classic Mode for the page that needs more control. If you are still deciding whether to start from a design at all, the post on when a real design wins covers that earlier choice.
Preparing the Figma File
Good conversions start with a tidy file whichever mode you use. These habits help:
- Use frames for sections and name them in plain words, such as Hero, Pricing and Footer.
- Use consistent spacing and a defined set of text styles.
- Keep one design per page, with the final version clearly marked.
- Remove hidden or leftover layers.
- Use real content in the design, since placeholder text hides layout problems.
For layout structure inside the design tool, Figma for web design: the 2026 working method explains the working method we recommend, and Figma templates worth starting a website from lists starting points.
After conversion, check the page in Elementor itself. Our post on reviewing an AI-generated WordPress site in 30 minutes gives a checklist that applies to converted pages as well.
Credits and Plans
Both modes spend from one balance. The all-in-one plans are Designer at $11 a month ($8 a month billed annually) with 4,000 credits, Studio at $35 ($26 annually) with 12,000 and Agency at $59 ($44 annually) with 20,000.
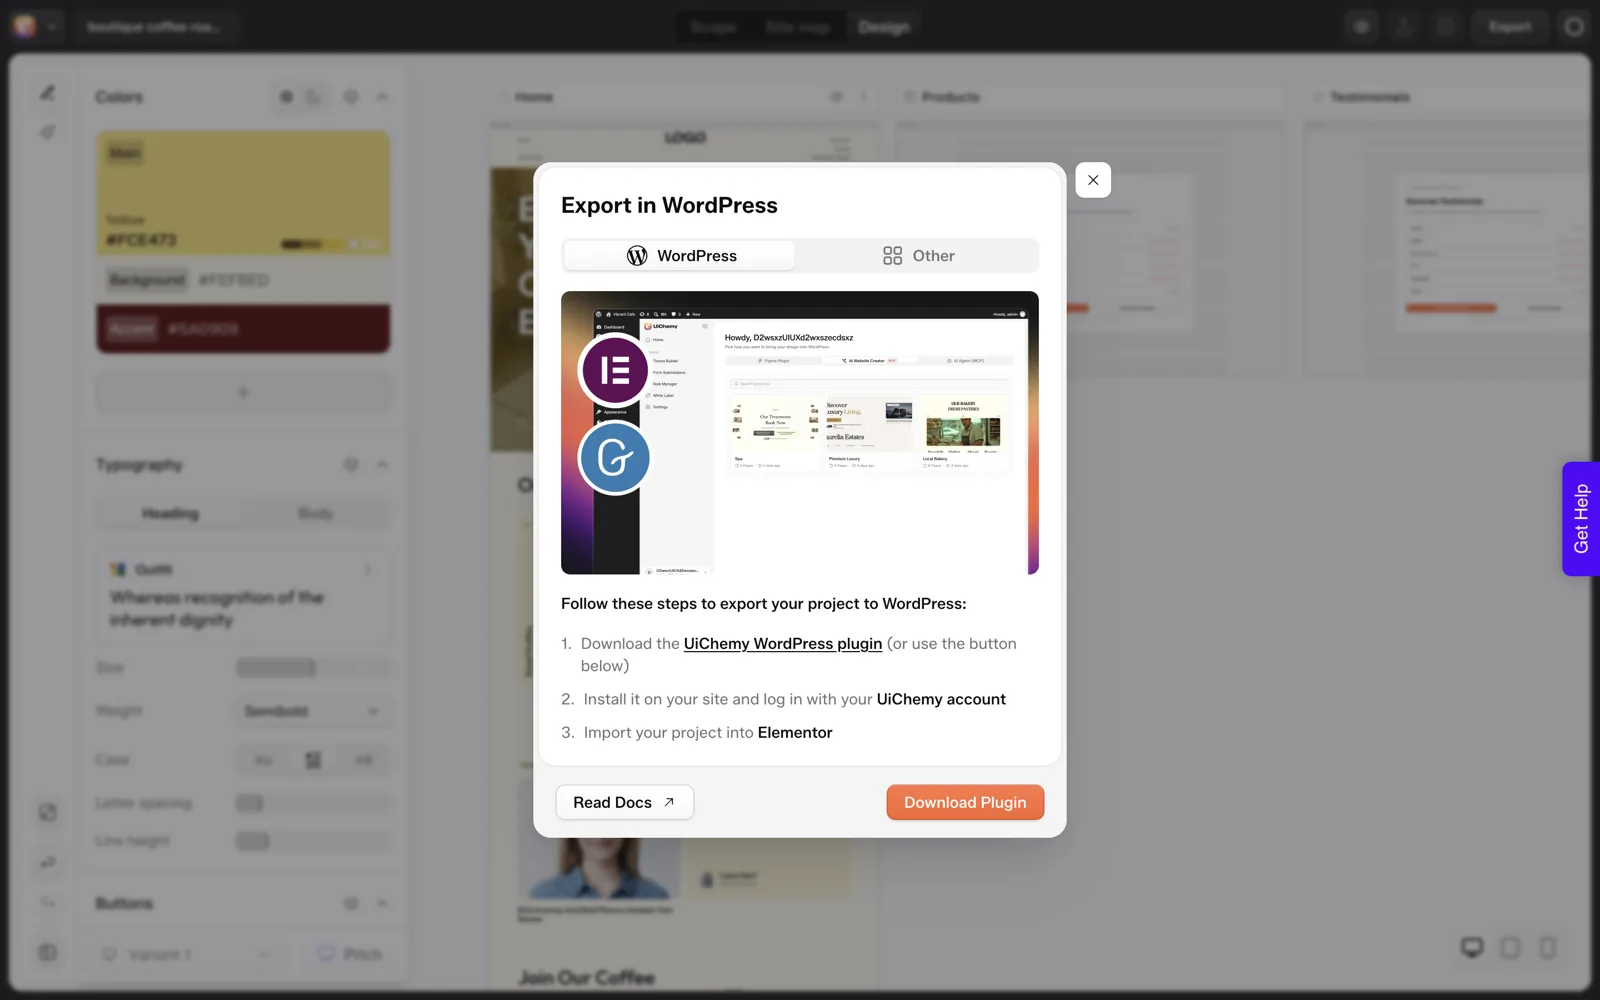
Credits refresh monthly and top-ups are available. Export to Elementor is included. There is a 14-day refund, and you can try it without a card. The pricing plans documentation has the current detail, and prices can change, so check it before you buy.
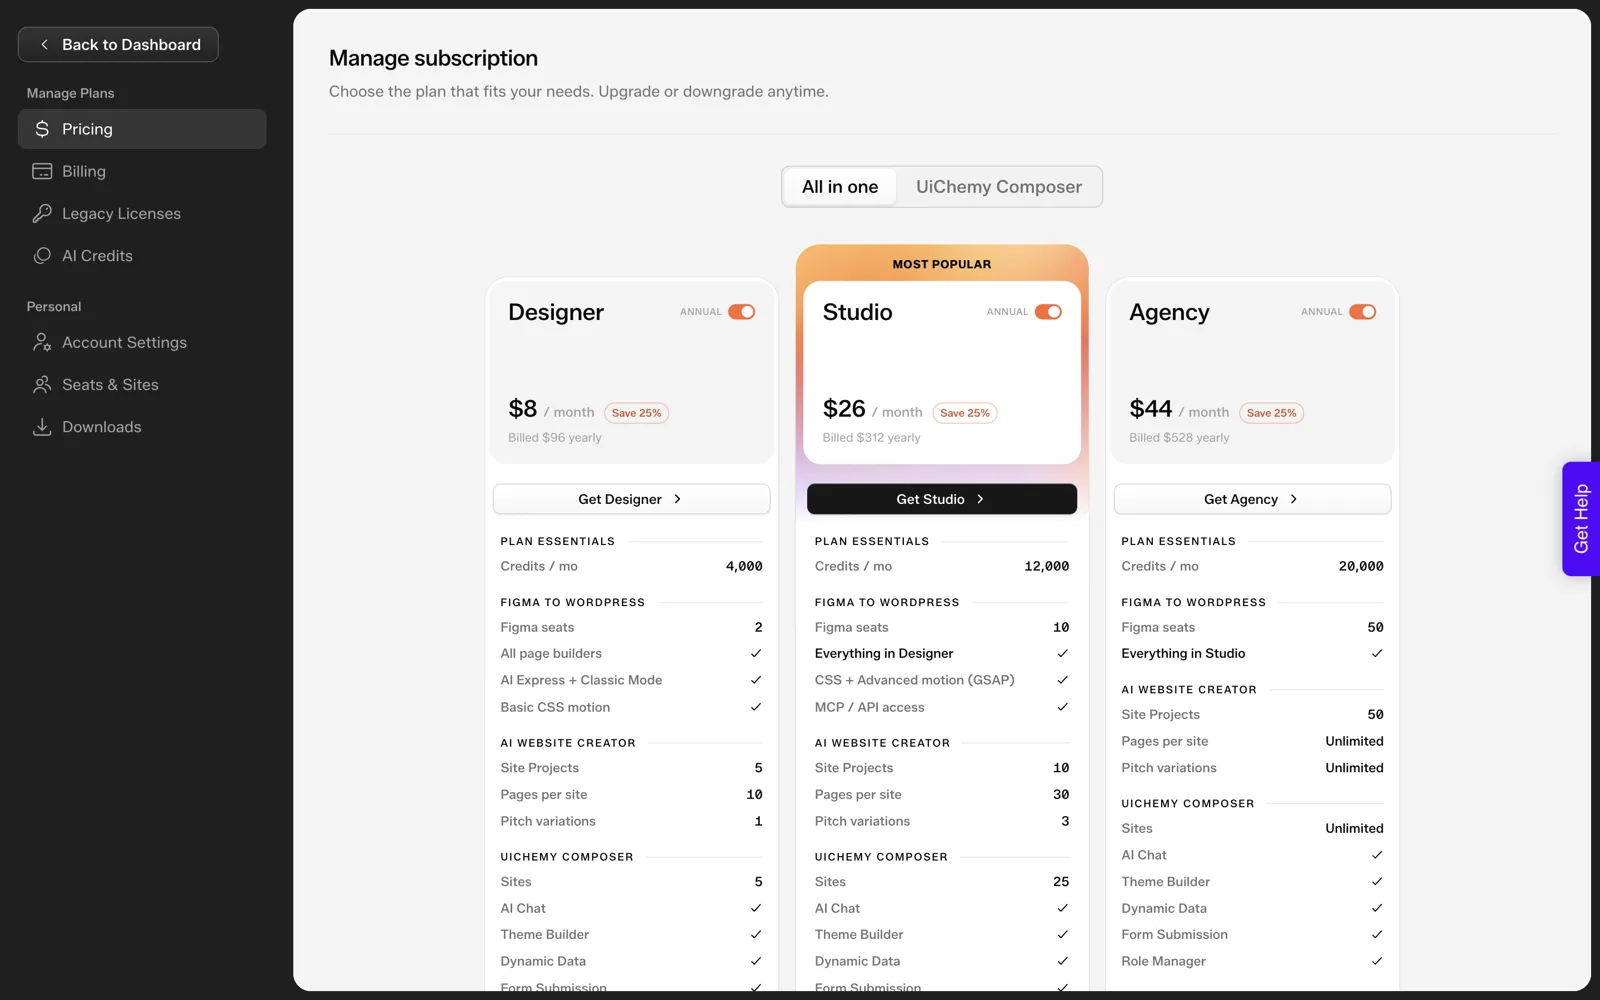
We have not measured how many credits a typical Figma conversion uses, so we make no claim on that here. Our measured test is for the prompt flow, covered in how many credits an AI-built website costs.
Pre-Conversion Checklist to Copy
FIGMA TO ELEMENTOR PRE-CONVERSION CHECKLIST

Mode decision
[ ] Must match the design exactly?          yes = Classic   no = AI Express
[ ] Time to tag layers?                     yes = Classic   no = AI Express
[ ] Unusual or overlapping layout?          yes = Classic   no = AI Express
Chosen mode: ____________

File preparation
[ ] Sections are named frames (Hero, Features, Pricing, Footer)
[ ] Text styles and colours are defined, not one-off
[ ] Final design clearly marked; old versions removed
[ ] Hidden layers deleted
[ ] Real copy and real images in place

After conversion (in Elementor)
[ ] Text editable
[ ] Images editable
[ ] Spacing matches at desktop, tablet, mobile
[ ] Header and footer look right
[ ] Links and buttons point to the right pages
[ ] Page speed checked
A Worked Example: Splitting a Five-Page Site Between Modes
You do not have to pick one mode for a whole project. Here is how I would split a five-page business site. The pages are an example, and your own assignment depends on the design in front of you.
| Page | What is on it | Mode | Reason |
|---|---|---|---|
| Home | Hero, feature row, testimonial strip, footer | AI Express | Conventional layout, editable result wanted quickly |
| Services | Three service blocks and a call to action | AI Express | Repeating blocks are easy to infer |
| About | Story, team grid, values | AI Express | Standard sections, no exact match needed |
| Portfolio | Overlapping images on a custom grid | Classic | Layout is unusual, so you decide how layers map |
| Contact | Form, address, map | AI Express | Simple layout, form to be wired up in WordPress |
Four pages go through AI Express Mode with no tagging. One page goes through Classic Mode, where you tag layers by hand. Both draw from the same credit balance, so the split costs nothing extra to arrange.
Write the mode next to each page in your project notes. When someone reviews the site later, they will know which pages came from automatic decisions and which from your tags.
What to Compare After Each Mode
The two modes put the decisions in different hands, so the review focuses on different things.
After AI Express Mode
The converter made the structural decisions, so check them. Open the page in Elementor and compare section order, text sizes, spacing and image placement against the Figma frame. Look for any grouping that does not match how you would have built it. Fix small differences in the builder instead of redoing the conversion.
After Classic Mode
Your tags made the decisions, so check that the result matches your intent. If something is off, the cause is usually a tag on the wrong layer or a layer you left untagged. Return to the file, correct the tag and convert again if the difference is large.
After either mode
Test at desktop, tablet and mobile widths, then click every link and button. The Figma MCP plus UiChemy workflow with Claude is a different way to drive the same conversion from an AI client, and it needs the same review at the end.
Mistakes That Cost Time
These are the slips I would plan around when working with both modes.
| Mistake | Result | Fix |
|---|---|---|
| Tagging every layer for a simple page | Hours of preparation for a result AI Express could reach with no tagging | Use AI Express for standard layouts |
| Using AI Express on a page that must match exactly | Small differences you did not plan for | Move that page to Classic Mode |
| Assuming the two modes behave alike | Surprises in the output of the one you did not read about | Read the mode documentation before the first conversion |
| Converting a file with several design versions | The wrong frame becomes the page | Mark the final frame and delete old ones |
| Leaving placeholder text in the design | Layout problems appear only when real copy arrives | Use real content in Figma first |
| Skipping the mobile check | A page that only works on desktop | Review every page at phone width |
Plan the cost side early as well. We explain how plans and credits fit together in UiChemy pricing explained, and a client quote should include the review time, which how to quote AI-built websites for clients breaks down.
FAQ
What is the difference between AI Express and Classic Mode?
AI Express Mode needs no layer tagging and outputs an editable result. Classic Mode uses manual tagging for pixel-level control. They are two modes of the same Figma to WordPress product, and both draw from the same shared credit balance, so you choose per page based on how exact the match must be.
Do I need to tag layers to convert Figma to Elementor?
Only in Classic Mode. AI Express Mode works without tagging, which makes preparation quicker. If you want to control how layers map to Elementor, use Classic Mode and tag them by hand. A well-named, tidy Figma file helps in both modes.
Can I use both modes on the same project?
Yes. Credits are shared between modes, so you can convert standard pages with AI Express and use Classic Mode on a page that needs closer control. Keep a note of which mode produced which page, so reviewers know what to check and what to expect.
Is Elementor export included in the plans?
Export to Elementor is included in the all-in-one plans, according to the pricing page we checked on 2026-10-01, and AI Website Creator now exports to Gutenberg as well. Check the current pricing documentation before you buy, since plans and included features can change over time.
Does the converted page need a review?
Yes. Compare it to the design at desktop, tablet and mobile widths, and check text, images, links and speed. No converter removes the need for a final check, and the checklist in this post gives you a sensible place to start before you hand it over.
To try a conversion on one of your own designs, you can Get Started without a card.
Every feature named in this post is listed by product: all UiChemy features, Figma to WordPress features.