What is Tagging?
Tagging is the process of connecting elements in your Figma design – such as buttons, headings, images, or icons – to their corresponding Elementor widgets.
This is done using UiChemy, a powerful plugin that converts your static Figma design into a fully functional, dynamic WordPress website using Elementor.
Tagging defines how each element in your design should behave and appear when implemented on your live site.
Check the full list of supported Elementor widgets in UiChemy.
Why is Tagging Important?
- Accurate Conversion: Each design component maps directly to the right Elementor widget.
- Greater Control: Offers flexibility to use either core or advanced widgets depending on your design.
- Efficient Workflow: Reduces the need for manual adjustments in Elementor after export.
- Editable Output: The exported site is built using Elementor widgets, making it easy to maintain and update.
- Dynamic Results: Converts static designs into responsive, interactive WordPress websites.
- Better Performance with Auto Layout: Using Figma Auto Layout improves the tagging experience. It helps UiChemy understand layout hierarchy and structure, leading to more accurate widget tagging and cleaner exports.
How Tagging Works?
UiChemy offers two tagging modes depending on your workflow needs:
1. Auto Widget Selection (Quick Start)
Automatically assigns Elementor’s core widgets to your Figma layers:
- Container
- Heading
- Text
- Image
Best suited for basic layouts and faster design-to-site conversions.
2. Manual Widget Tagging (Advanced Control)
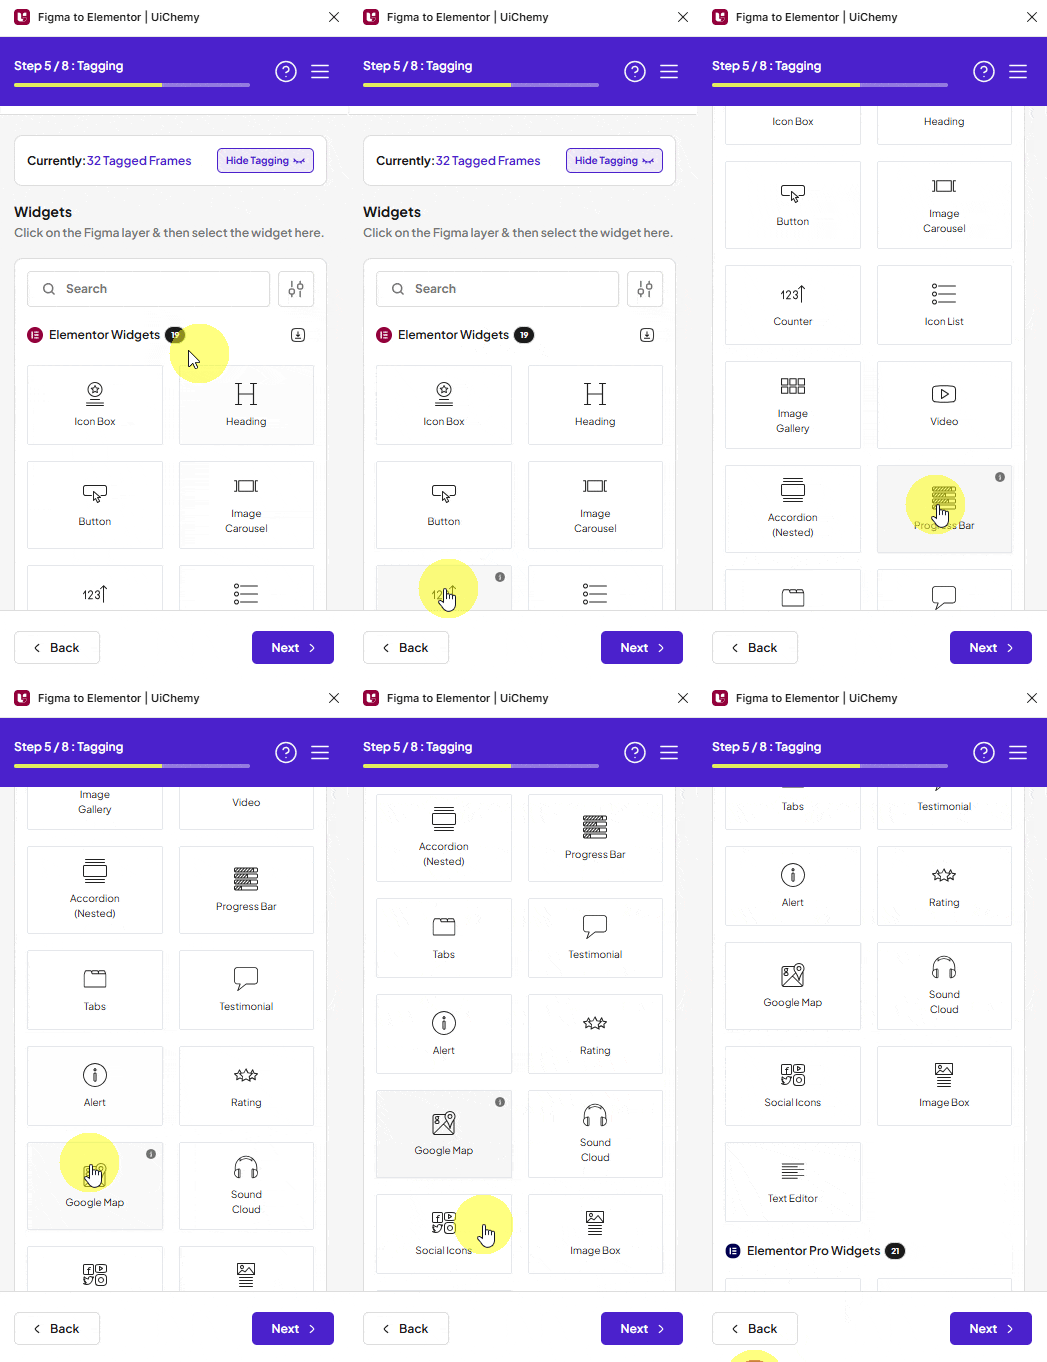
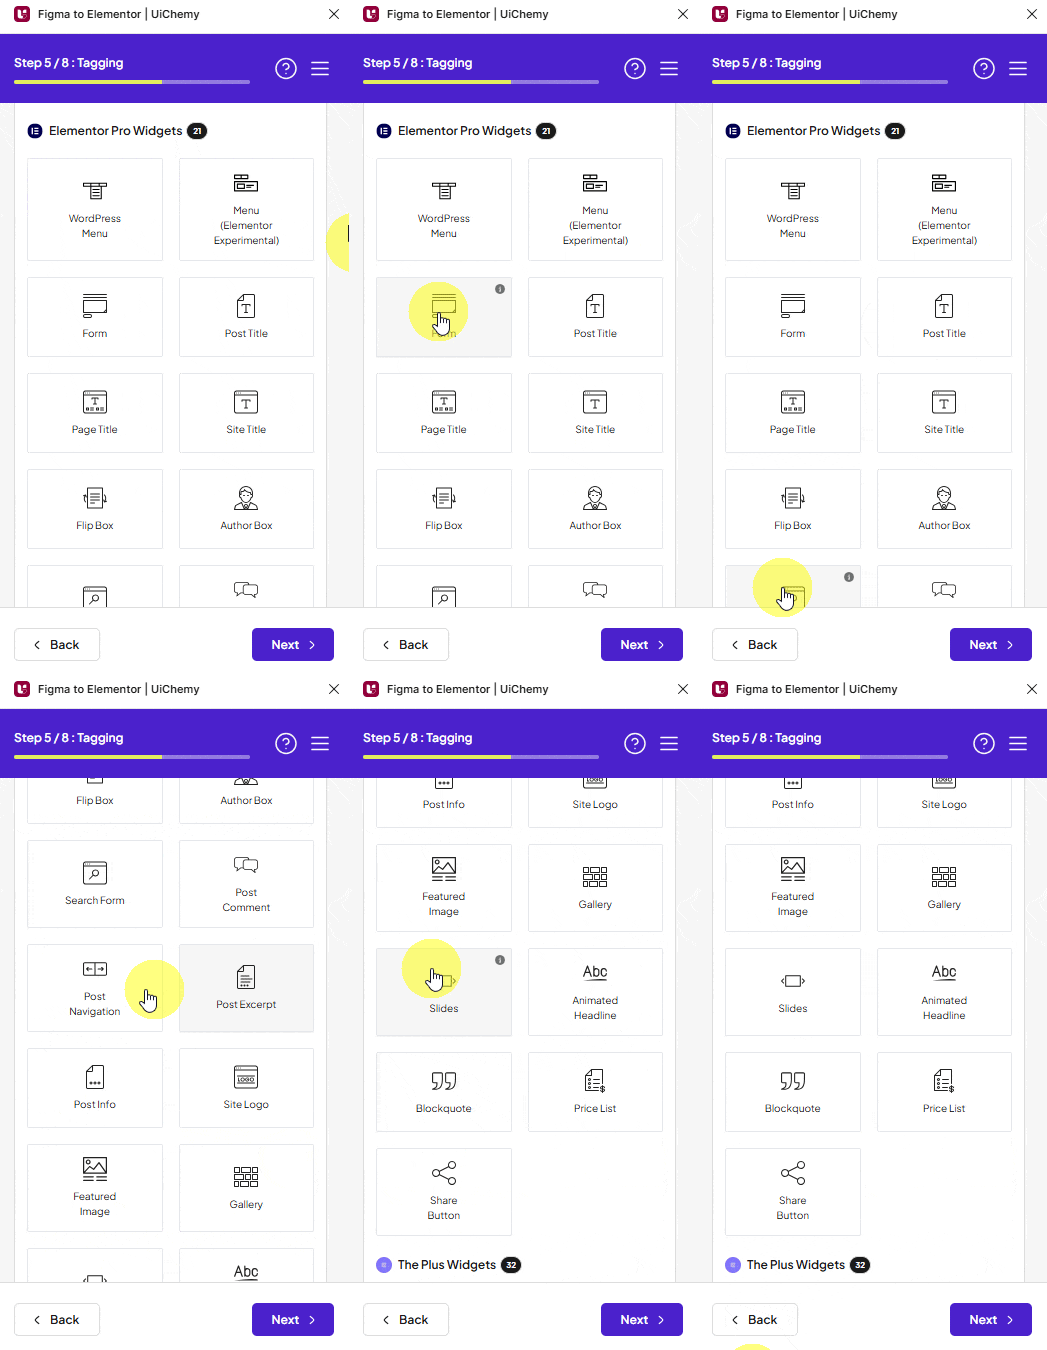
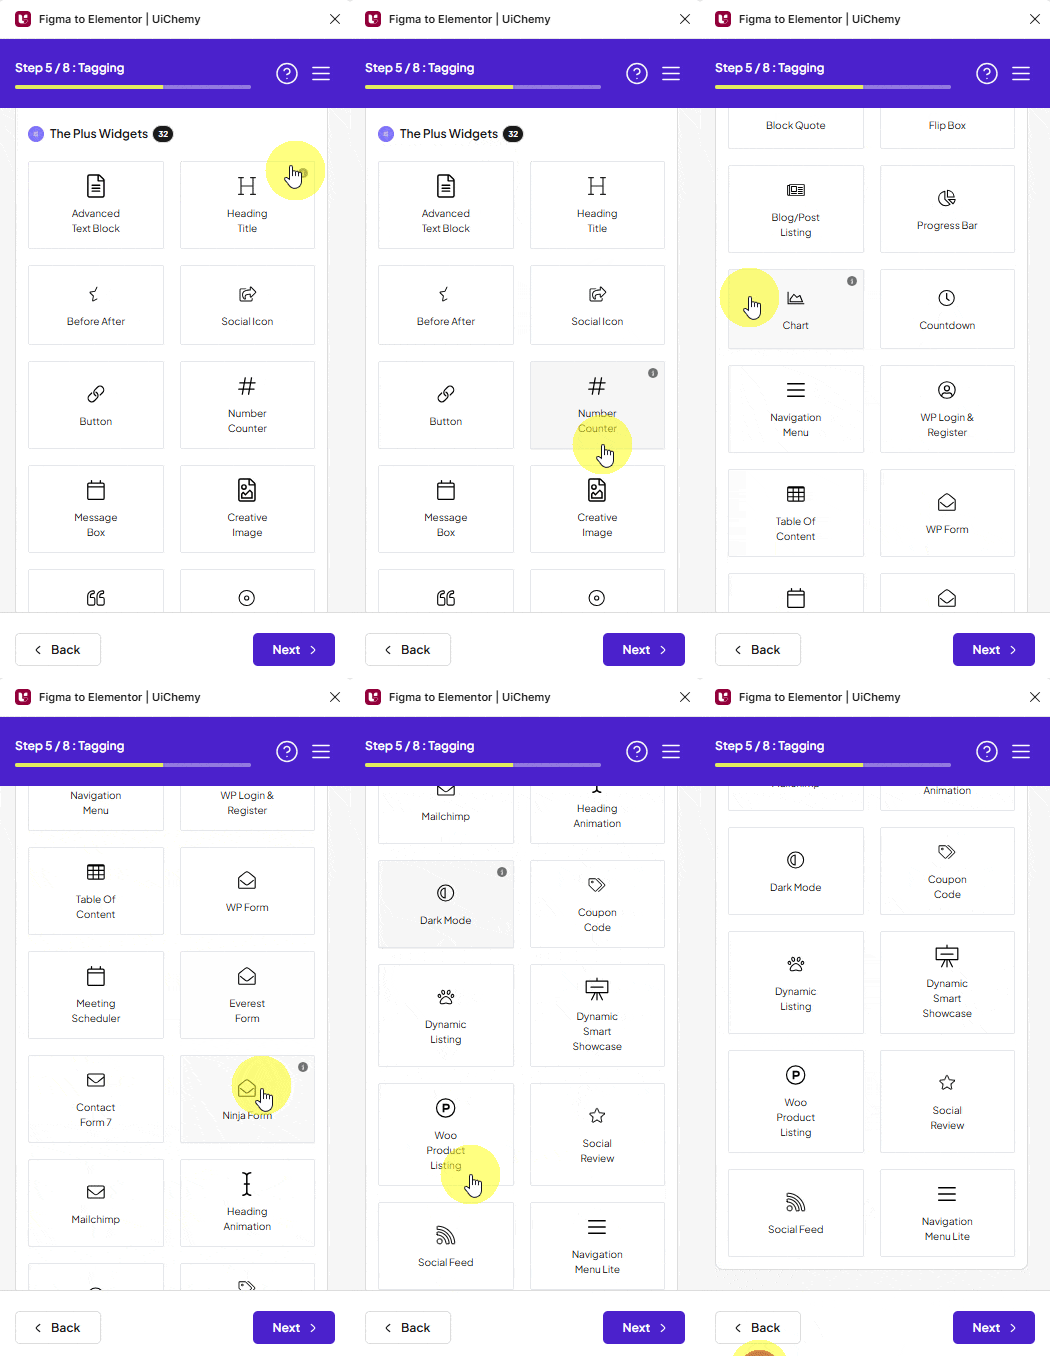
Manually tag elements using specific widgets such as Elementor Widgets, Elementor Pro Widgets, and The Plus Widgets.
In the GIF below, you can see the complete list of available widgets.
1. Elementor Widgets

2. Elementor Pro Widgets

3. The Plus Widgets

If your design uses Auto Layout in Figma, it greatly improves the tagging experience and results. It helps UiChemy better interpret the structure of your layout, leading to more accurate widget tagging and cleaner output in Elementor.
How to Tag Button Widget?
To do this, you can choose between two options: Step by Step Method or Express Conversion.
Here, we’ll go with the Step by Step Method.
- First, select the Step by Step Method and click on the Start button.
- Select the top-level page or frame of your layout, then click on the Next button.
- Under the Widget Tagging Mode tab, you’ll see two options: Auto Widget Selection and Manual Widget Tagging. We’ll go with the Manual Widget Tagging Option.
- Next, under the Manage Auto Layout tab, you’ll see two options: It’s already in Auto Layout and Convert to Auto Layout. We’ll go with the first option.
- After that, under the Tag Widgets tab, choose the frame or container that contains your element (Widget). Then, search for the Button widget in the UiChemy panel and select it. Here, you’ll see all the supported Elementor widgets.
- The Text field will be automatically filled, but you can click the dropdown to change it. You can click on the magic wand icon beside each option in the dropdown to understand which element the option is for.
- The Icon field, if you are using any icon in your button, will be automatically selected, but you can change it from the dropdown if you want. For icons, you can use Font Awesome 5 Free icons or SVG icons. You can also select any frame or element to be used as an icon by clicking on the eyedropper tool, and the option will be available in the dropdown as well.
- In the Link field, you can even specify the URL of the button.
- In the Icon Position field, you can select the position of the icon before or after.
- Once done, click the Save button to complete the tagging, and you’ll see a Tagged successfully message.
Note: The options will vary from widget to widget.
Now, if you Export the design, that element will use the Button widget with all your specified information. For icons, you can even use the Elementor icon library.
Note: There is a bug within the Elementor editor where the icon position doesn’t work properly but it works properly in the browser.
